
Click here to skip to recipe << I will put this link in all my posts so you can quickly reference recipes without having to read the entire post! You’re Welcome!
First off, let me get the very obvious joke out of the way; I bet you didn’t even know Oreo’s had balls! Okay, now that we took care of that, lets get down to business. Oreo Balls are easily one of my favorite things to make. They are incredibly simple to make, but taste so fantastic. People will lose their minds over these things and they only take three ingredients. They are faster and easier to make than cake balls and taste way better. Of course they do, they’re Oreos!
One of the best things about these is you can do a million different things with them. You can use any kind of Oreo. My personal favorite is a tie between the Mint and Golden Oreos. Honestly you don’t even have to use Oreos, I’ve made them with Nutter Butter cookies, and they were outstanding. You can use any kind of candy coating. Also, you can decorate them in an endless variety of ways.  The only ingredients you absolutely need are 1 package of Oreos (you pick the flavor), 1 package of almond bark (candy melts also work great), and 1 block of cream cheese. This is really all you need if you’re just going to make them fast and simple. With how great they taste, people aren’t going to care if they’re fancy, so if you’re in a hurry just keep it simple! Note: In the picture it is a family size package of Oreos, you actually only need the regular size. I only get the family size to bribe my boyfriend not to eat the ones I need. (9 for you, 36 for me! All’s fair in love and baking)
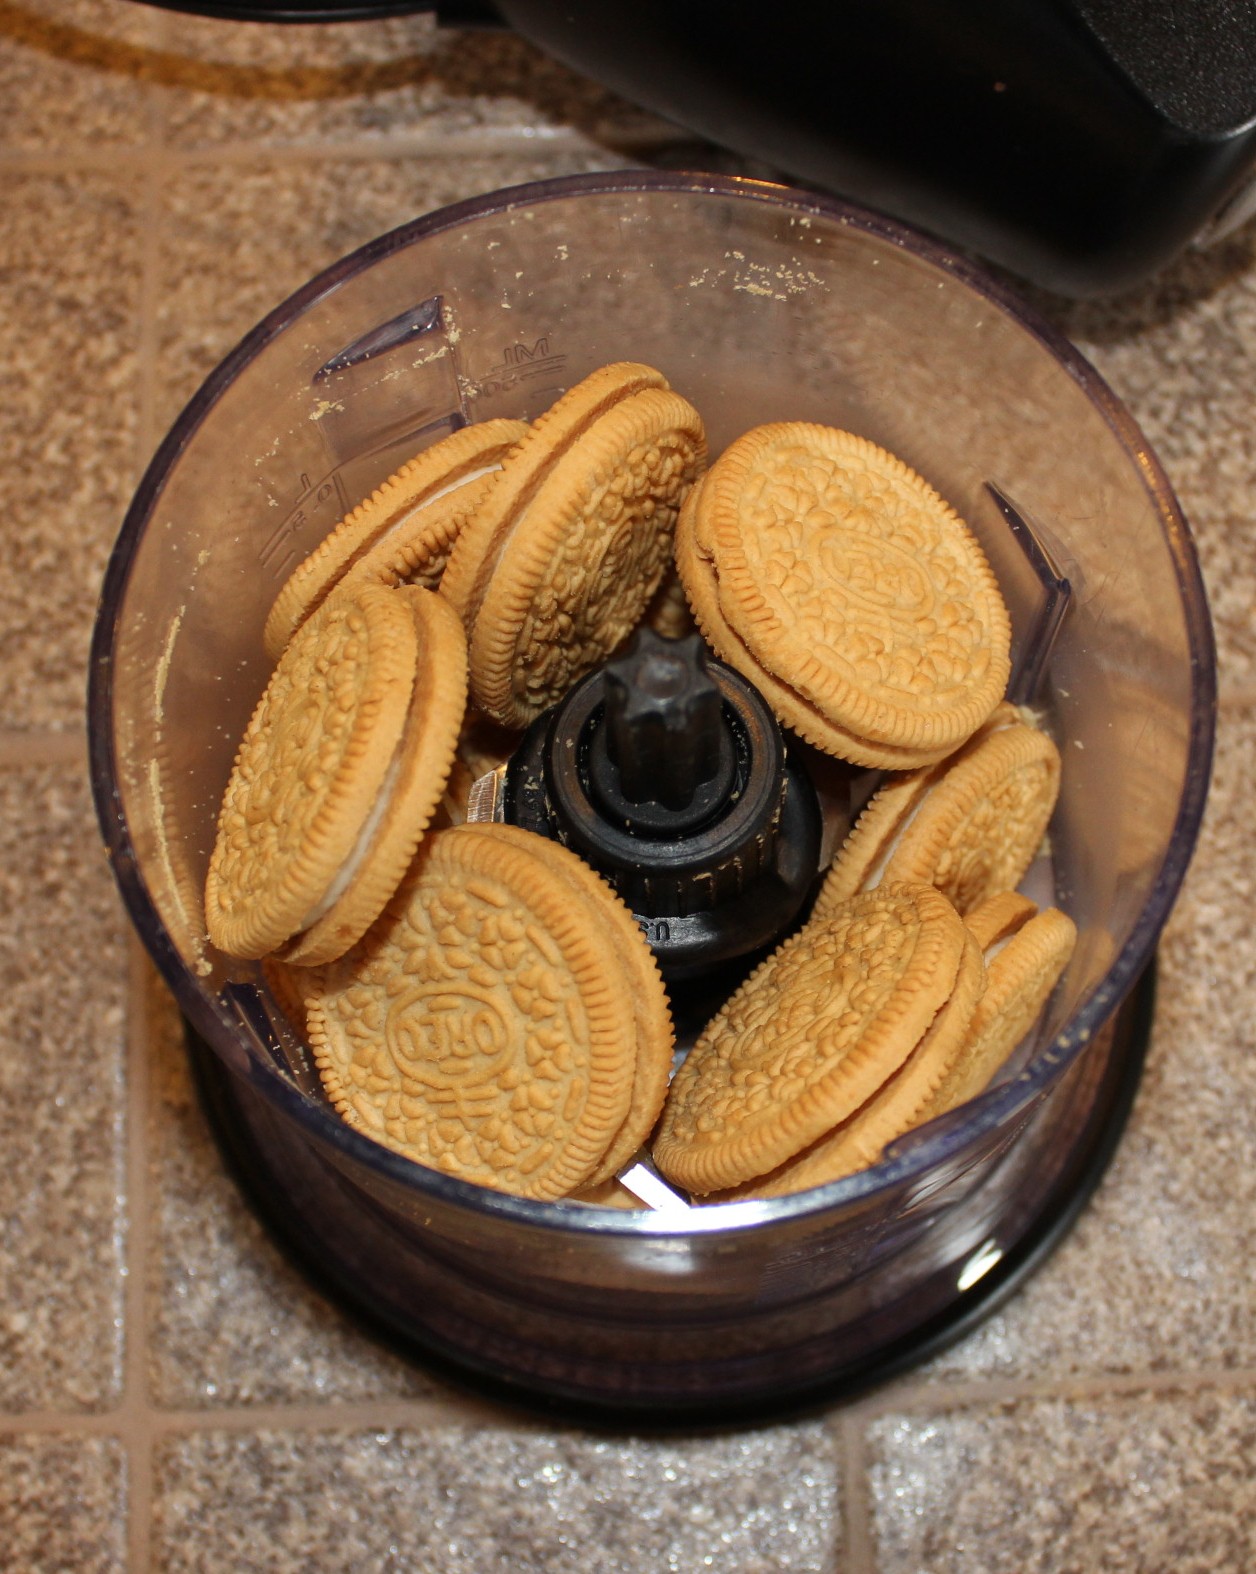
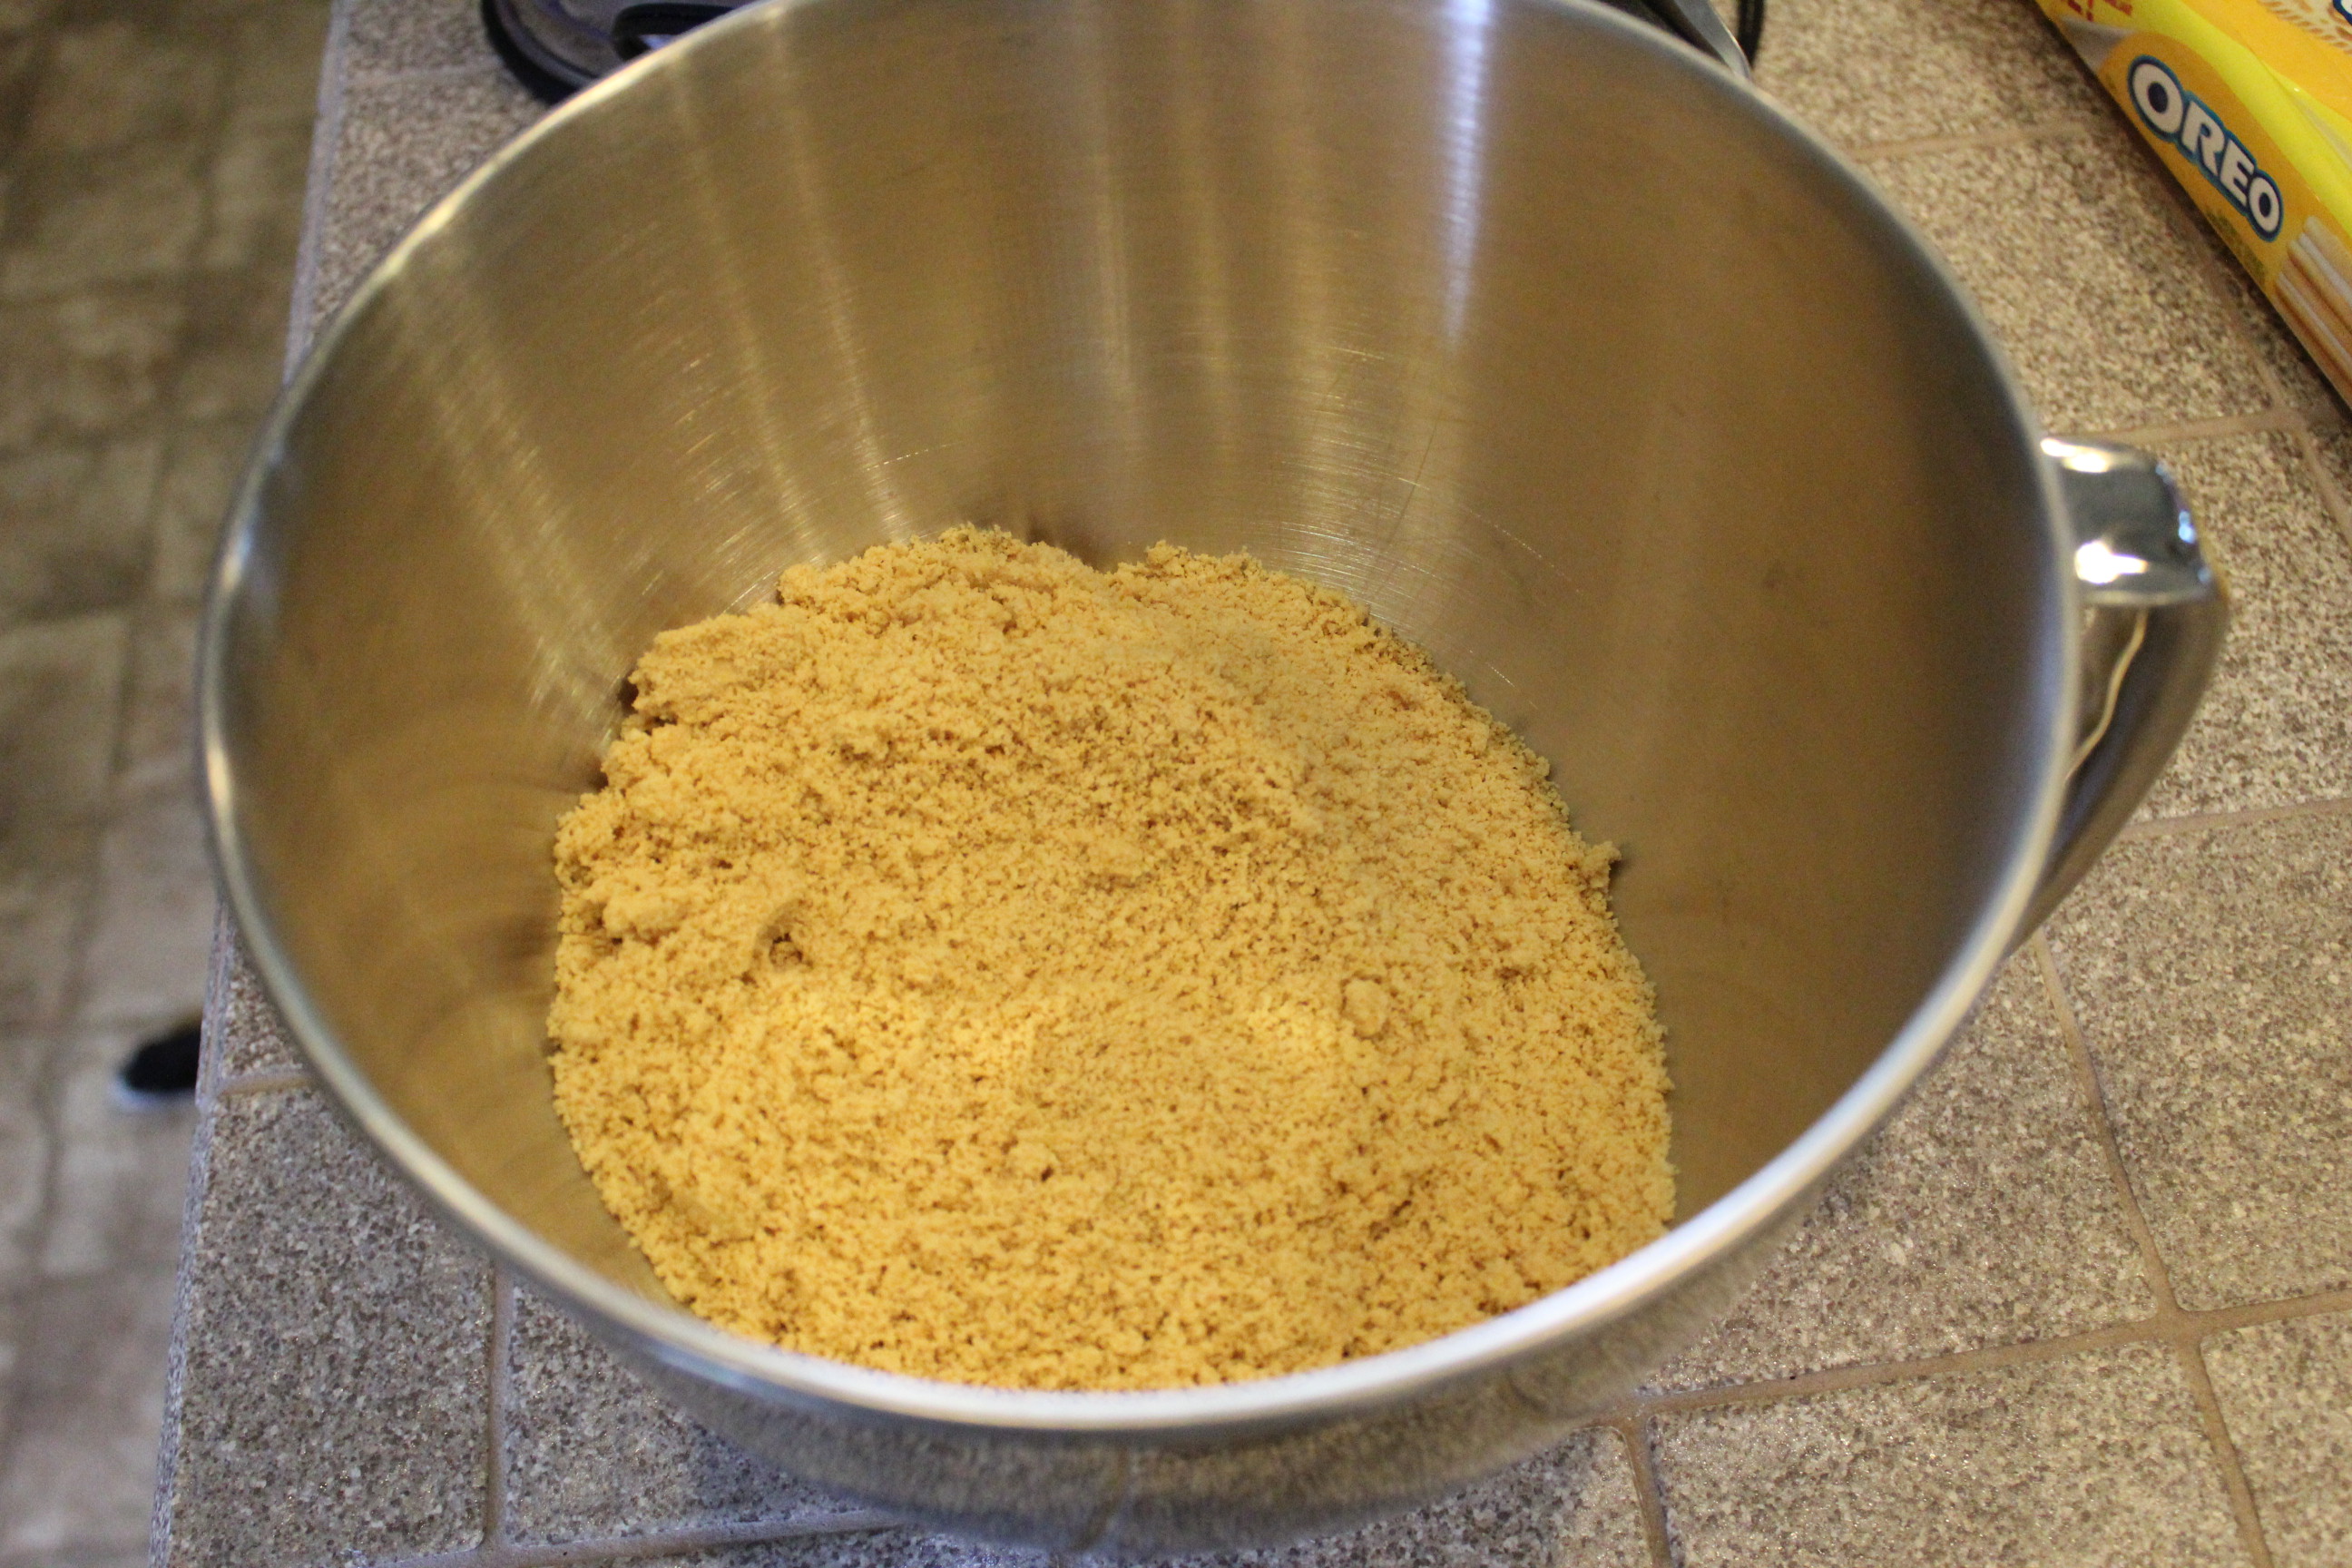
I grind up my Oreos in a food processor, but you can just as easily crush them in a Ziploc bag. In fact that’s the preferred method if you’re having a bad day and need to relieve some stress. I like the food processor because they come out much finer, and give it a great texture. 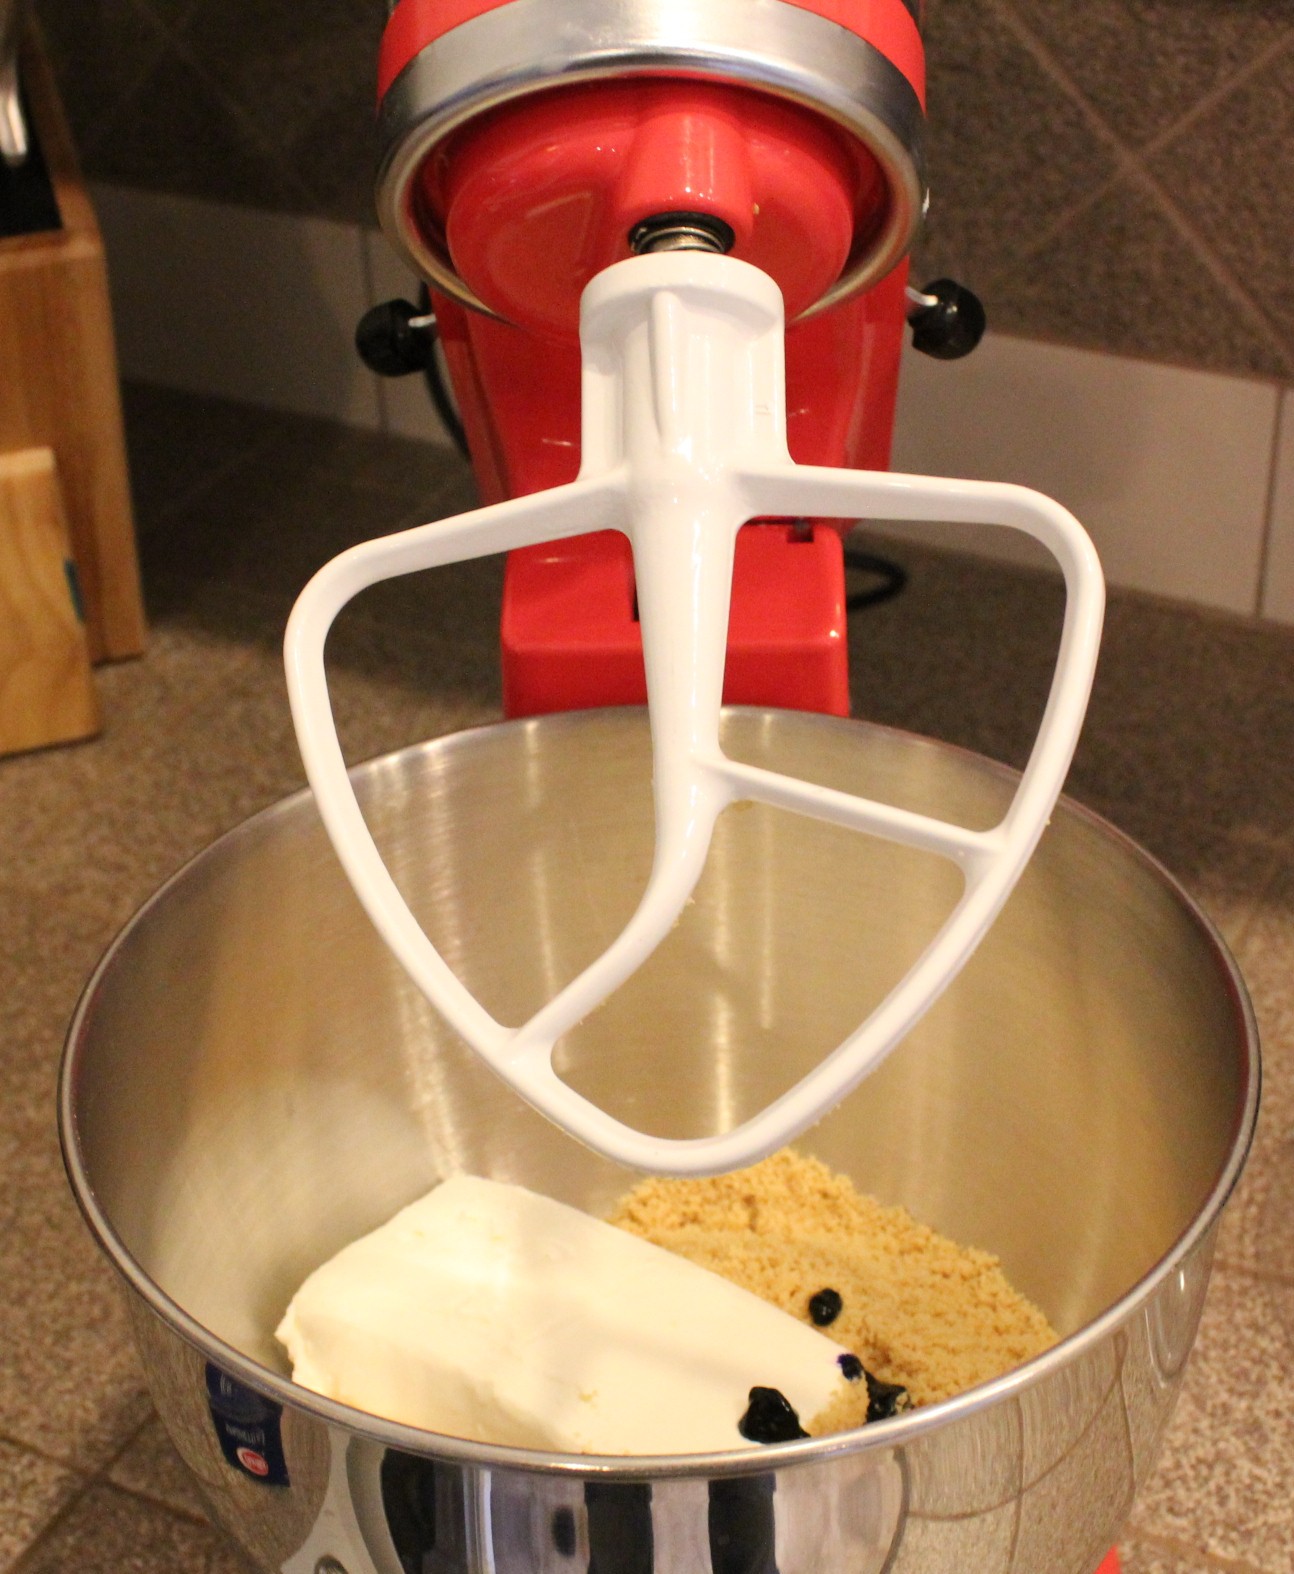 Next, simply mix the crumbs with the cream cheese. You don’t need a mixer, you can just use your hands, but the mixer is faster and neater. In case you’re wondering, my mixer is named Sir Mix-a-Lot. If you do use a mixer, please for the love of baking, use the right attachment. The funny looking flat one in the picture is correct. The whisk that most people try to use for everything will end in sadness when your entire ball of dough ends up inside the attachment and you have to slowly poke it out piece by piece with a butter knife.
If you are using Golden Oreos you can dye them different colors. You will need to use quite a bit of food coloring to overcome the yellow color of the cookie. I usually start with about a quarter of a teaspoon and go from there. I use Wilton brand gels; for baking, they are my absolute favorite. They don’t streak like the powders and they don’t change food’s consistency like liquids can. Add the food coloring before you mix the crumbs and cream cheese together. In the picture above you can see the blobs of purple food dye in the bowl. 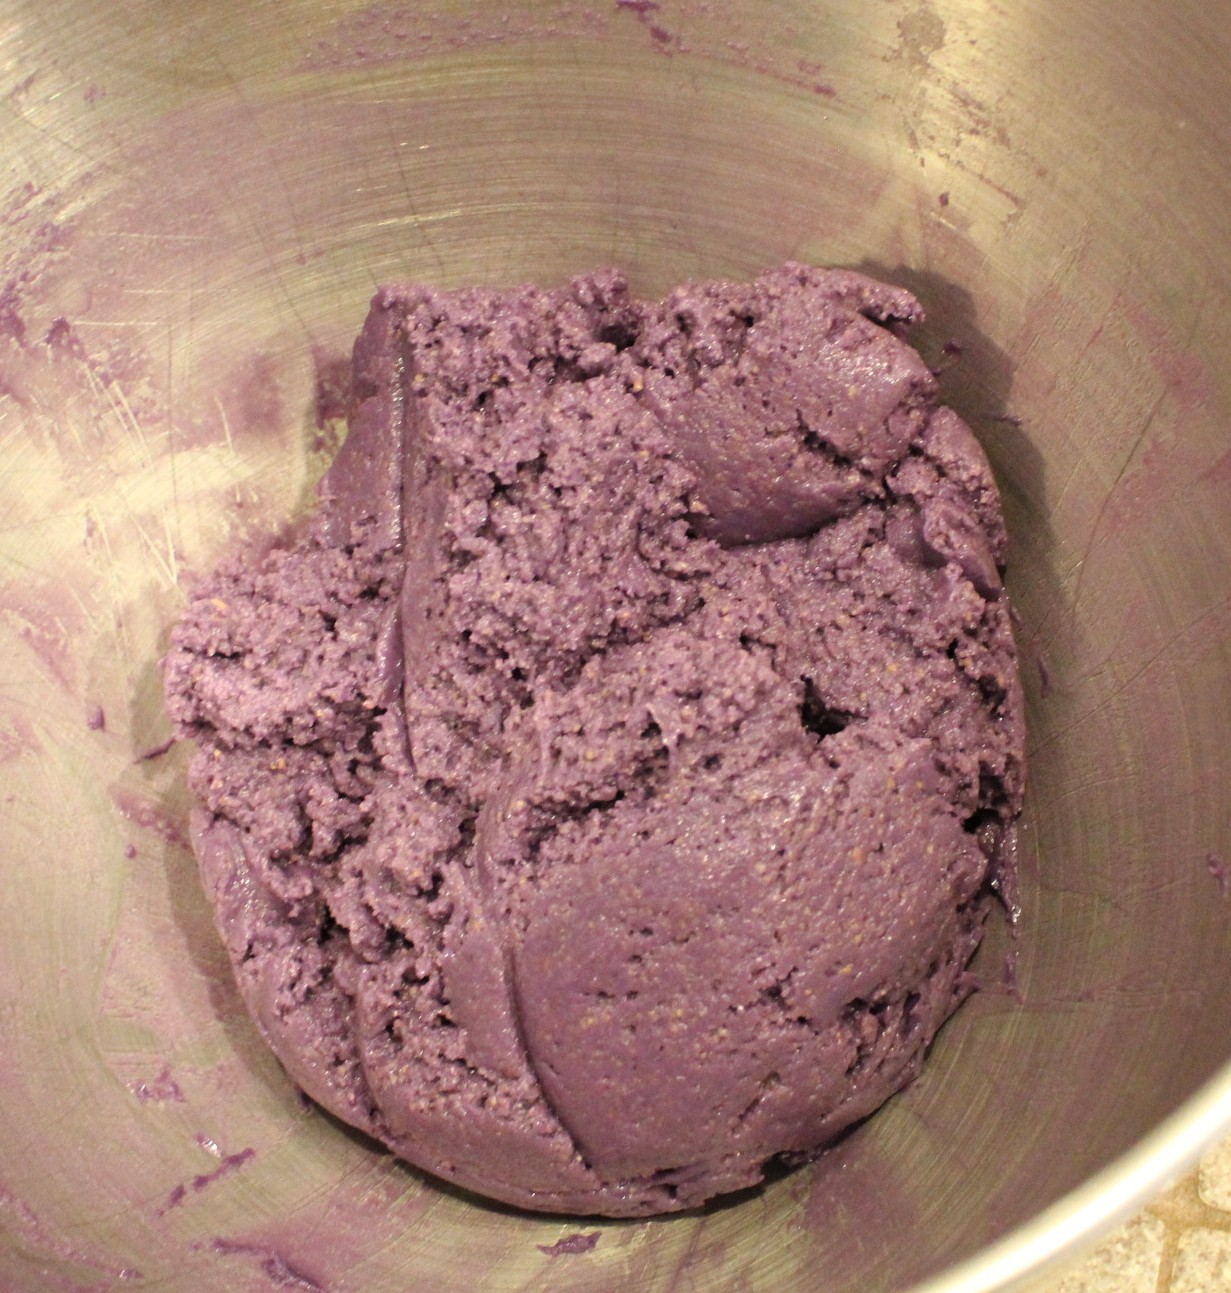 Turn your mixer on low until most of the crumbs are mixed into the cream cheese and then raise the speed to medium until you have a consistent mixture throughout. This whole process will take about a minute. Like I said, fast and simple.
Next, take your dough and roll it into balls. I use a 1″ cookie dough scoop to get a uniform amount each time, but it really doesn’t matter. When I first started making these I’d roll and roll to try to get them perfect, but this isn’t needed. When you coat them they will smooth out a lot, and like I said before, they are so delicious that no one will care if they’re perfectly smooth. If for some reason you need them to be round, you can buy a cake ball form and press the dough into it, but really it ought to be fine without all that extra work and dishes. 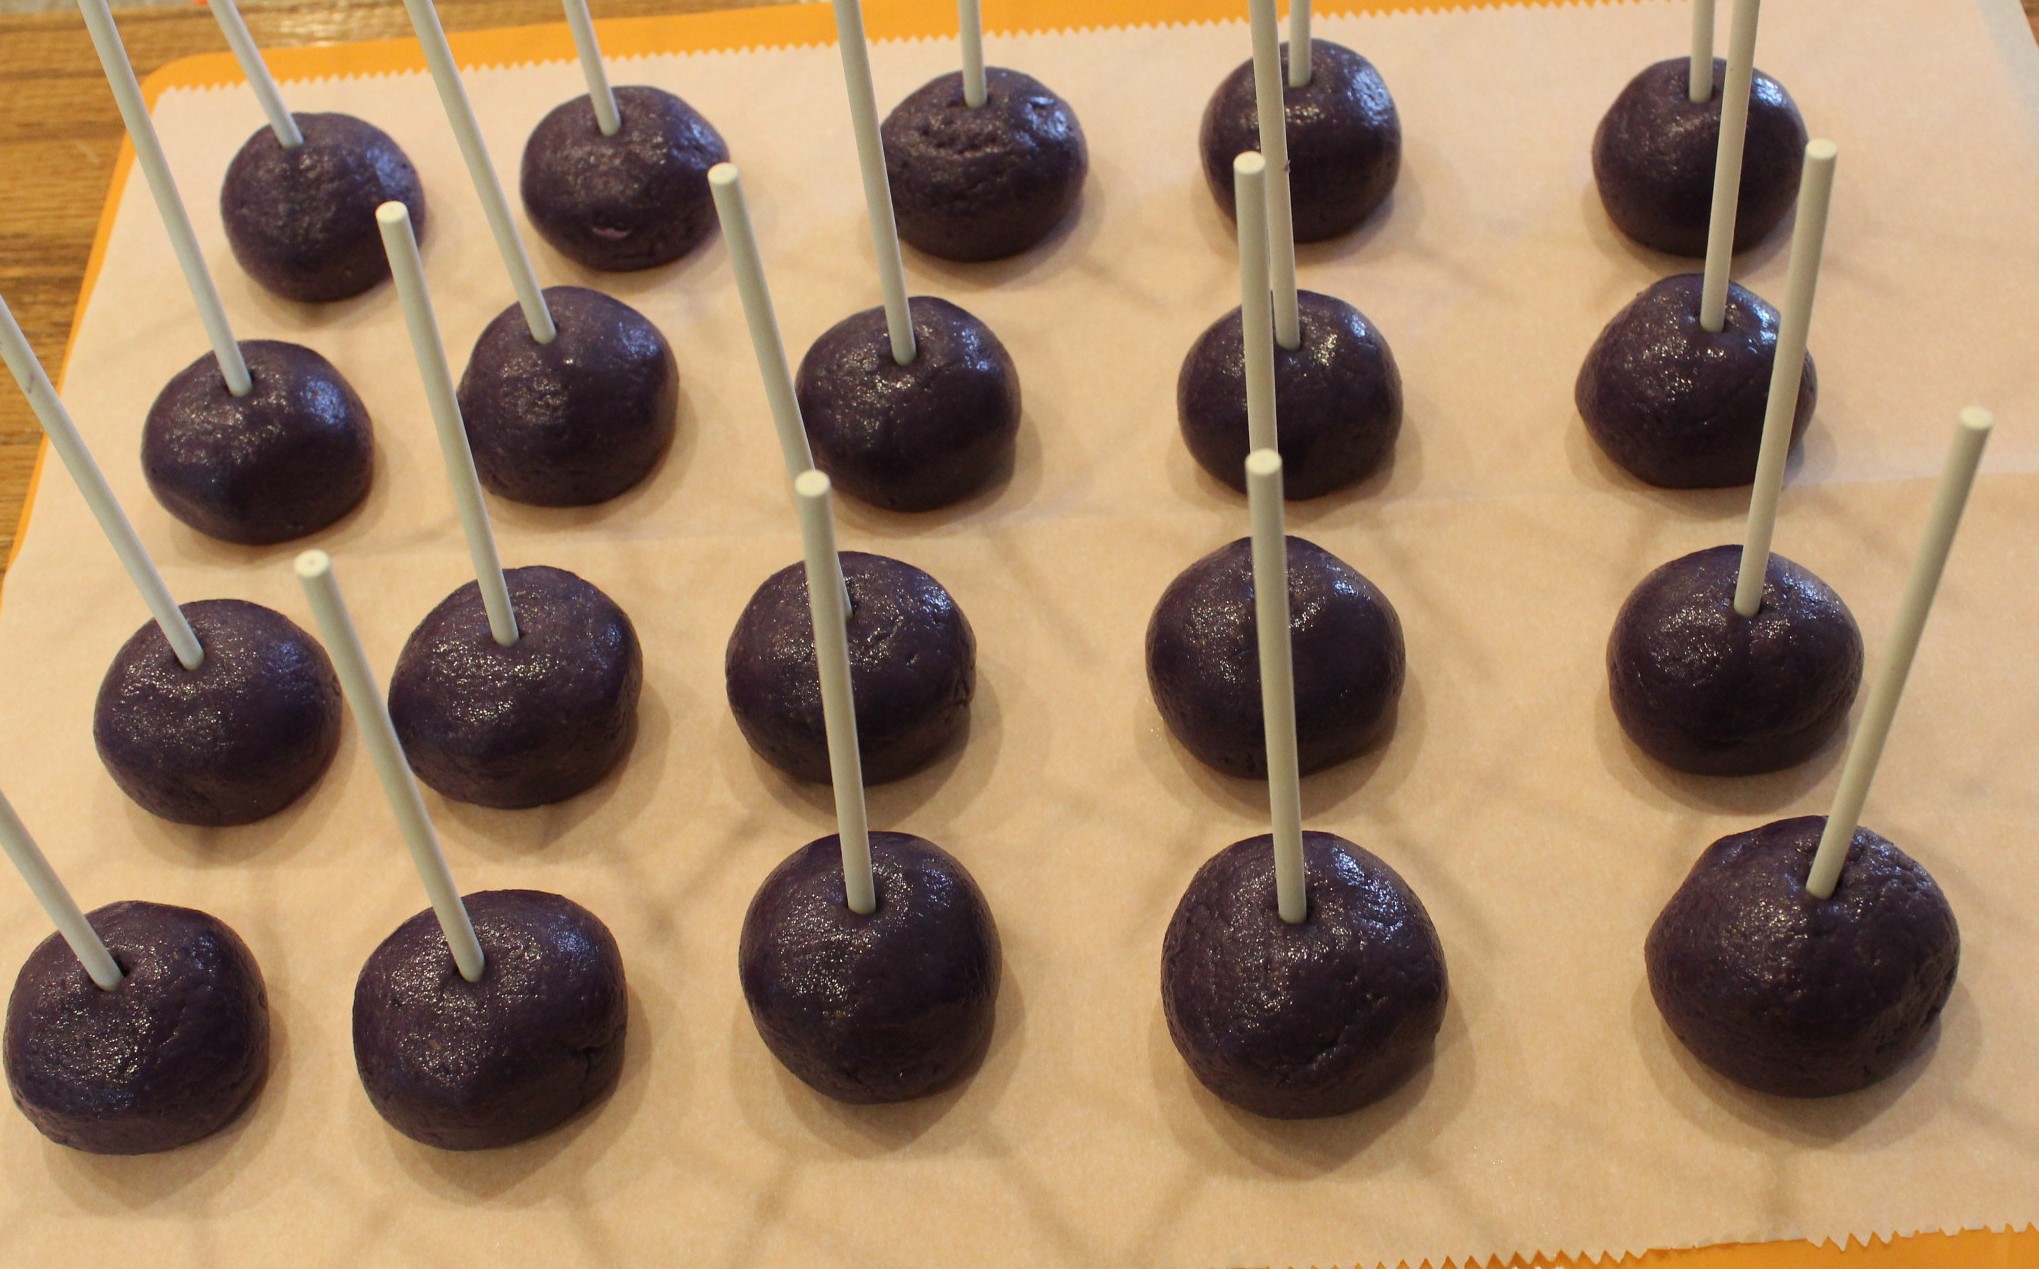 I like to put Popsicle Sticks into mine, because it makes them easier to dip and more fun to eat. You can buy them almost anywhere; I got mine at Wal-mart.
  The best way to do these is on a cookie sheet with a piece of parchment paper. Once they are all rolled, put them in your freezer so they can harden up. If you try to dip them while they are soft, they fall apart. Tip: Make sure you have a cookie sheet sized spot in your freezer before you get to this point. I can’t tell you how many times I’ve had to one handed juggle everything in my freezer because I forgot to make room before I tried to put them in there.
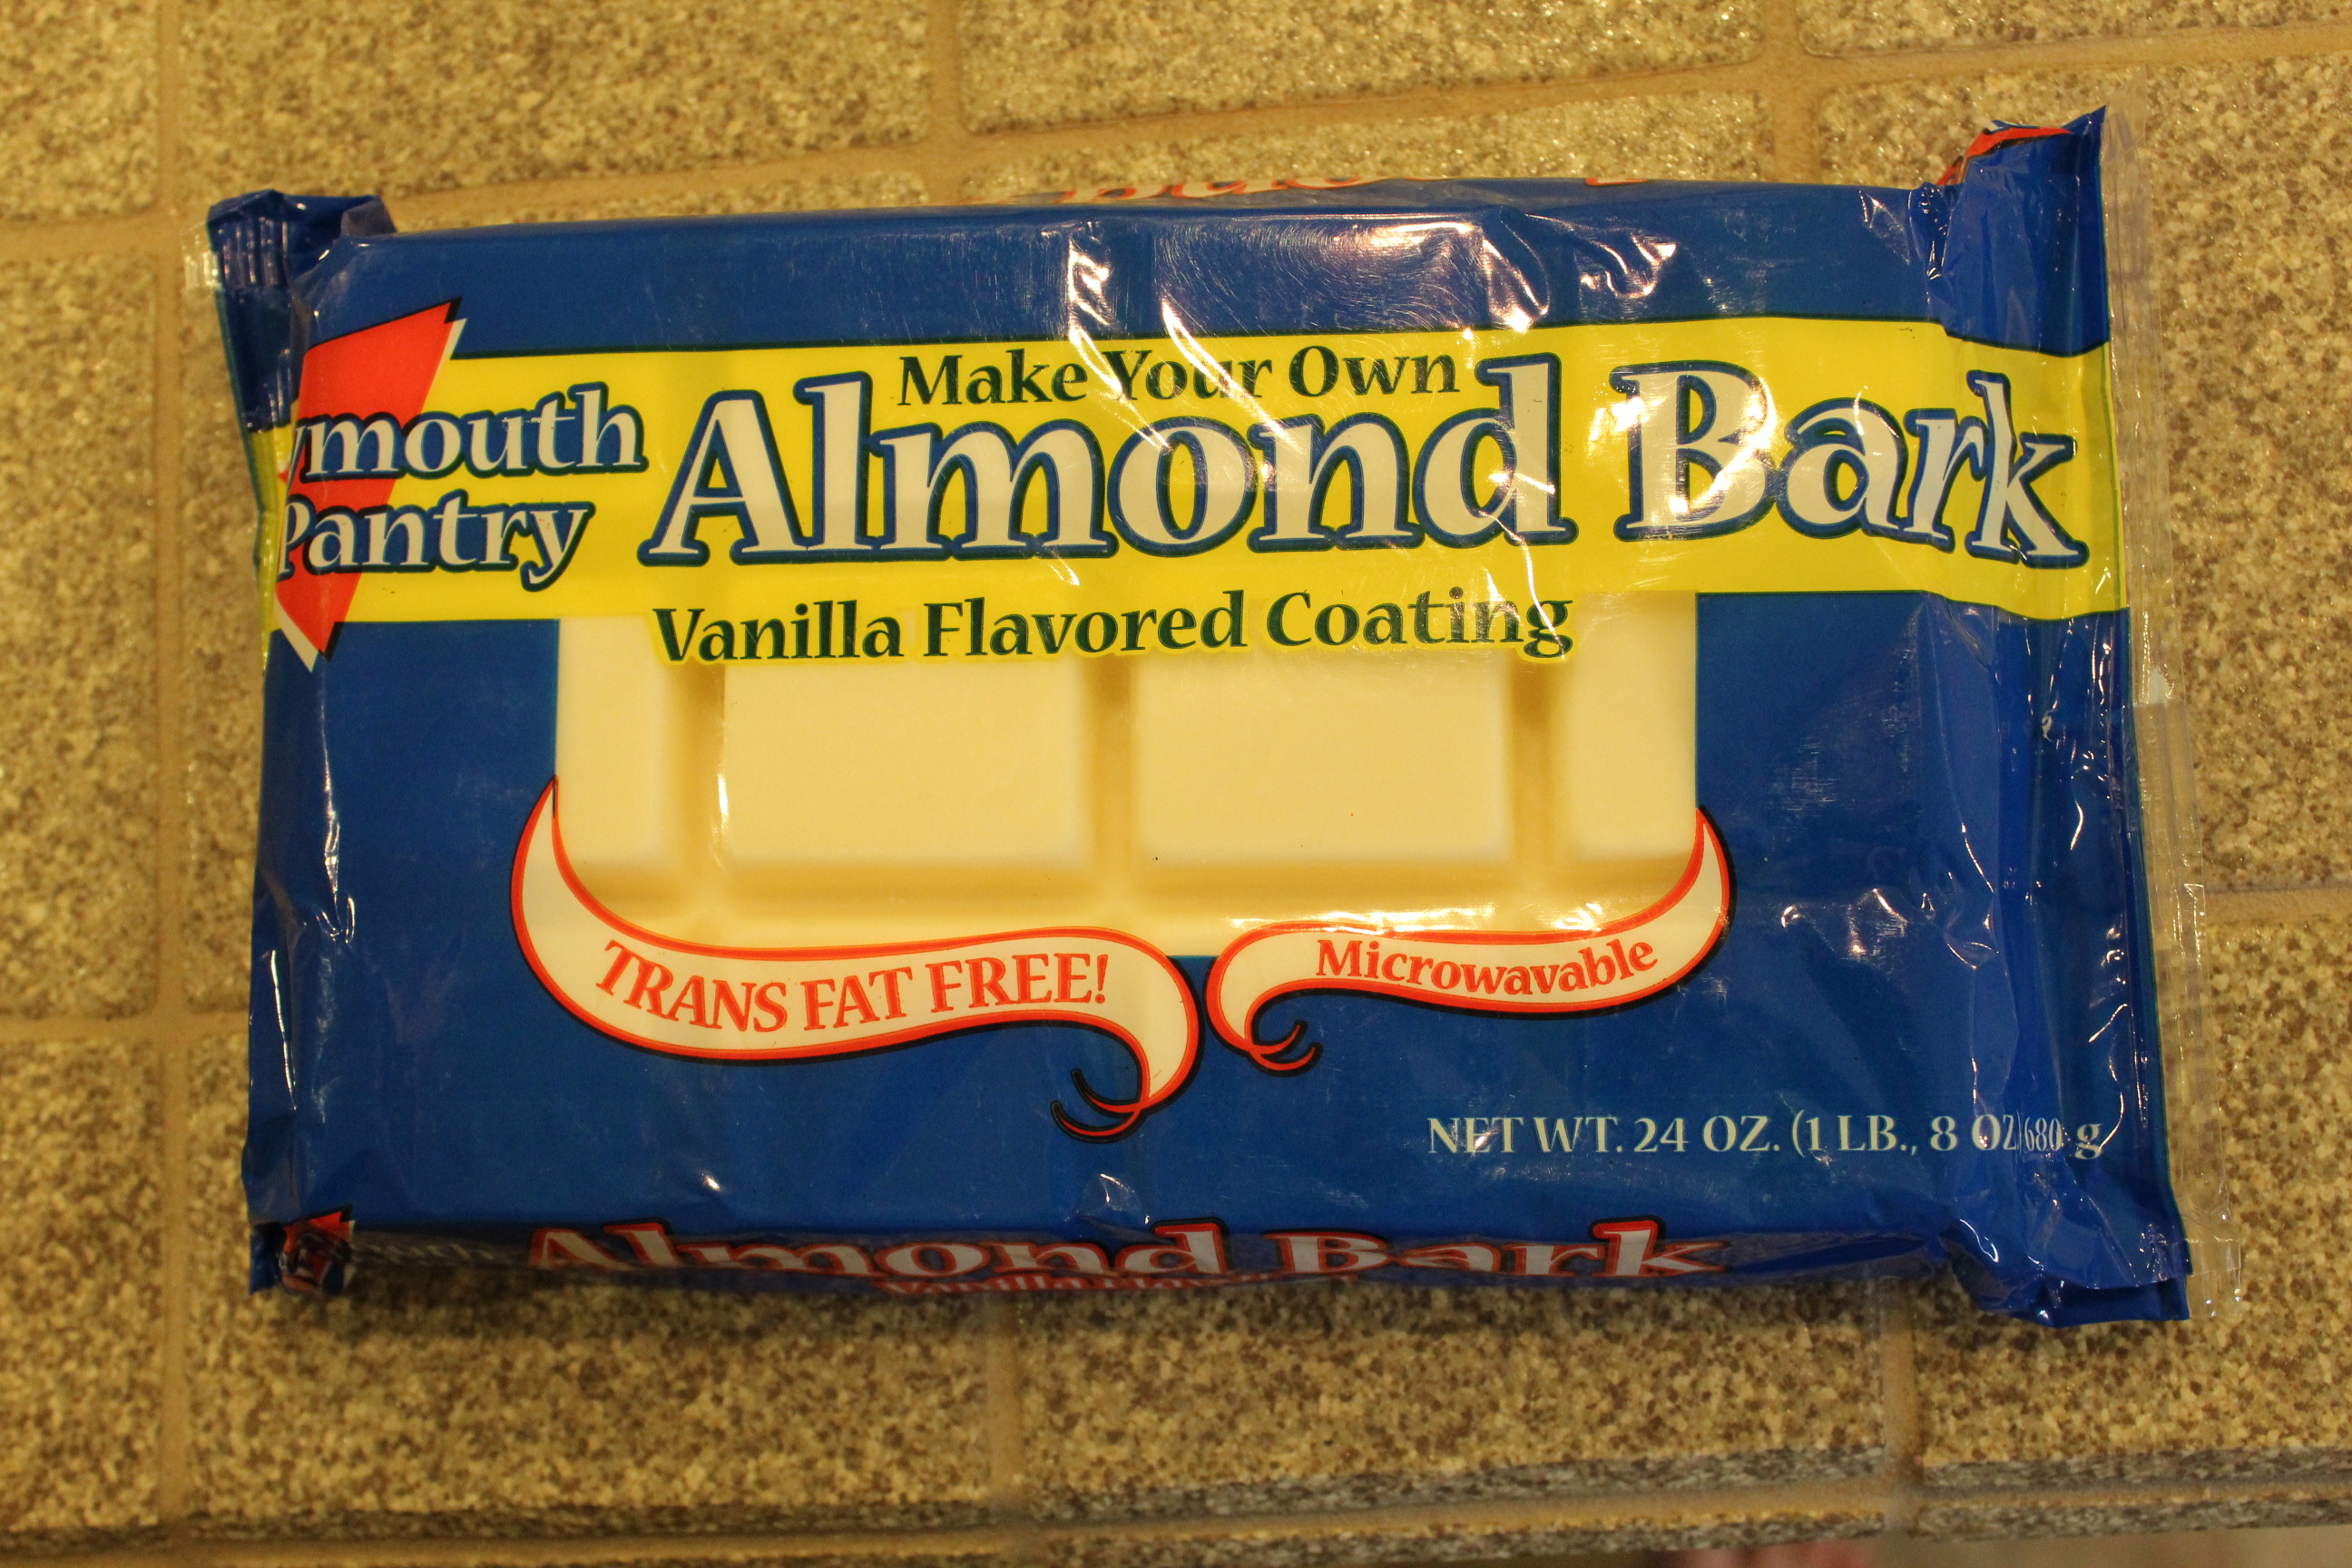
 After you give them some time to get really firm, melt your candy coating in the microwave. Follow the instructions on the package. If you’re using the vanilla, do not try to dye it colors; it will make it get clumpy. If you want a color, use candy melts in the color you want. I use about 3/4 of a package of almond bark, and I melt it in a four cup measuring cup. I have a mini crock pot I put it in to keep it warm while I’m dipping. If you don’t have one, just leave it in the measuring cup and pop it back in the microwave if it gets thick. The key with melting is to make sure to stir really well in between microwaving.
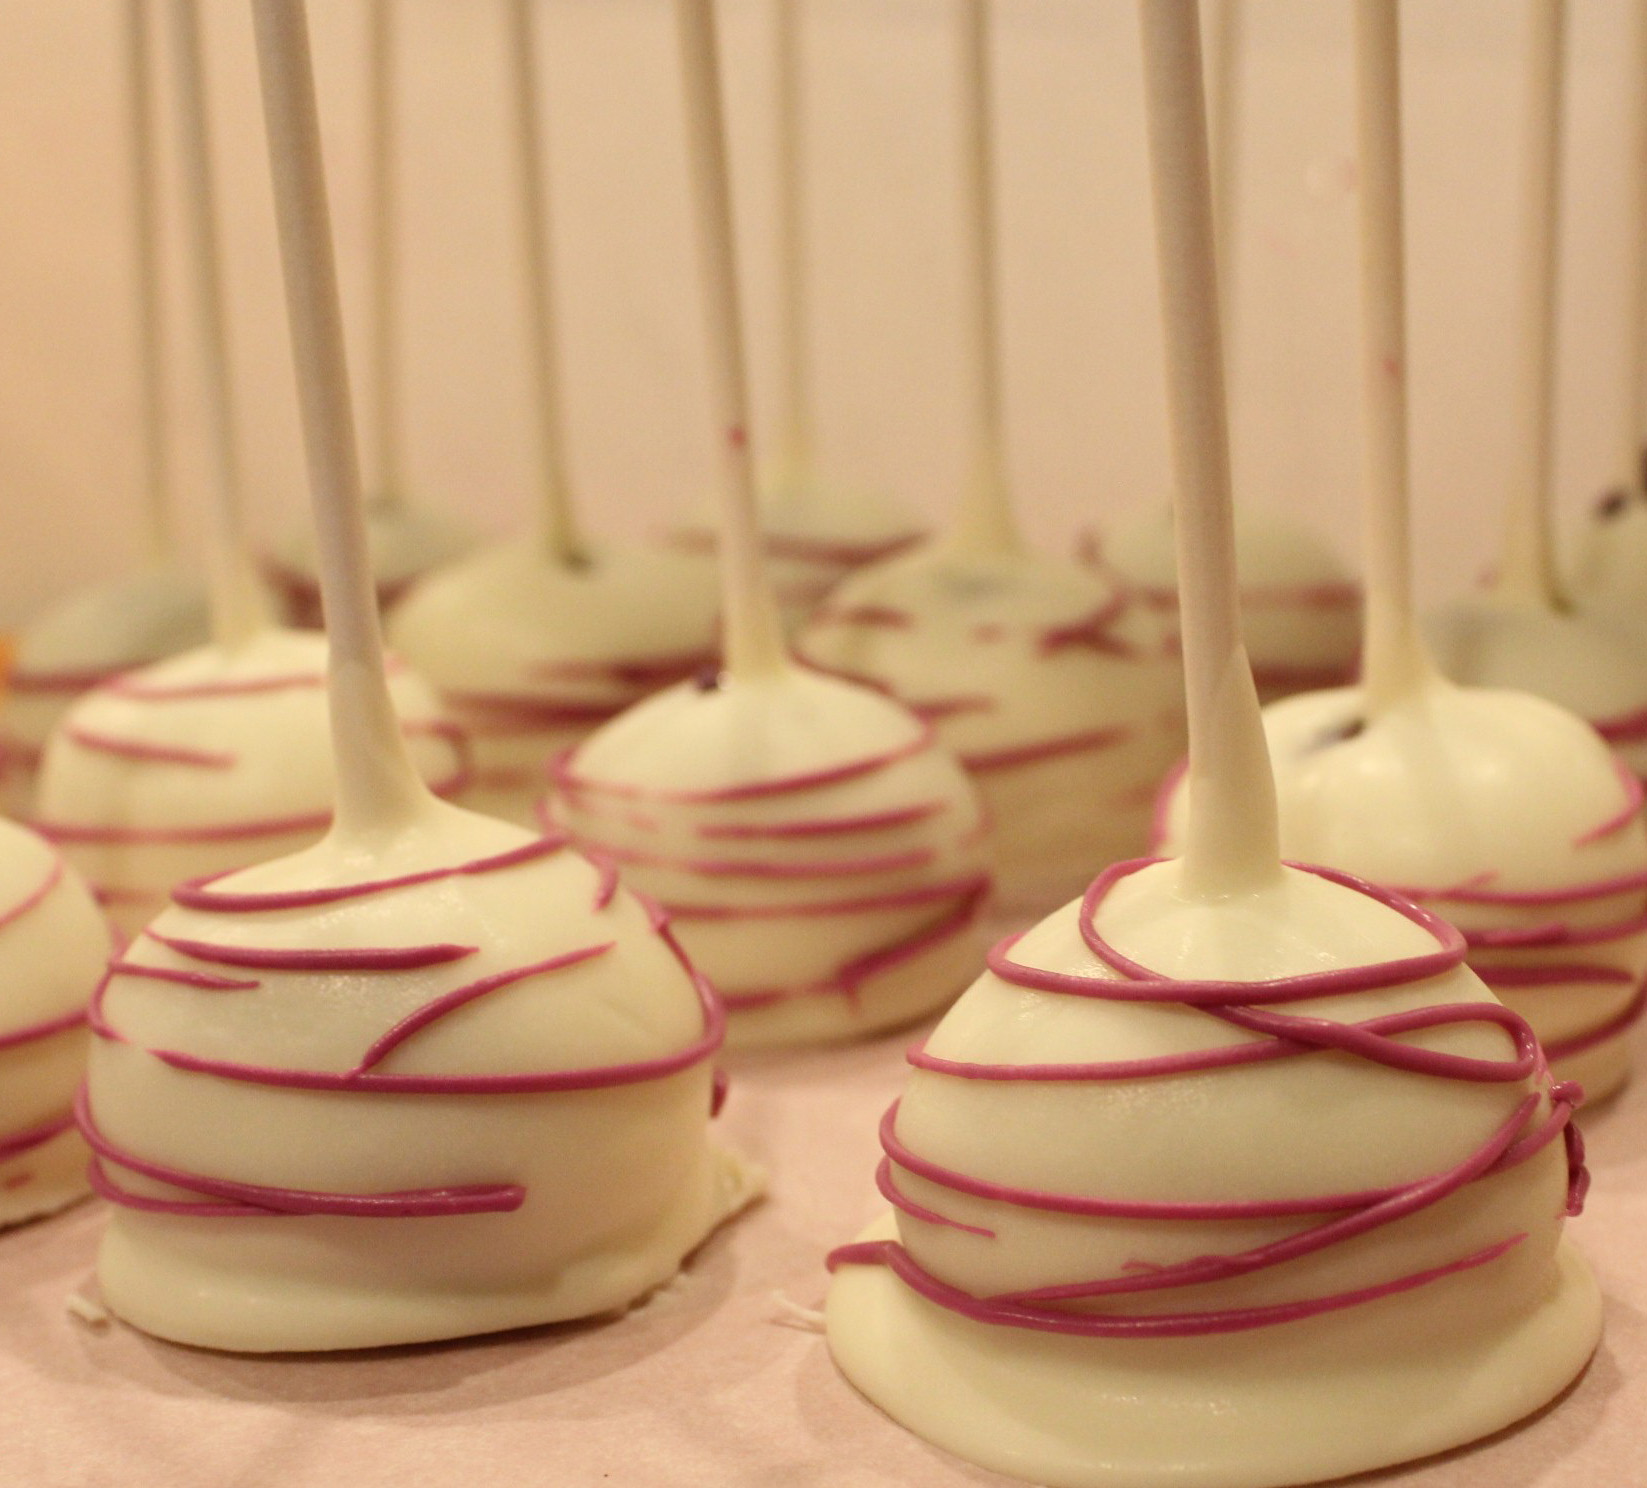
Now dip! The easiest way I’ve found is to dip one side and then the other and then plop it on the parchment paper as fast as possible. Sometimes I will swirl the bottom on the back of a spoon to minimize the puddle that forms around it.  This coating dries really fast so if you want to put sprinkles or add candy, you need to do it quickly after you dip each one. Make sure it is dry before you try to move them or you will pull the bottoms off. If your coating is thin, you can dip again after they dry, but beware, your coating will be incredibly thick.
My favorite way to decorate is by melting candy melts and drizzling them on top. It takes very little time, looks great, and is easy. It only takes about 10-15 of those little candy melt wafers to cover all of your Oreo balls. I just clip a very tiny hole in the corner of a snack size Ziploc bag and use that to drizzle lines. I hold the bag still with steady pressure and just rotate the Oreo ball back and forth underneath it. I think the more it swirls and overlaps, the better it looks. 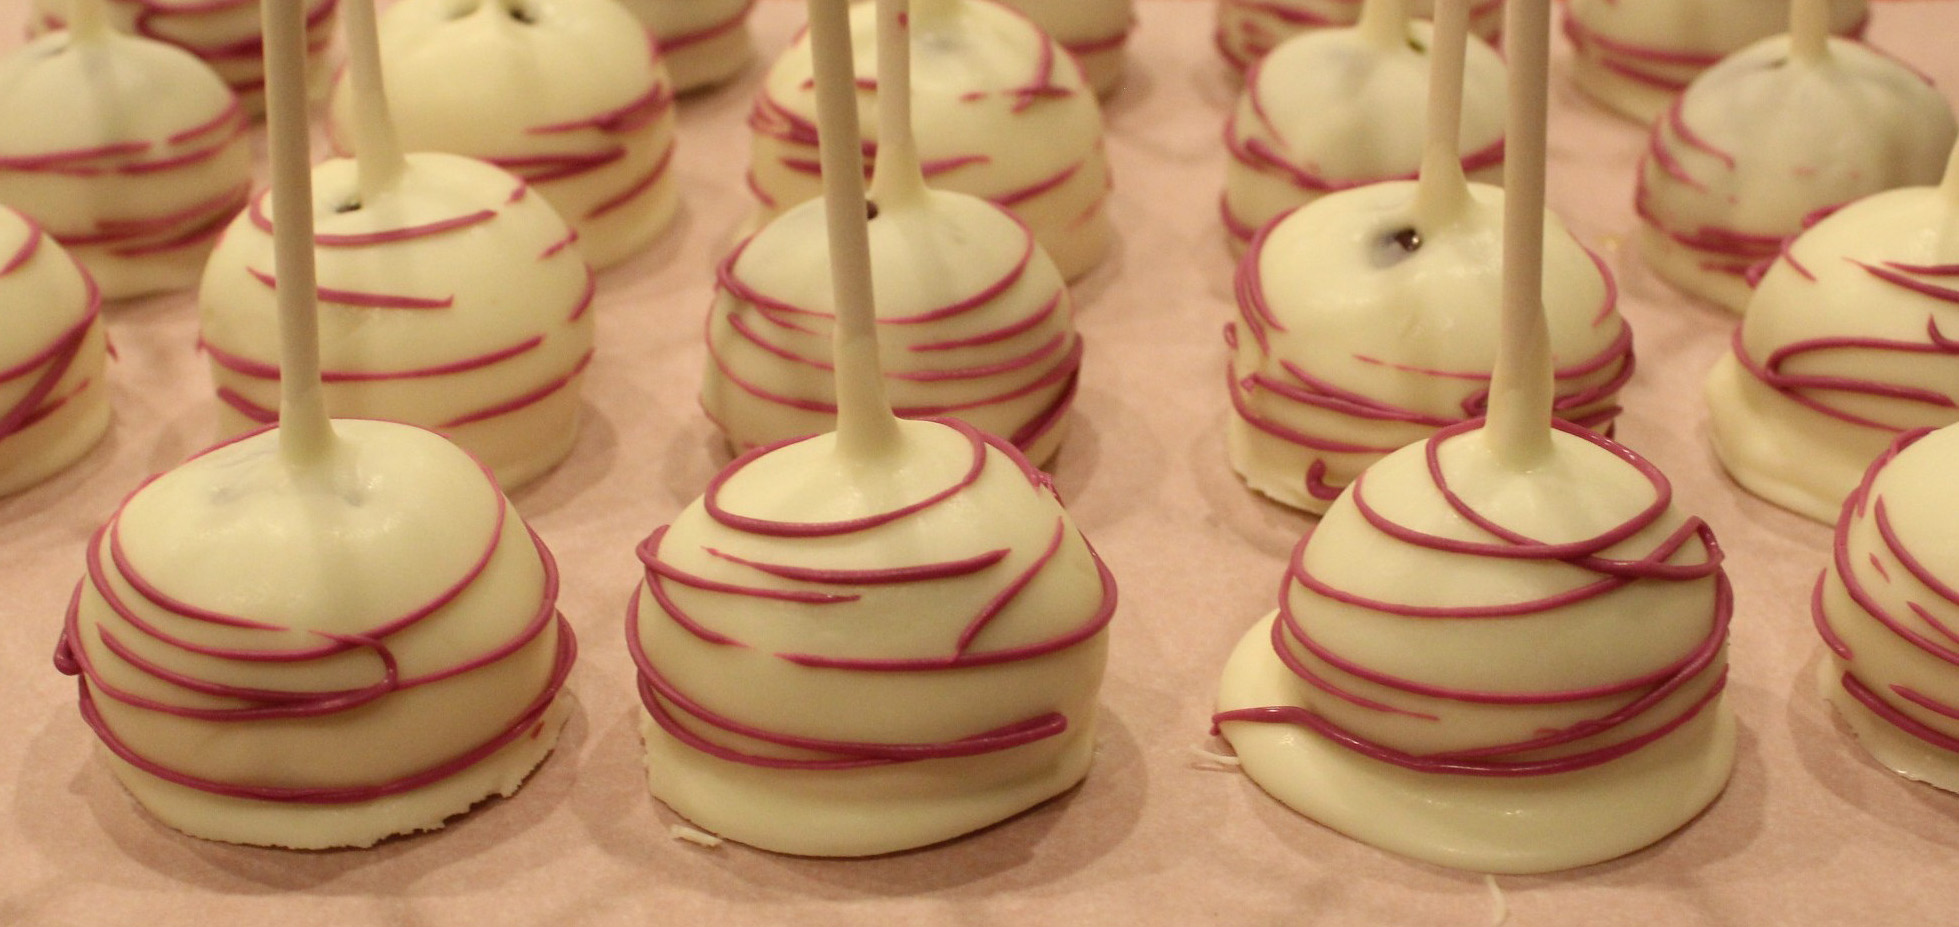 Once you’re done decorating them, they need to be refrigerated. If you’re making them for an event you need to hide them in the back of the fridge because, in my experience, they disappear without a trace very quickly. If you have a fridge with a padlock now is the time to put it to use! Feel free to experiment with these, you can do so much with them, but the important part is, they are so delicious people will be falling over themselves to get to them.
Click on recipe box to enlarge


They look so cute and delicious! ❤
LikeLike
Thanks! Give them a try and let me know how they turn out!!
LikeLiked by 1 person
Perfect!
LikeLiked by 1 person