 I’m getting a nephew!!! I seriously couldn’t be any happier that I’m about to be an Aunt. Boy oh boy am I going to teach that kid some things. Obviously, I needed to get the expectant couple something to celebrate! Diaper Cakes are my new favorite baby shower gift. They look adorable, and it’s a great way to give much needed items without them being boring. Plus it’s great decoration at the shower and will look cute in baby’s new nursery until it’s taken apart.
I’ve looked at diaper cakes in the past and decided not to make them because it seemed so time consuming and difficult. All the rolling, rubber banding, and pinning didn’t seem like an ideal way to spend an afternoon. So I was pretty excited when I discovered the no roll method. Not only is it easier, but it’s faster and incorporates way more diapers than roll cakes. These can be as simple or as fancy as you want, and can be made to match any theme or color scheme.
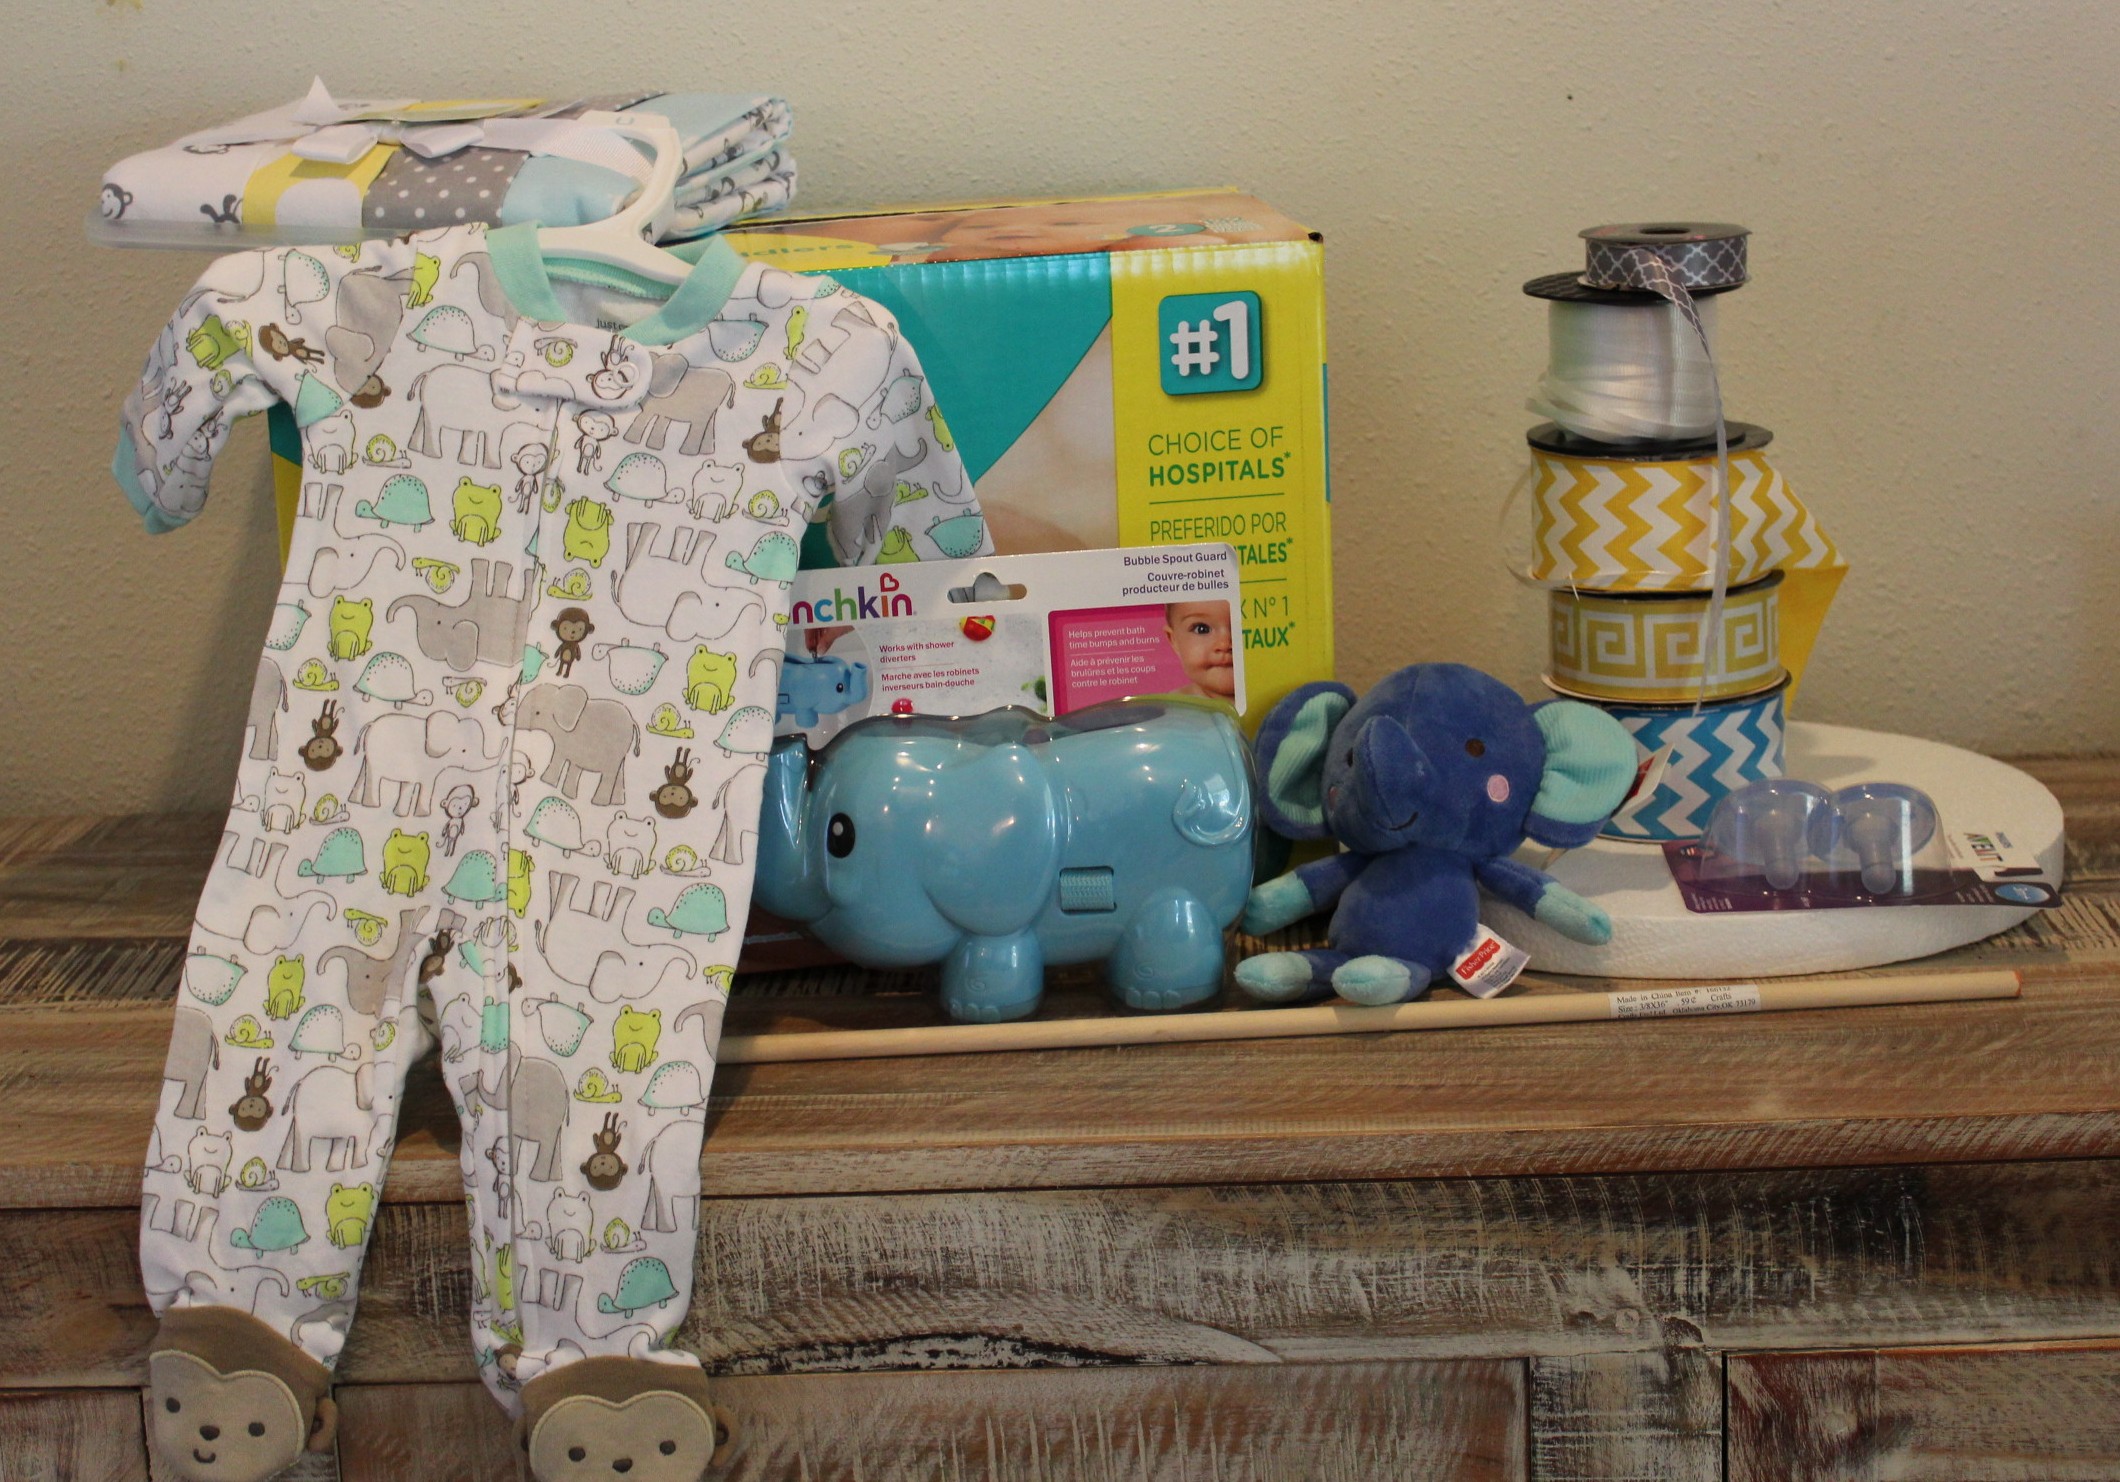
I usually look around for a few toys or products that match the theme or colors. This cake was elephant themed so I found some little elephant toys and a cute onesie. If you don’t have a theme, just get some bath time items like baby shampoo and lotion. I always get a few pacifiers because they’re easy to hang off the cake to fill blank spots.
The color scheme for the shower was yellow and gray so I bought a few spools of cute yellow and gray ribbon. I also got some blue since this cake was for a little boy shower. Hobby Lobby has a great selection of fun ribbon in every color. They also have burlap ribbon in every color, which doesn’t have anything to do with this, but I thought everyone should know. You’ll also need one spool of small plain ribbon and a hot glue gun.
If you want to wrap your layers in receiving blankets, you’ll need to get a pack of four. I just happened to find a pack that was yellow, gray, blue, AND elephant themed. Go me. More accurately, go Target.
For diapers, I get a case of size 2 pampers swaddlers. This size will make ideal layers for your cake. They won’t fit baby right away, but they’ll grow into them and I’m told babies outgrow the newborn and size 1 diapers very quickly.
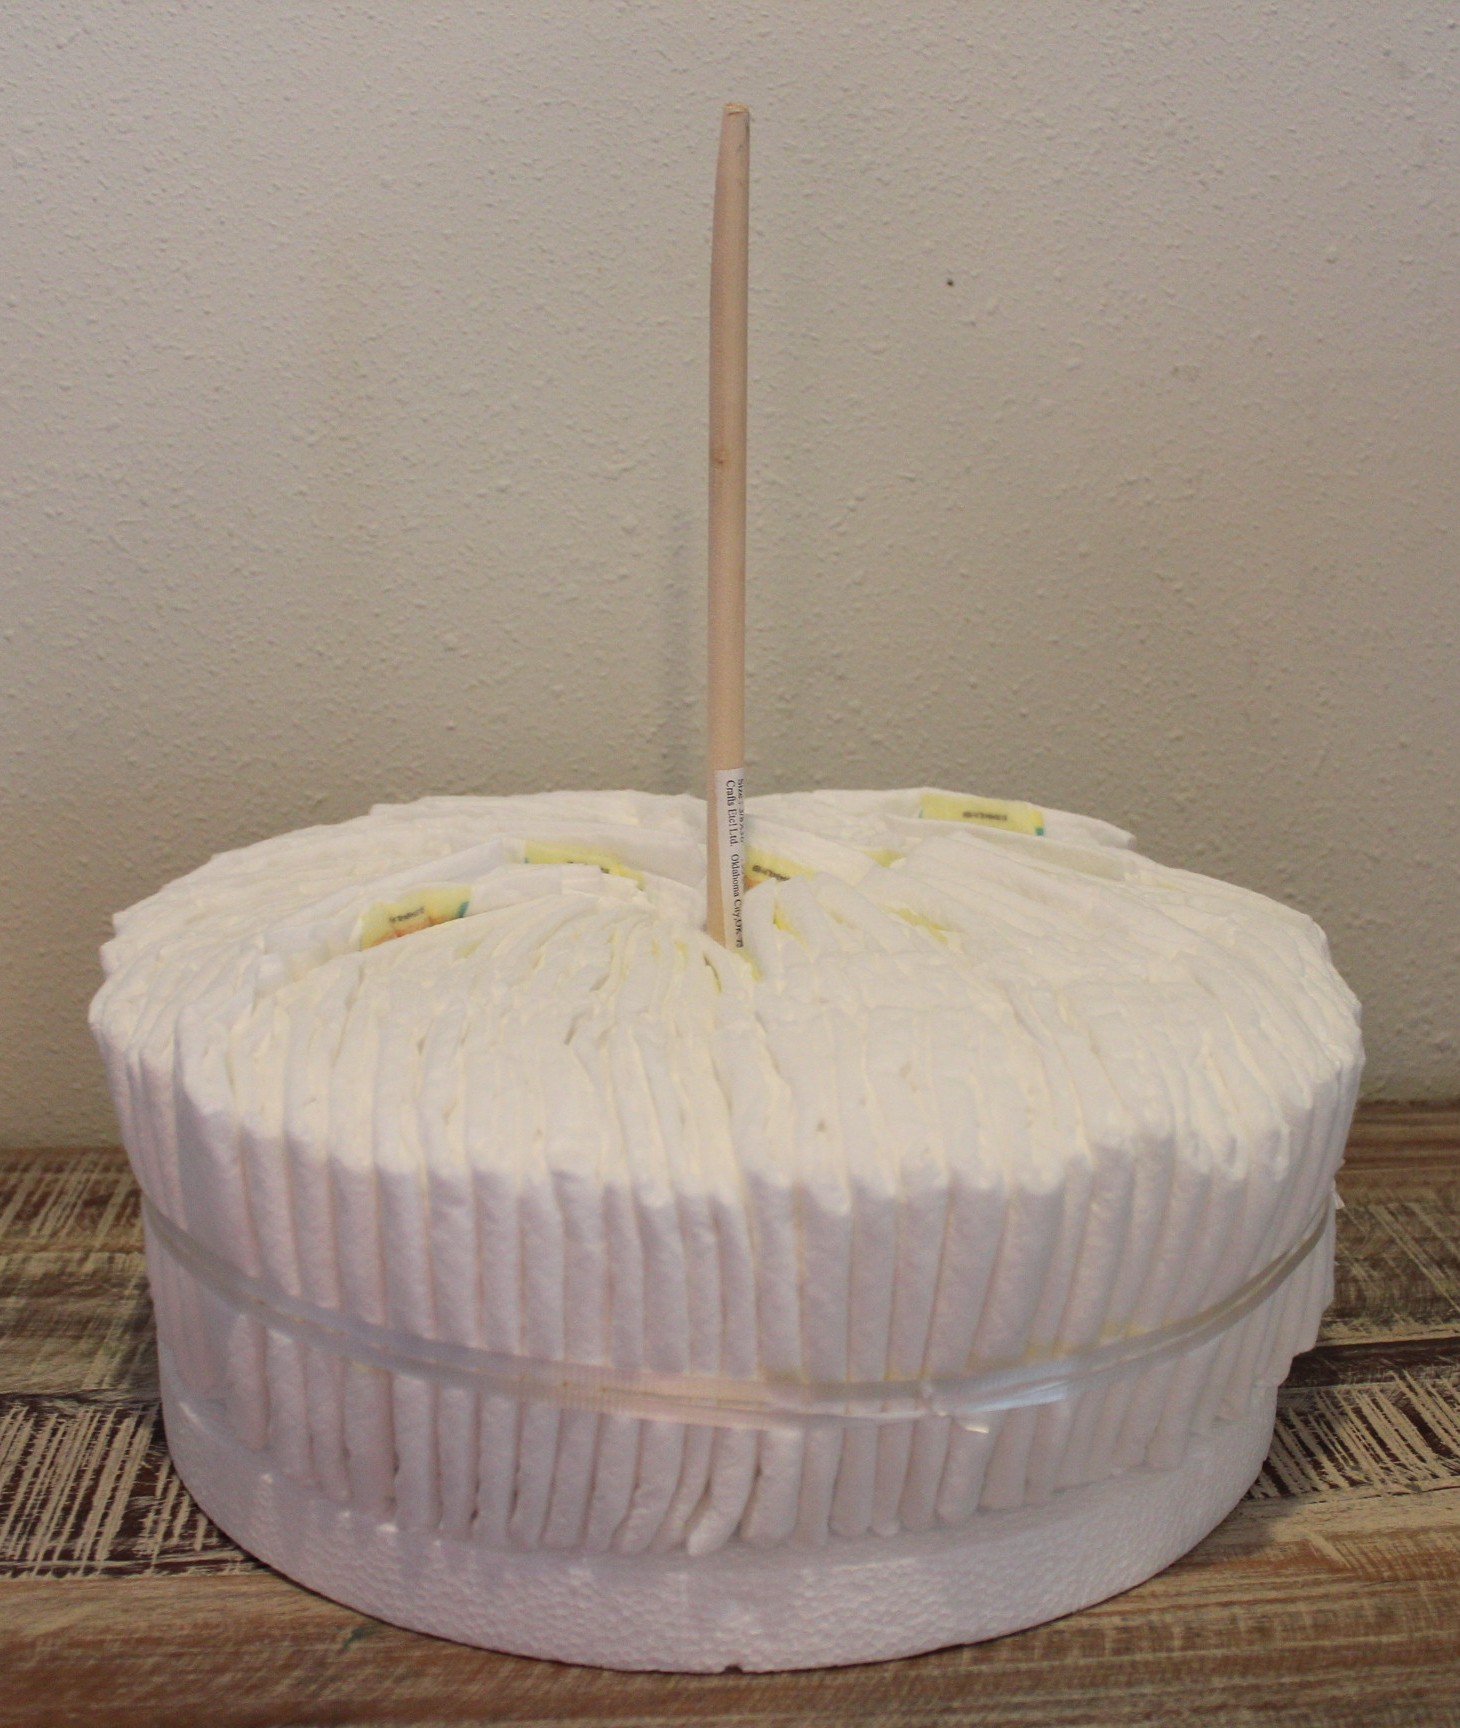
 I get a 12″ Styrofoam disk and a small dowel rod at Hobby Lobby to make a base. Measure your dowel rod by laying three diapers along it, and then cut about and inch and a half shorter than that so it doesn’t stick out the top. Use hot glue to stick the disk and the dowel together. You don’t have to worry if it’s dead center, because you’ll be able to slide your layers around where you need them.

Next, get your “cake pans” together. If you have actual cake pans, now would be an absolutely brilliant time to use them. If you’re like me, and don’t necessarily have your life that together, then feel free to use various pots, pans, and other round things (like Christmas tins) that are the size you want your layers. It’s easier if your pans are shorter than the diapers, but if not, it will still work.
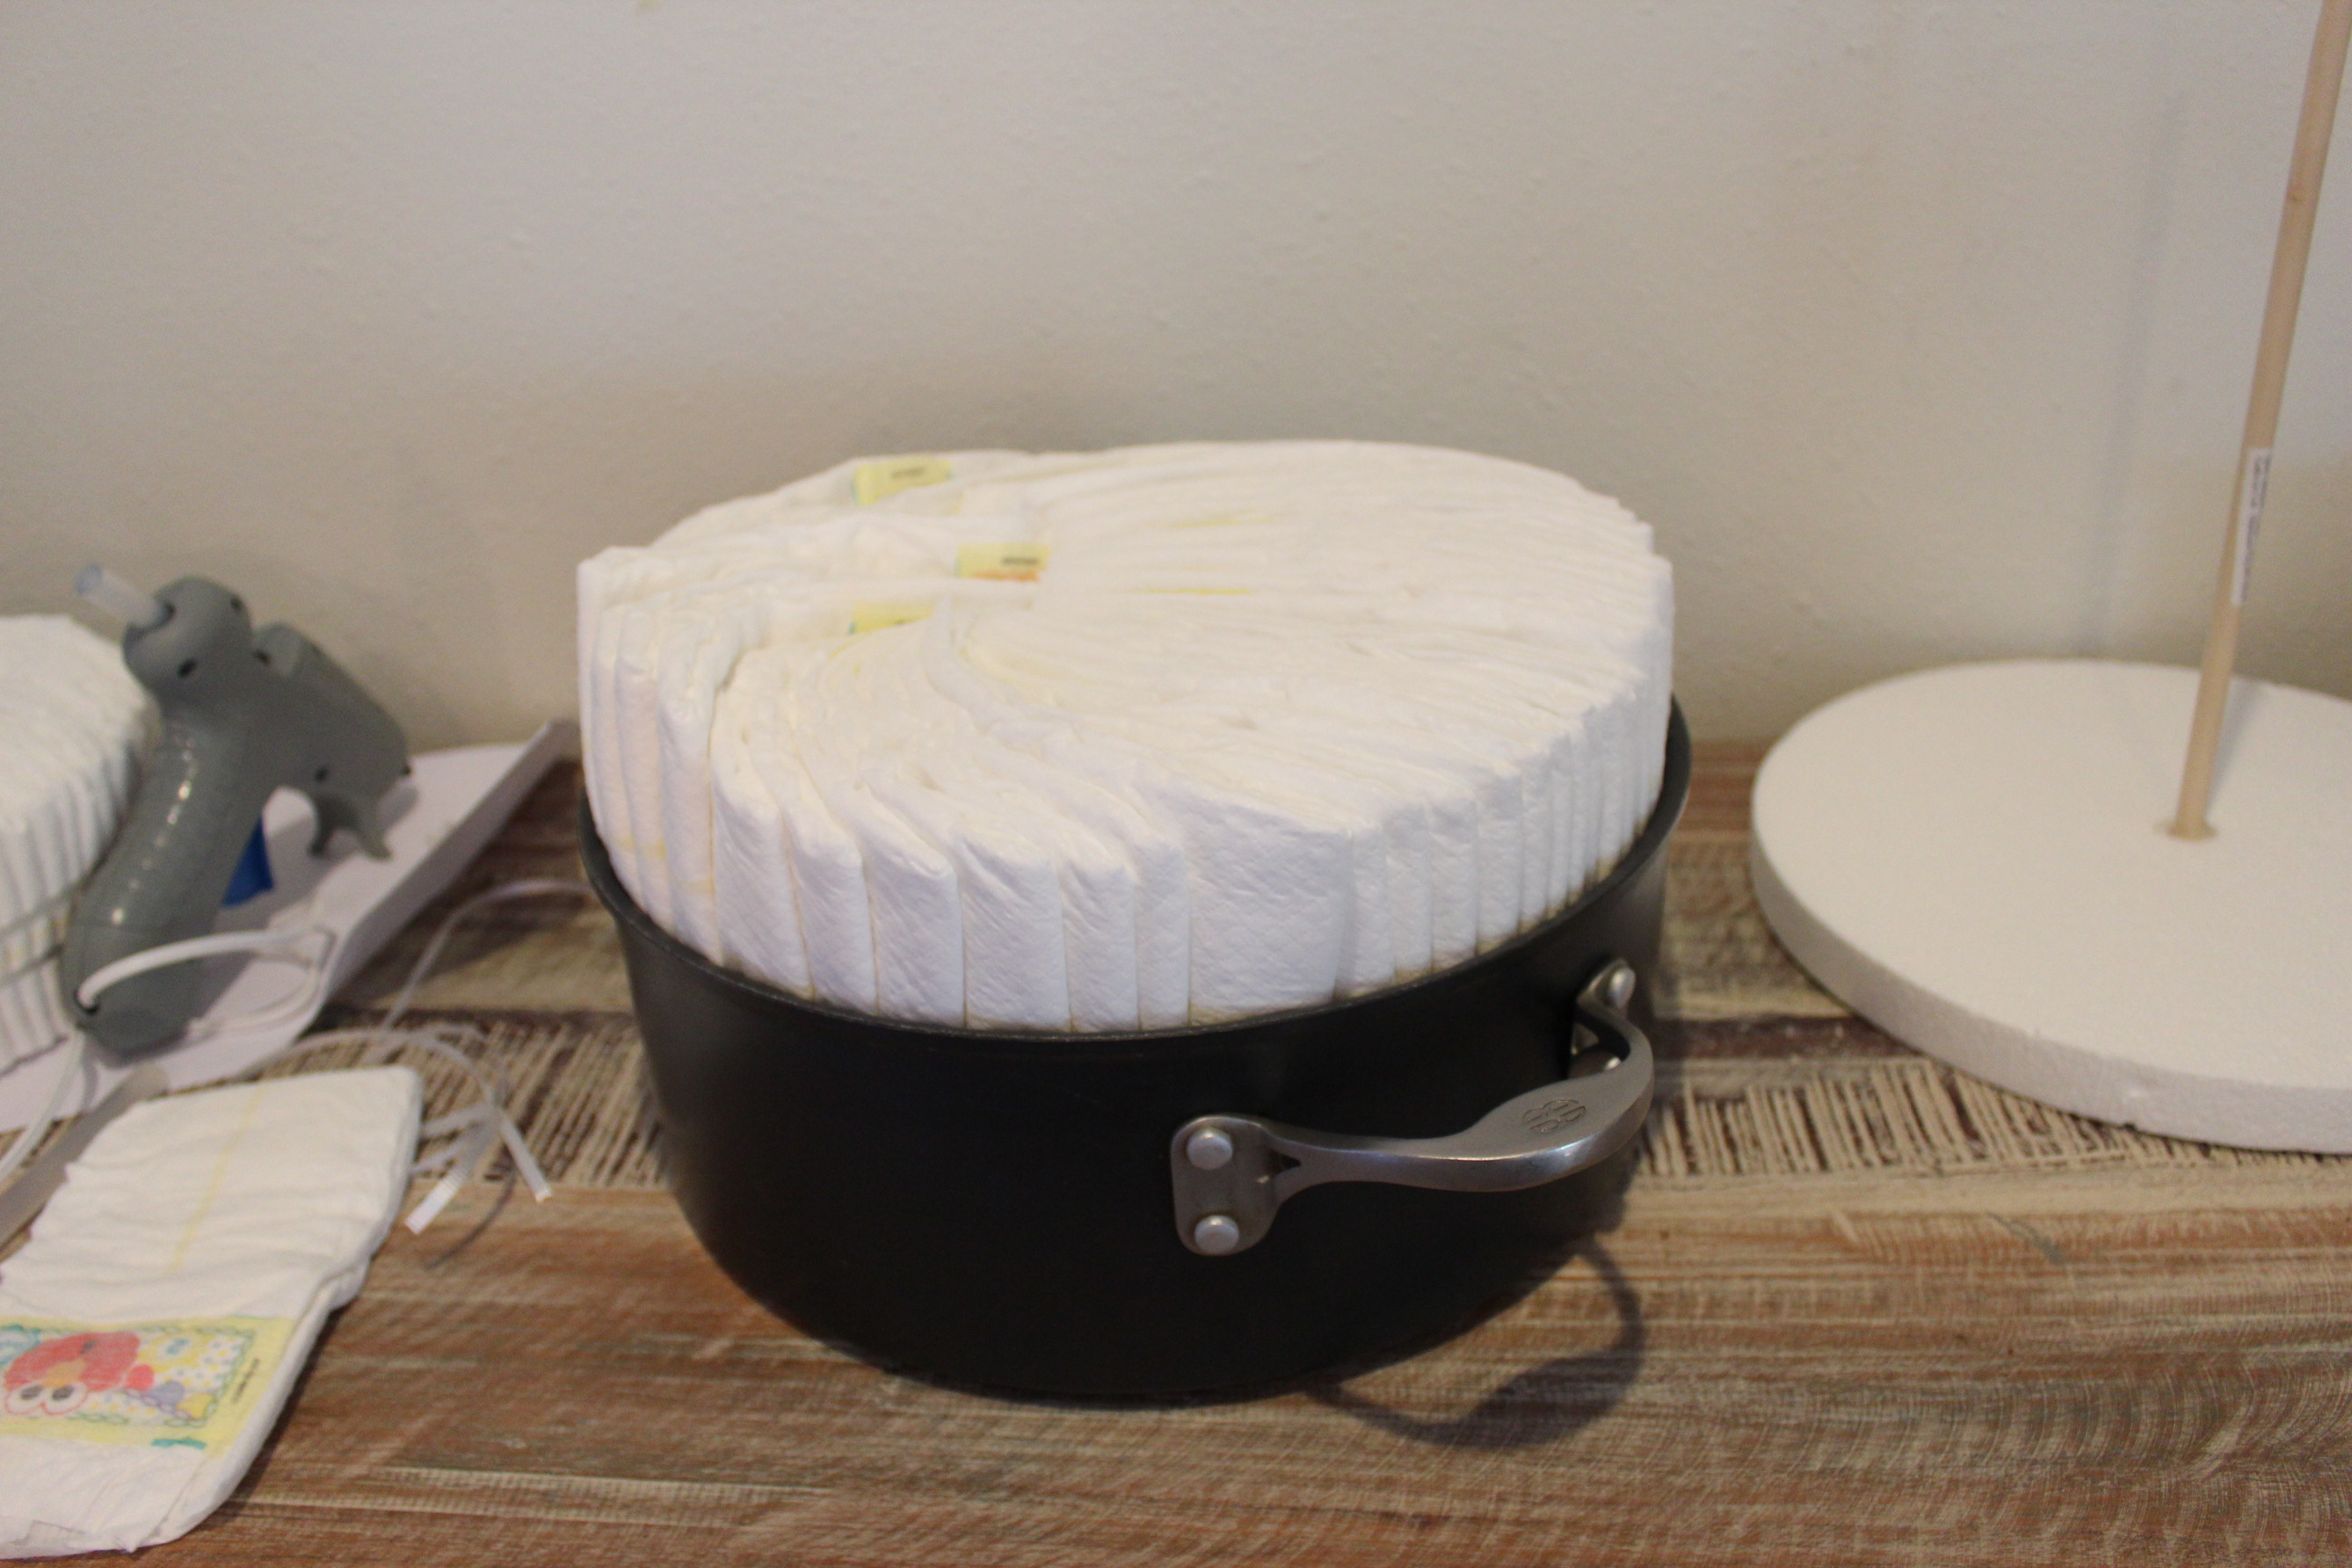
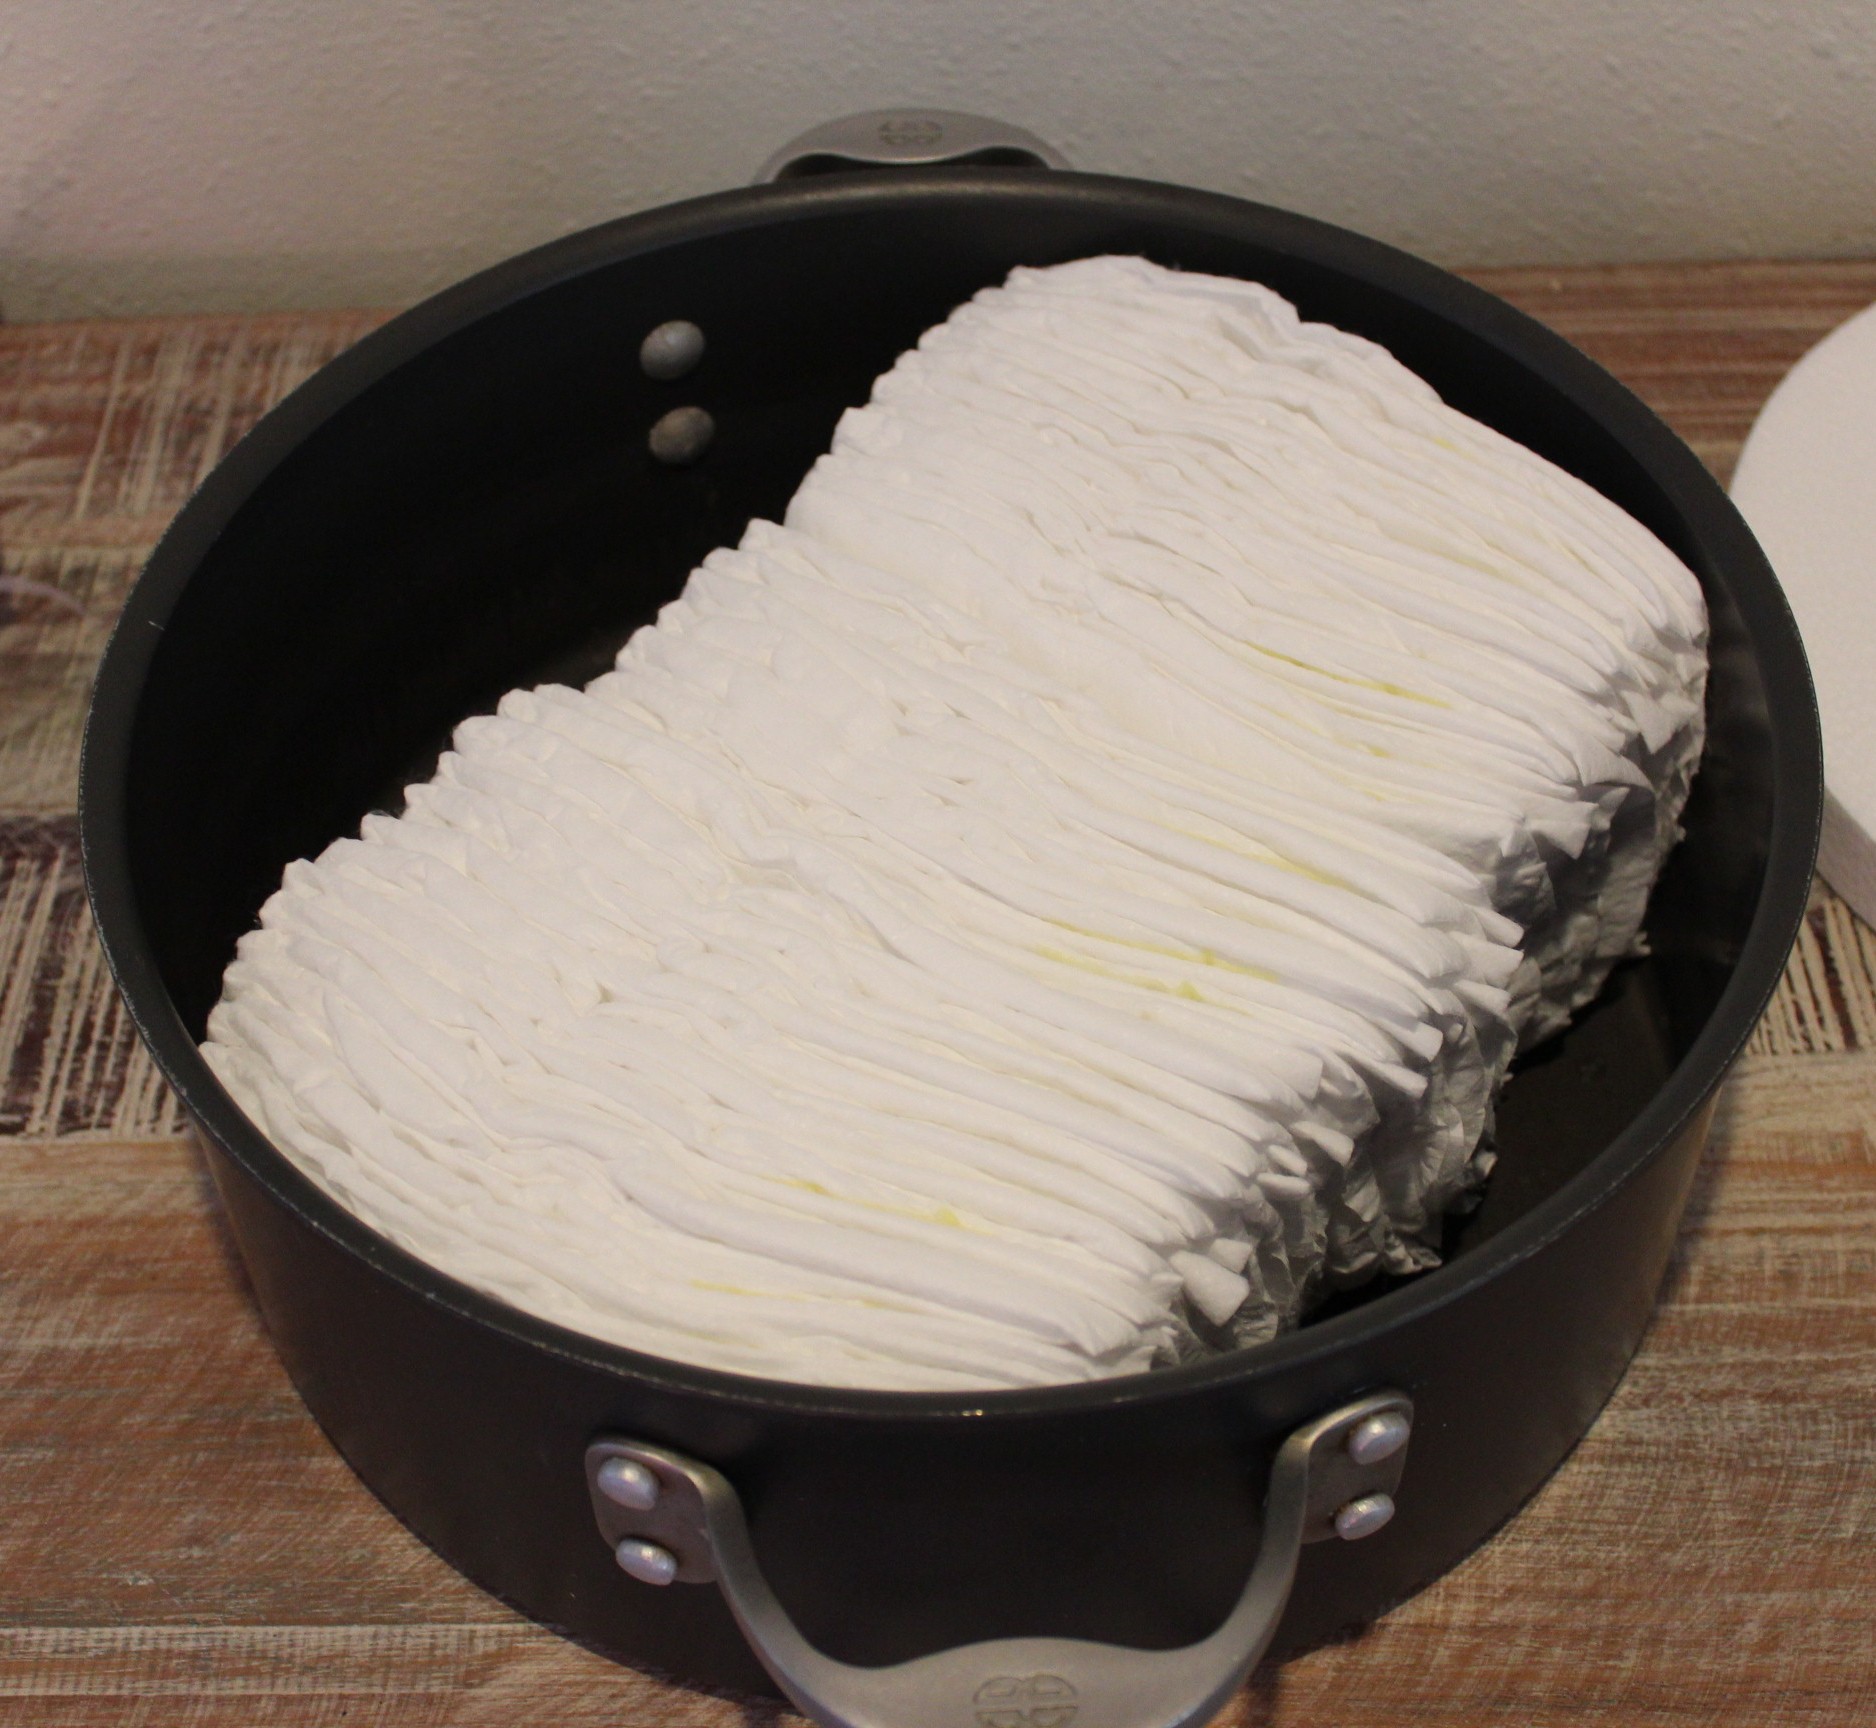 This step is pretty complicated: put some diapers in the pan. The end. No rolling, folding, pinning, origami-ing or anything. Just put diapers from one side to the other side. Make sure you put the side with the colored cartoons down so your layers will just be white.
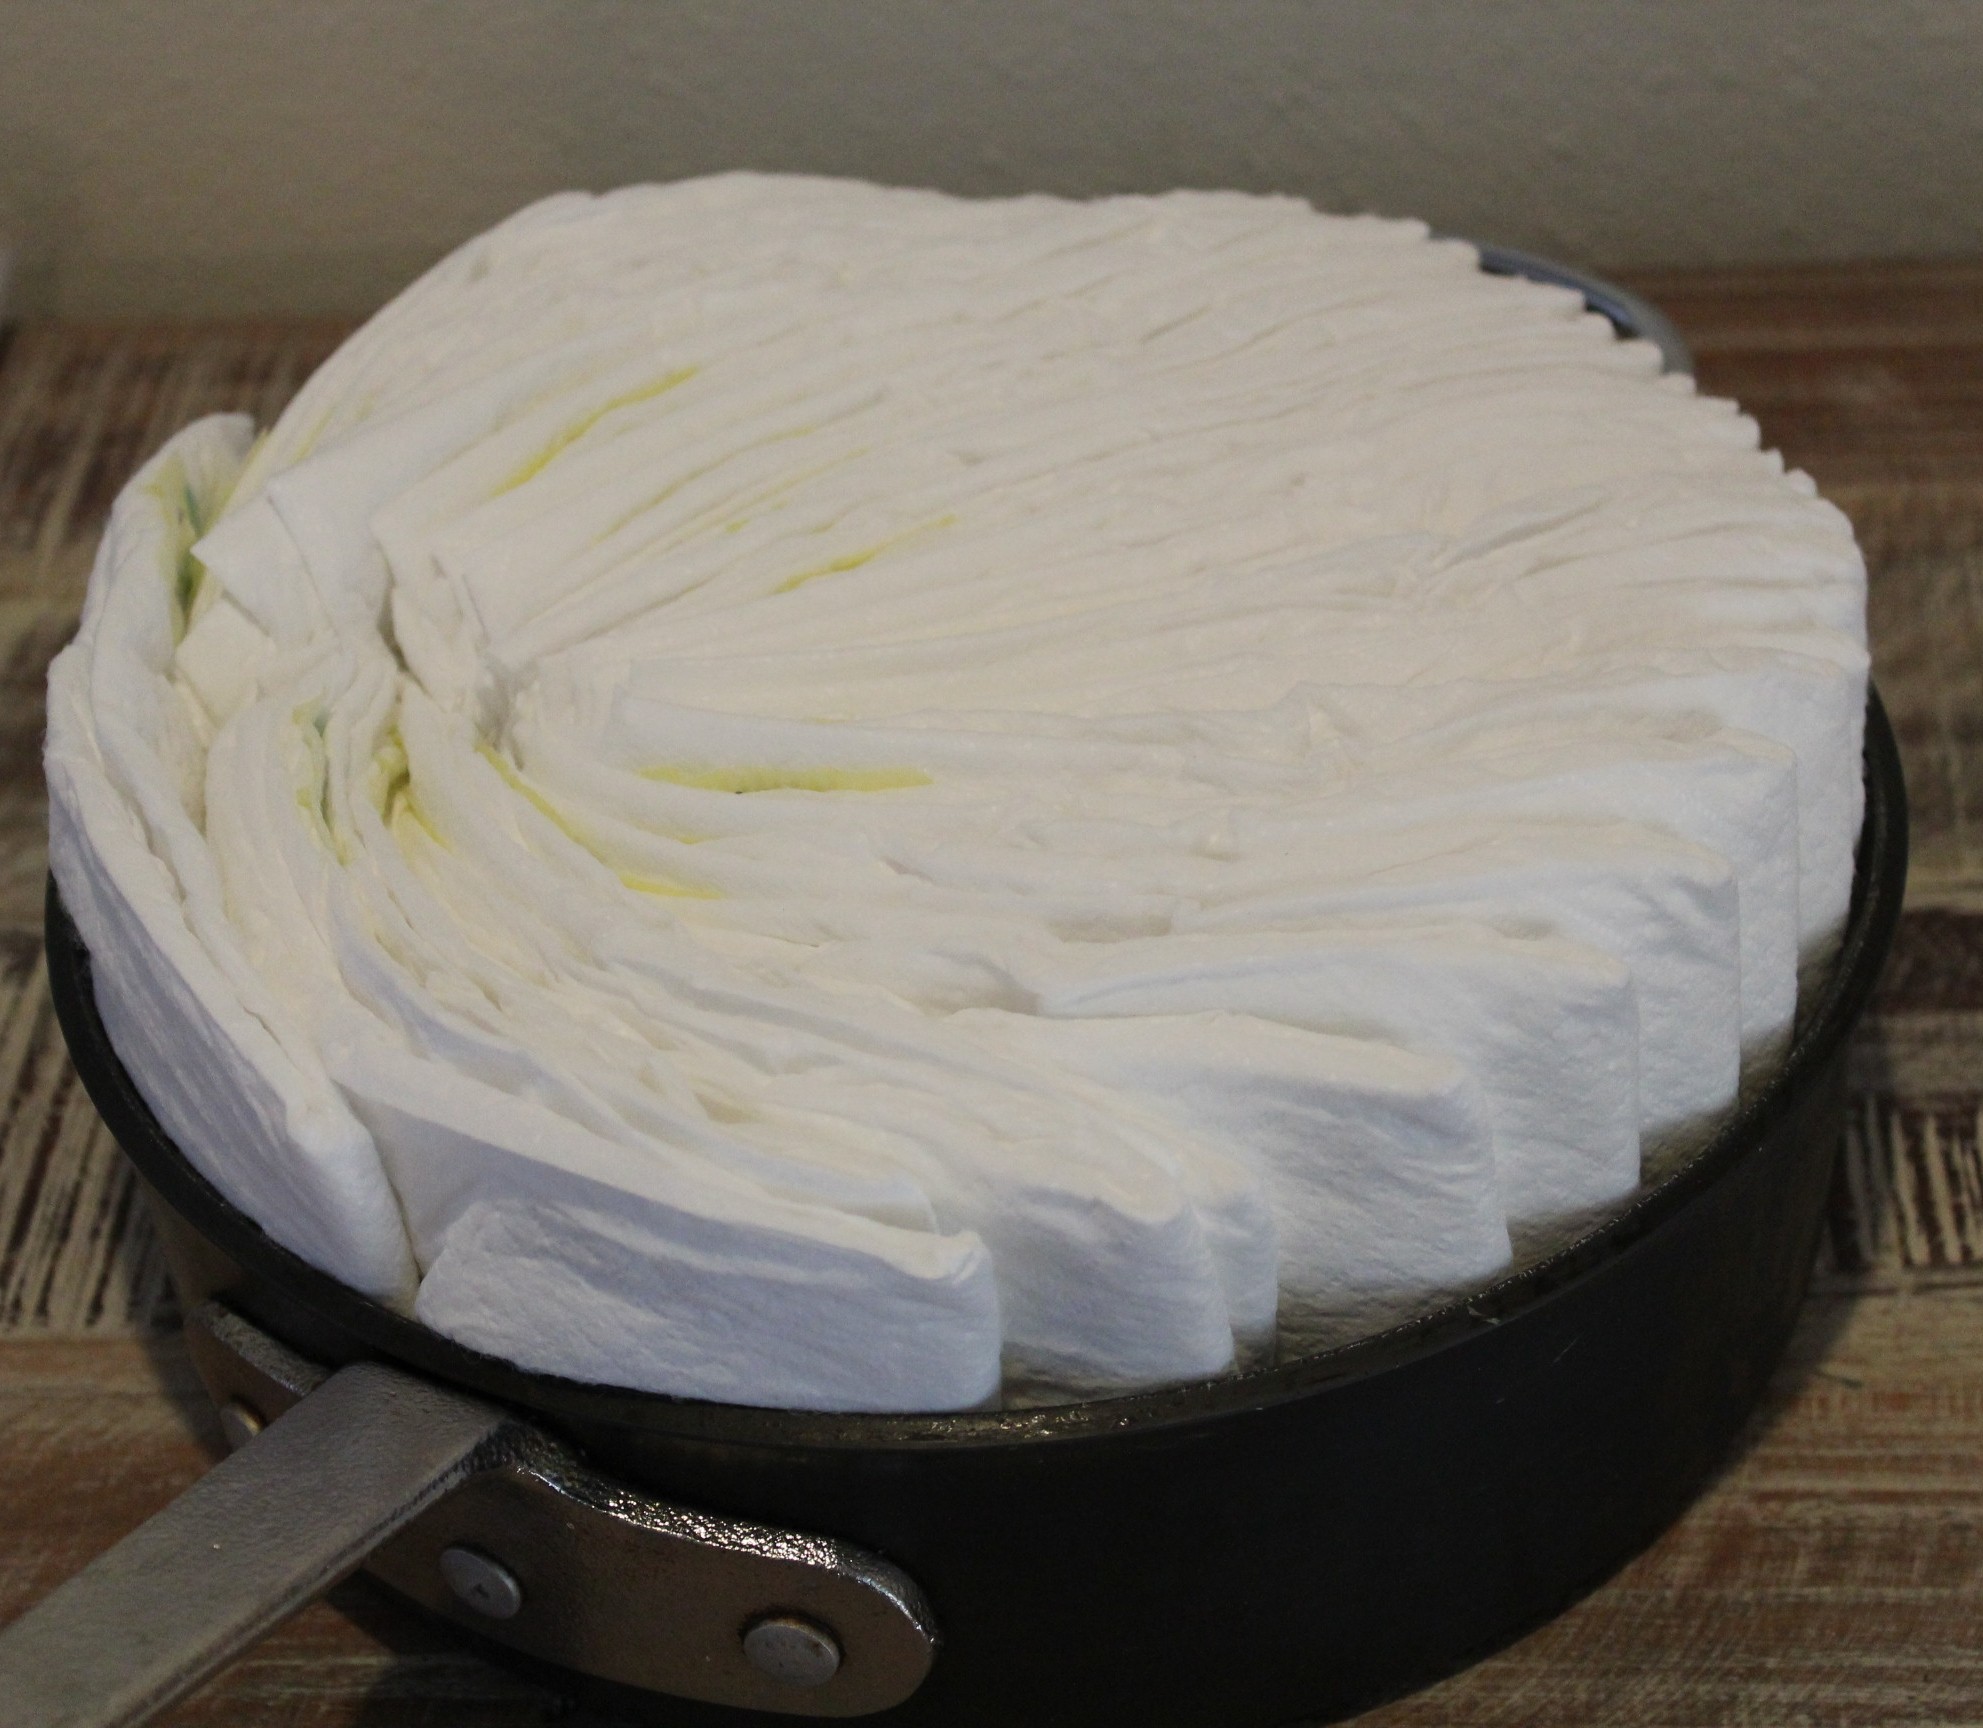
 Now simply slide the diapers over so they create a nice evenly spaced half moon. If some of the diapers don’t cooperate, you might have to tug on them individually to get them all the way into the side of the pan.
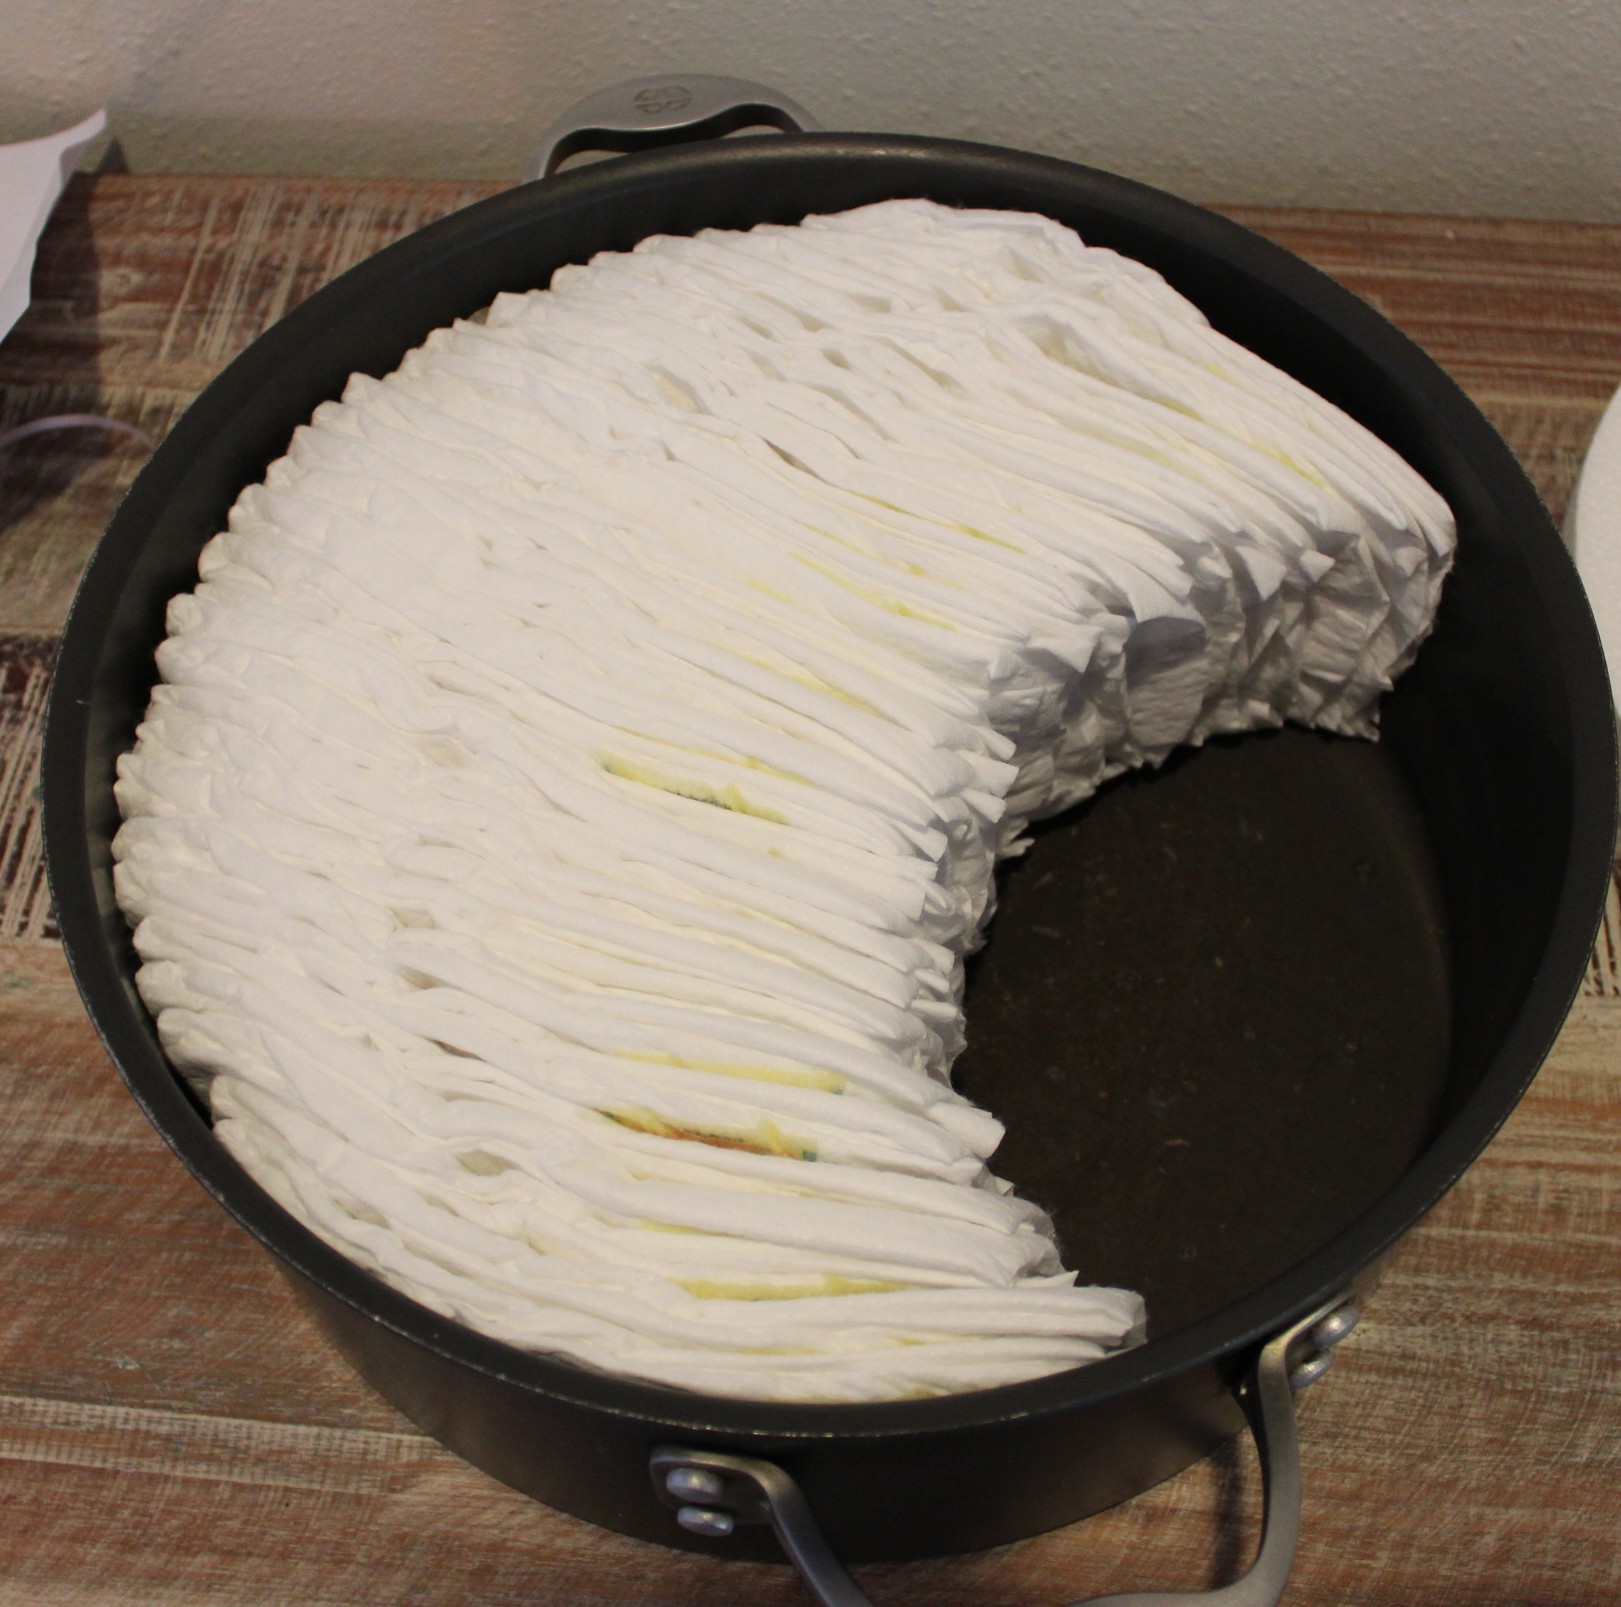
 Next, squeeze another handful of diapers into the top of your half moon.
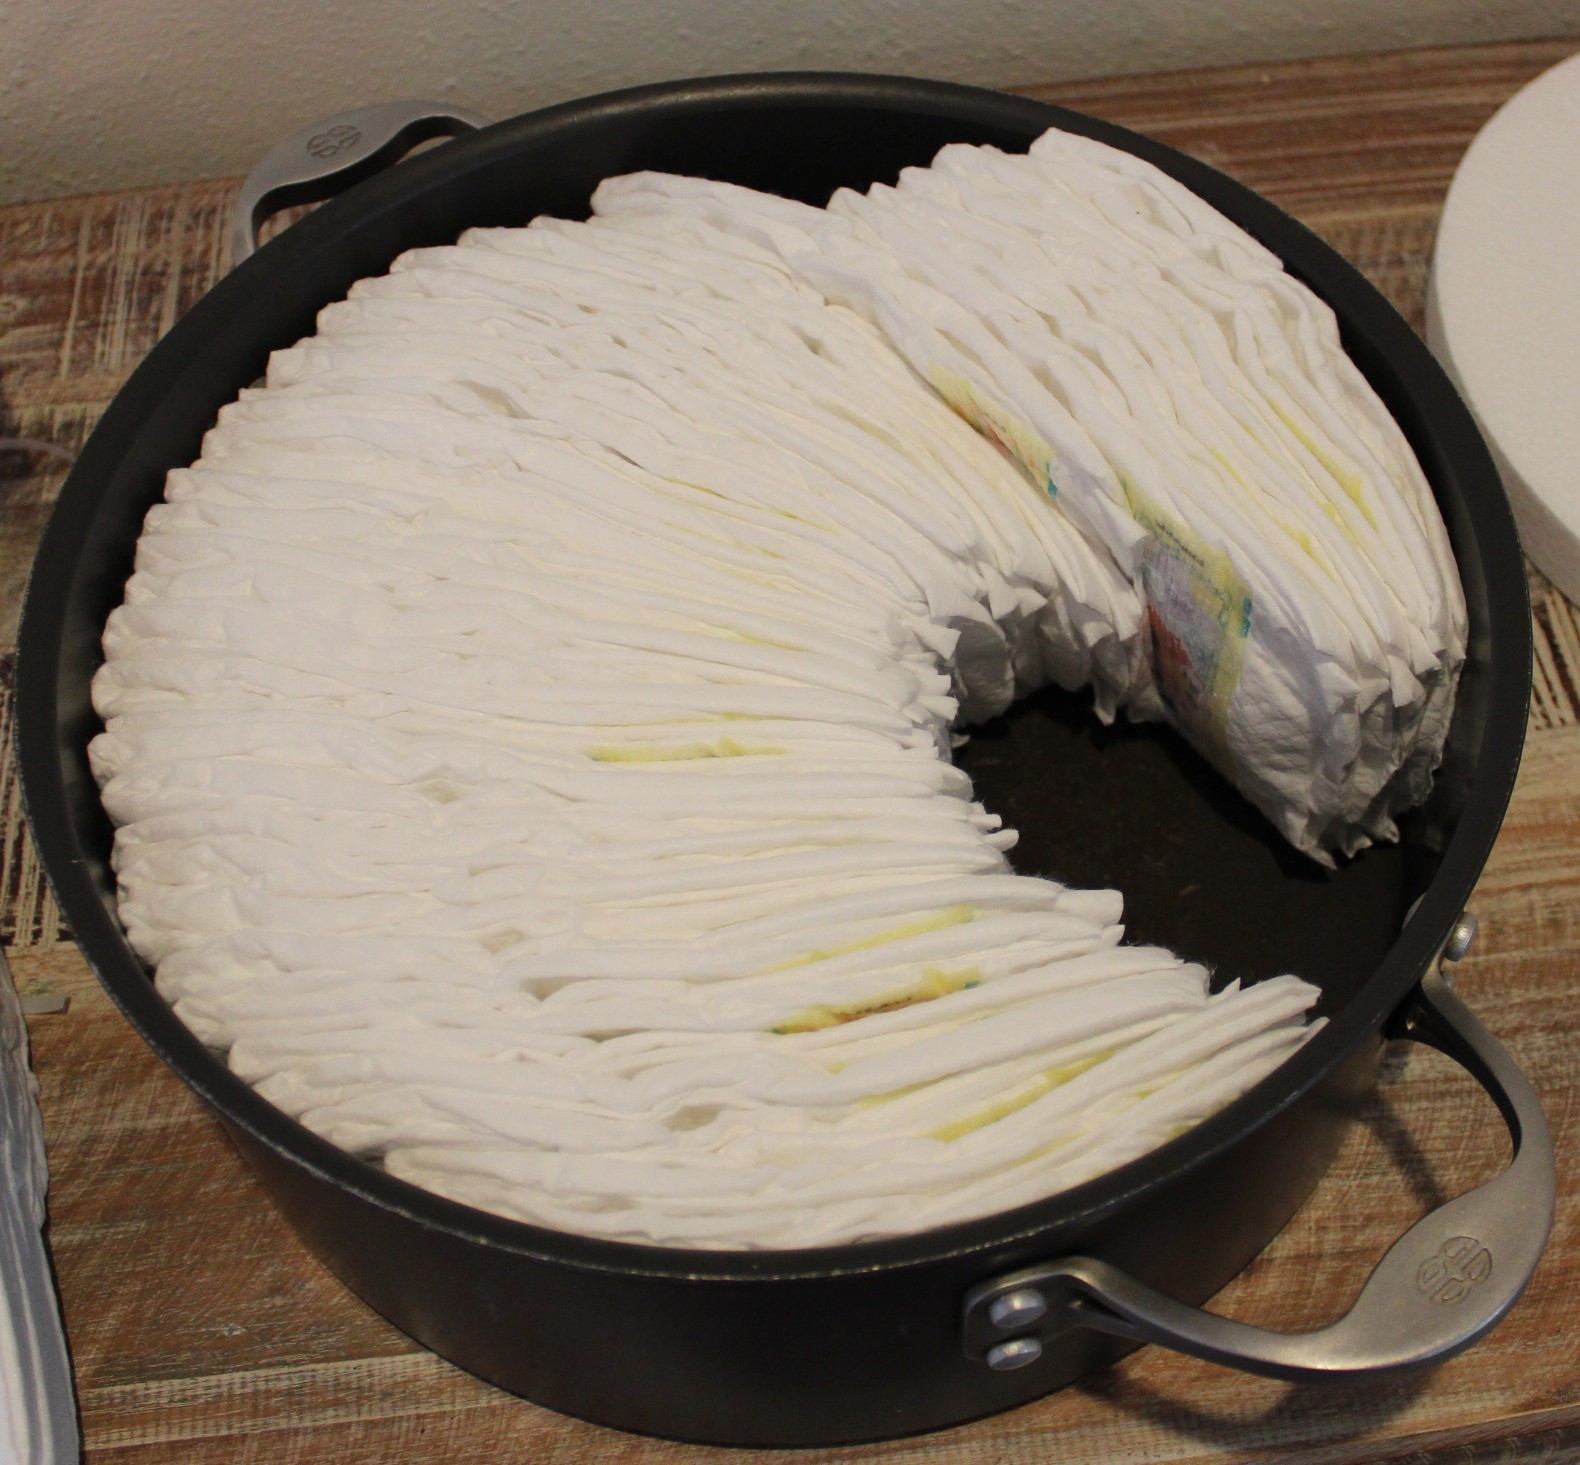
 Slide your hand, one at a time, along each new diaper to push it into place. Usually I push with my right hand and gently pull with my left until it is along side the edge of the pan. You’ll want to get them as tight as possible so your layers will hold together. Once you move those all to the edge, add more diapers and keep going. The ends of these diapers will stick out, simply curve them around and they’ll start to fill in the hole that is left.
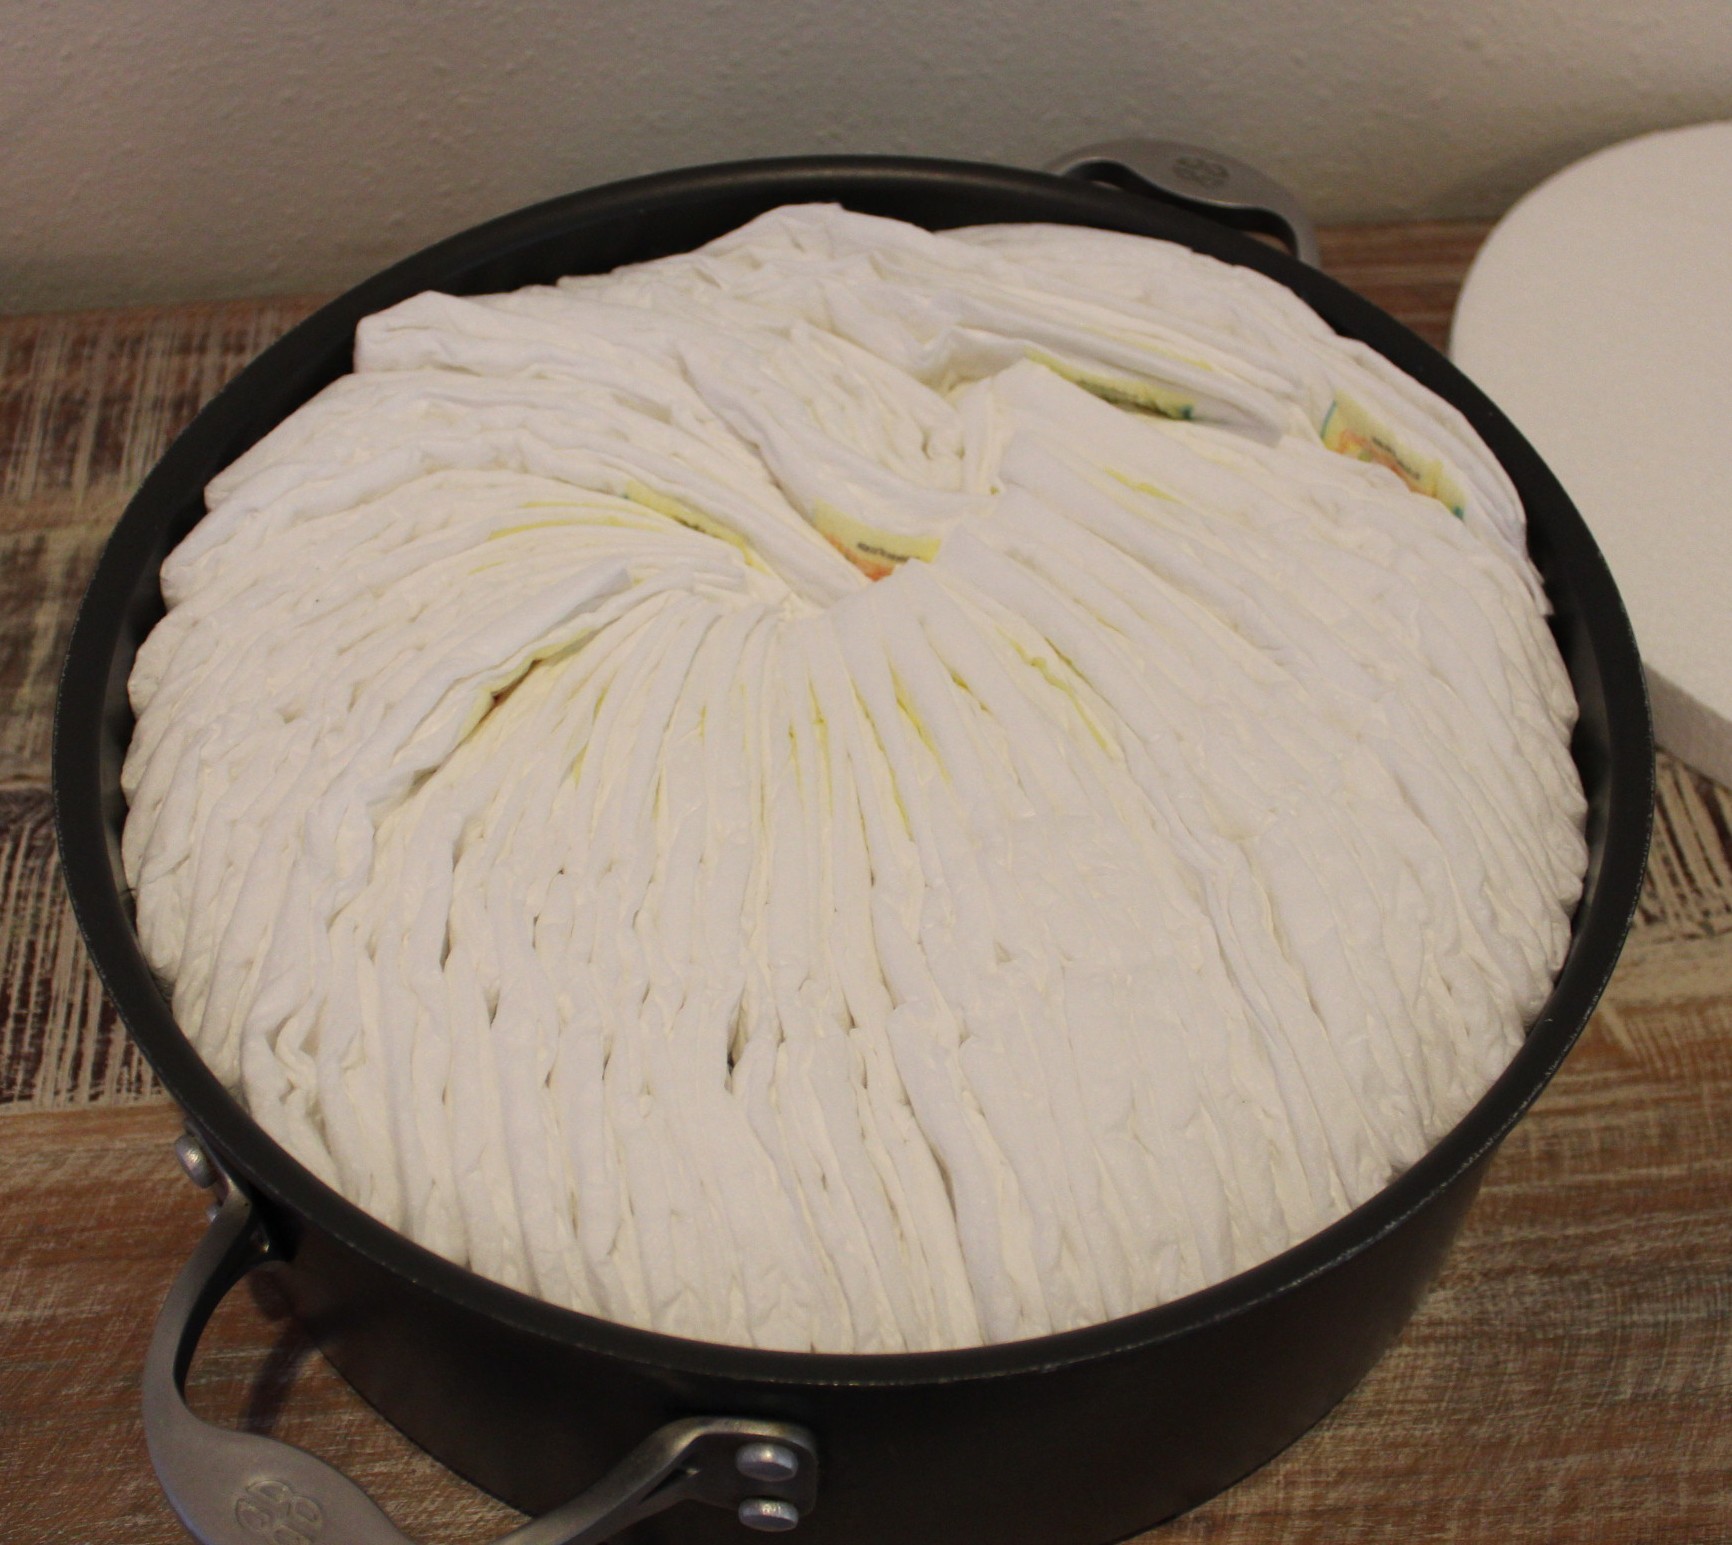 Once the gap is filled, squeeze a few extra diapers along the top edge to cover up the little spiral and make your layer look smooth. Don’t worry if it looks a little funky, this will be the back of the layer. The front will be where your original diapers are nice and uniform. If you’re covering with receiving blankets then it really doesn’t matter at all.
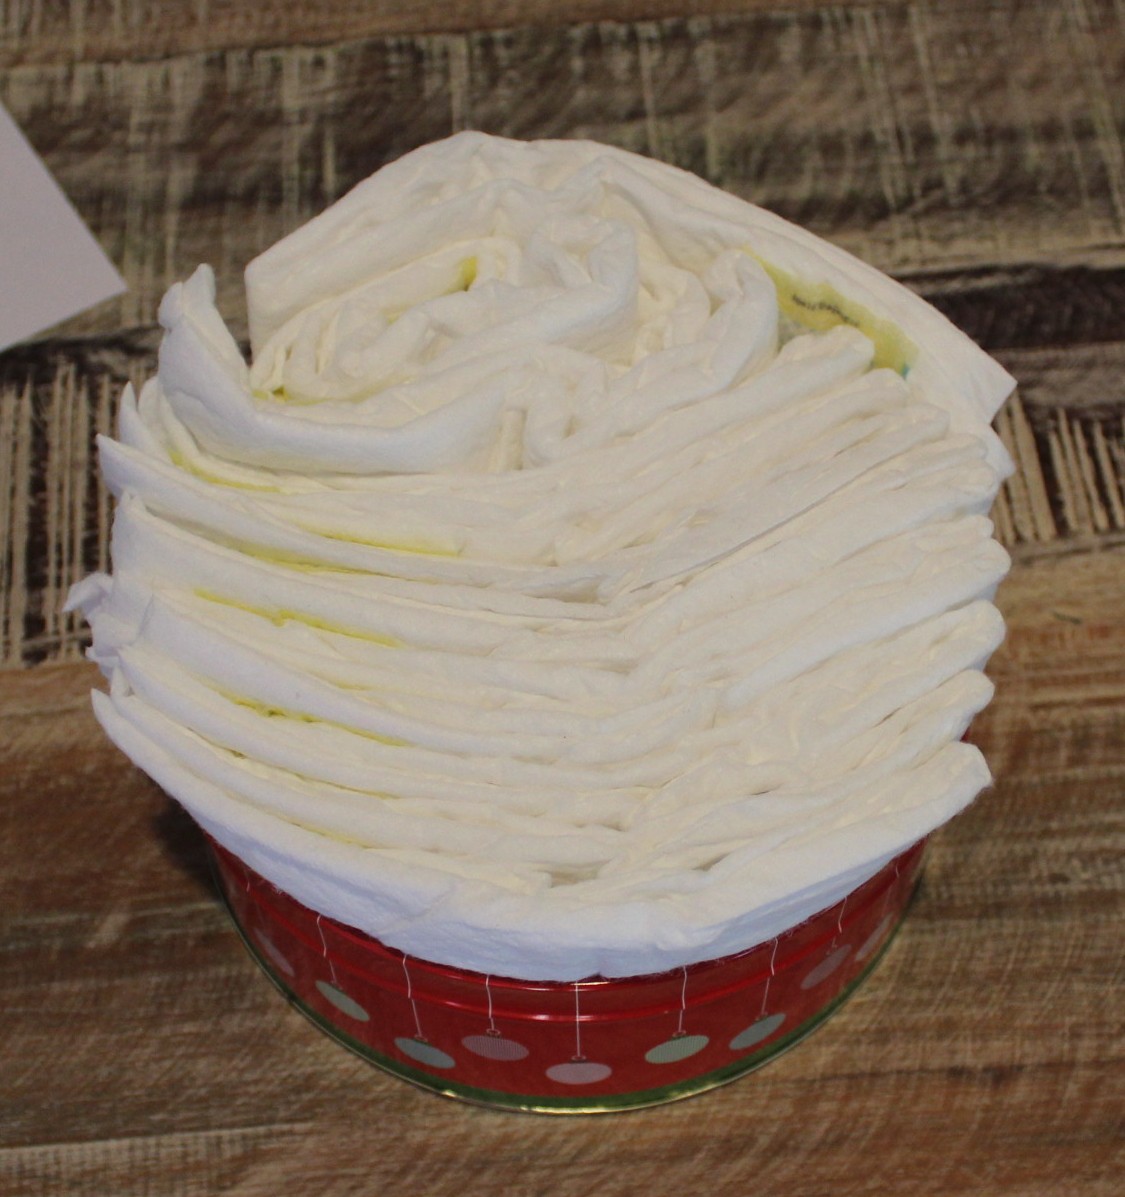
 If your pan is deeper than the diapers, put your hands along the sides and slowly work the layer up until almost half of the diaper is above the pan. On my next two layers, the pans were short enough where I didn’t have to do this step. Now, take your plain ribbon and tie it around the exposed layer as tight as you can.

At this point, you should be able to pull the layer out without it falling apart. Once out, I usually add a second ribbon, a little lower, for added support. Also, it’s just a lot easier to get the ribbon really tight once the layer is out of the pan.
Now do the next size layer the exact same way. This pan is shorter than the diapers so it was way easier to tie the ribbon. Be sure to cut the ends off of the ribbon so it won’t be seen.
 Depending on the size of the top layer, it might be hard to make it look very smooth. I wanted to completely cover this layer so I wasn’t too concerned, but if you’re not covering it, just make sure to put the ugly part in the back.
 Now slide your layers onto the base. Be sure you don’t puncture any of the diapers with the dowel. (I’m not a scientist or anything, but I think holes make them a little less effective against babies.) Usually, I’ll slide my hand through the layer and grab the dowel with two fingers to help pull it through without tearing diapers or shifting the layer. Once on the base, you should be able to slide it back and forth until it is centered.
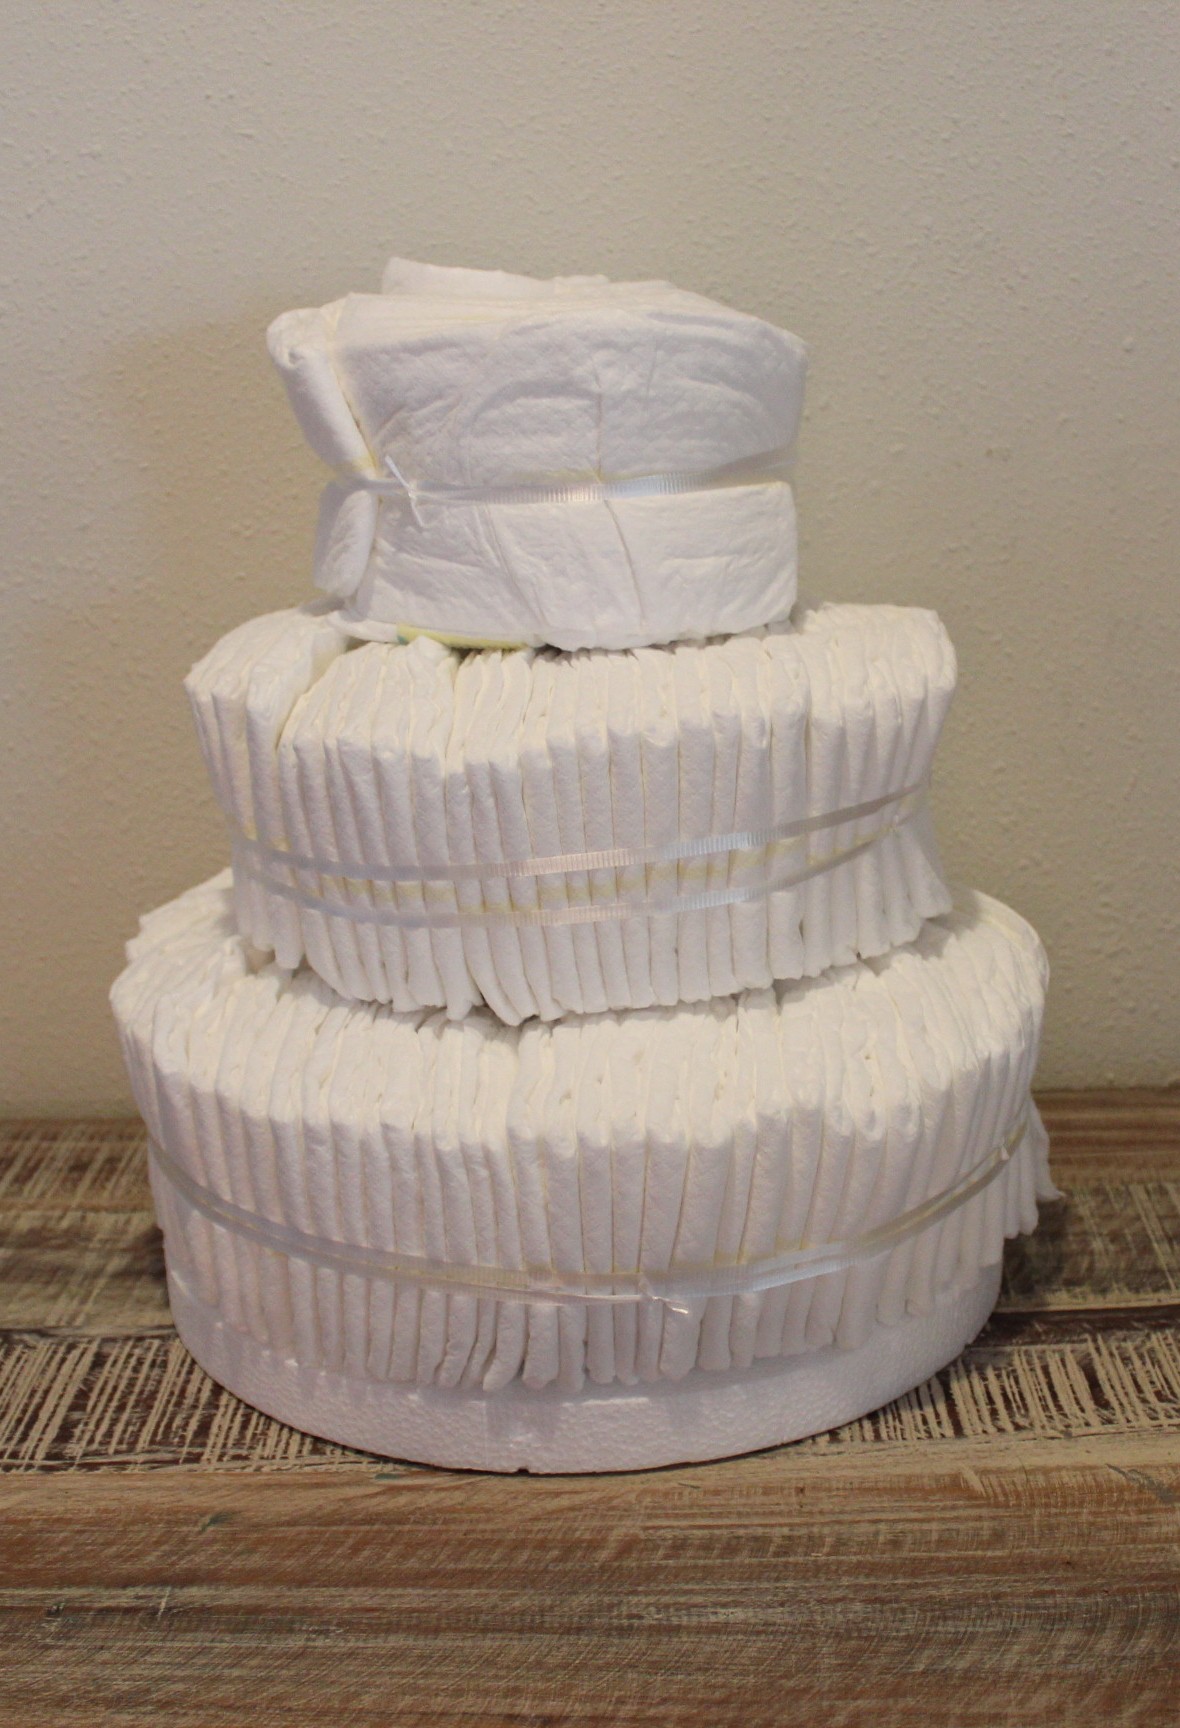 If you’re not wrapping in blankets, tug any diapers that look out of place until they all look uniform and smooth. It doesn’t need to be perfect, because the ribbon will distract from it a lot. If you are using blankets then don’t worry about what they look like, just get the layers stacked.
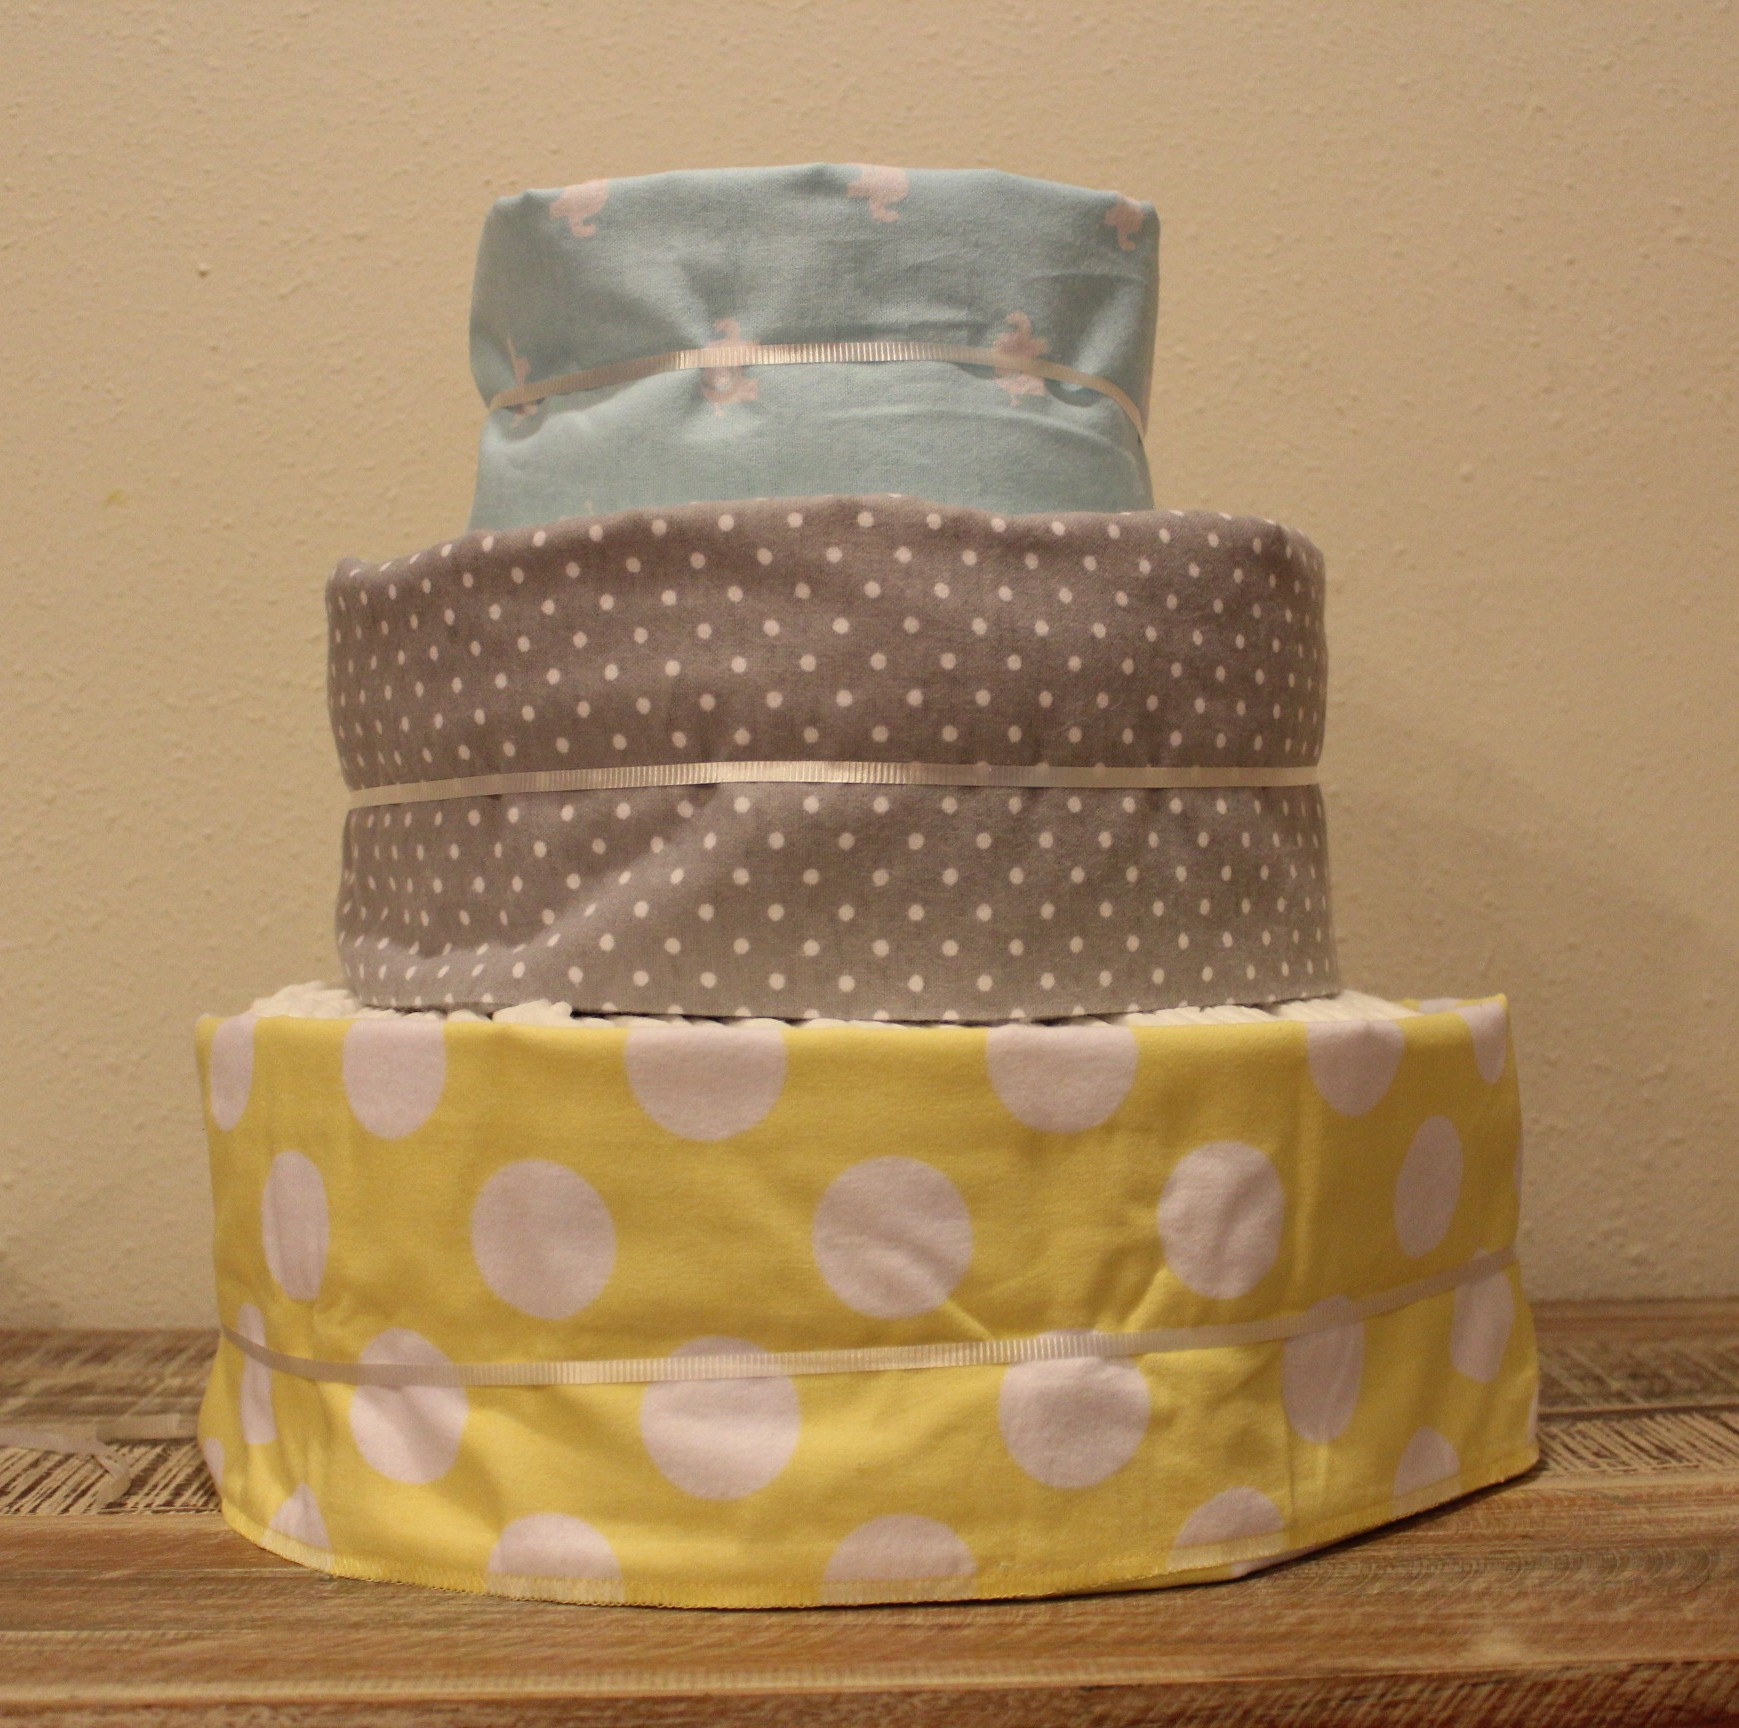 To put the receiving blankets on, simply fold them so they are just barely taller than the diapers and wrap them around the layers. The bottom layer will need two blankets to cover the diapers completely. Secure the blankets with your plain ribbon around the center. Cut the ends off the ribbon.
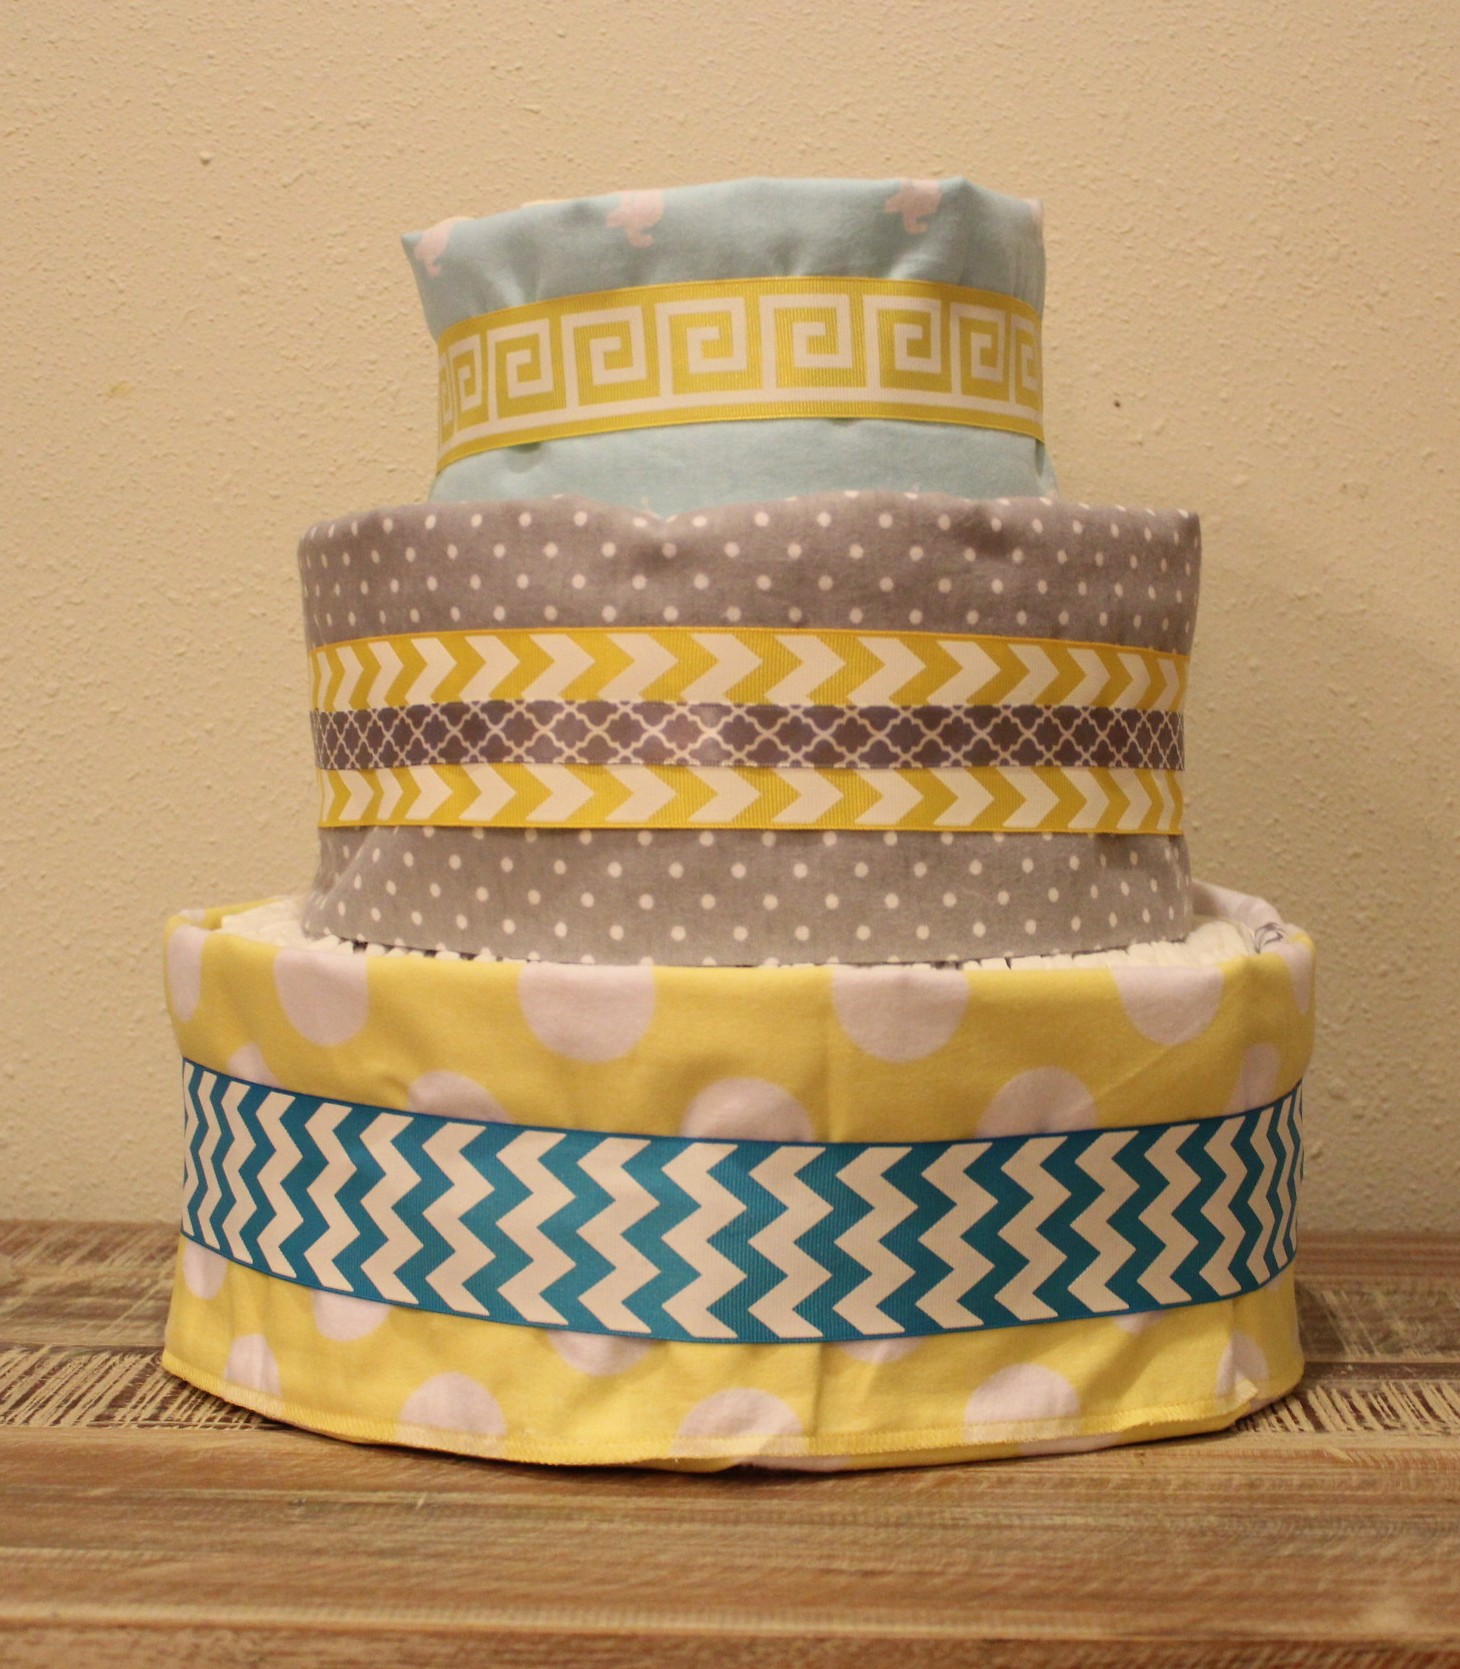 Next wrap your fancy ribbons around the layers to hide the plain ribbon. You can see, in the middle layer, I used two different ribbons, but one ribbon works just fine. Don’t try to tie this ribbon, because it will bunch up and won’t look smooth. Just hot glue it to itself. You can use your leftover ribbon to make bows and just hot glue them to the ribbon. Be really careful not to get any glue on the blankets or the diapers.
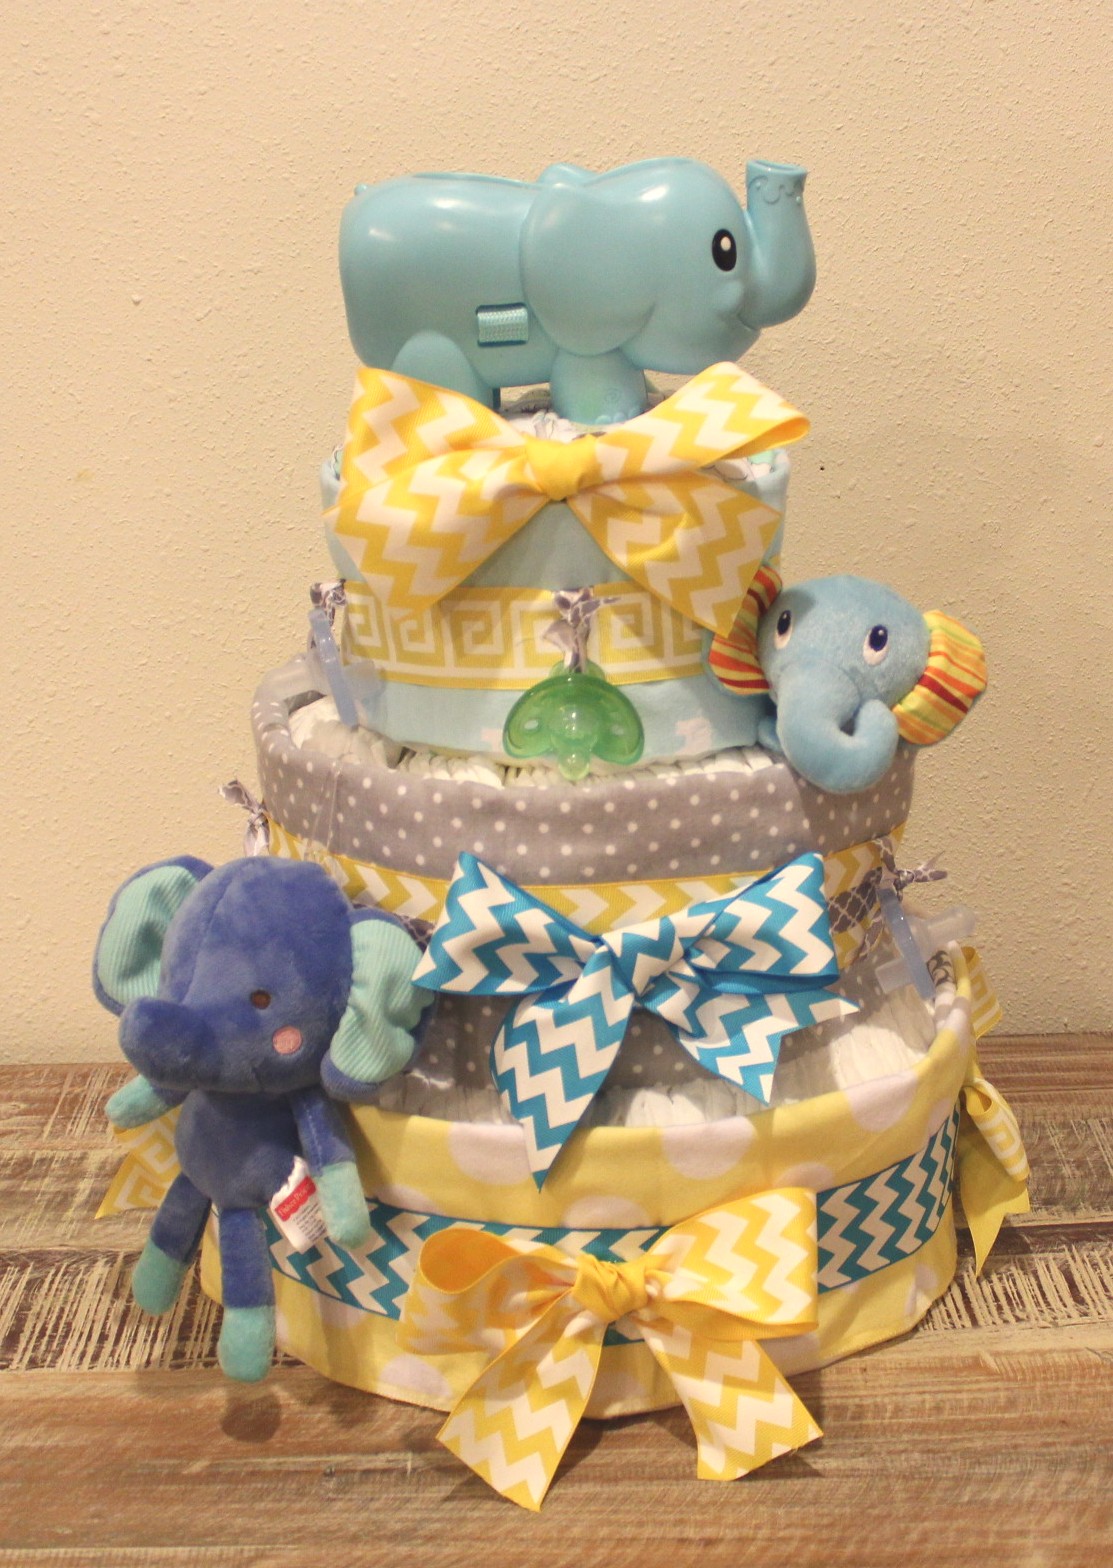
Now add your sprinkles; all your toys and bows that will tie the cake together and make it adorable. Glue the bows on if you can. On the top layer, you can see my bow is up high. I didn’t want to glue to the blanket so I simply attached a paper clip to the bow and slid it between the blanket and the diapers. Most of the toys I just set on the layers of the cake. If you have heavy toys or bottles, attach them with ribbon to the big ribbon around the middle of the layers.
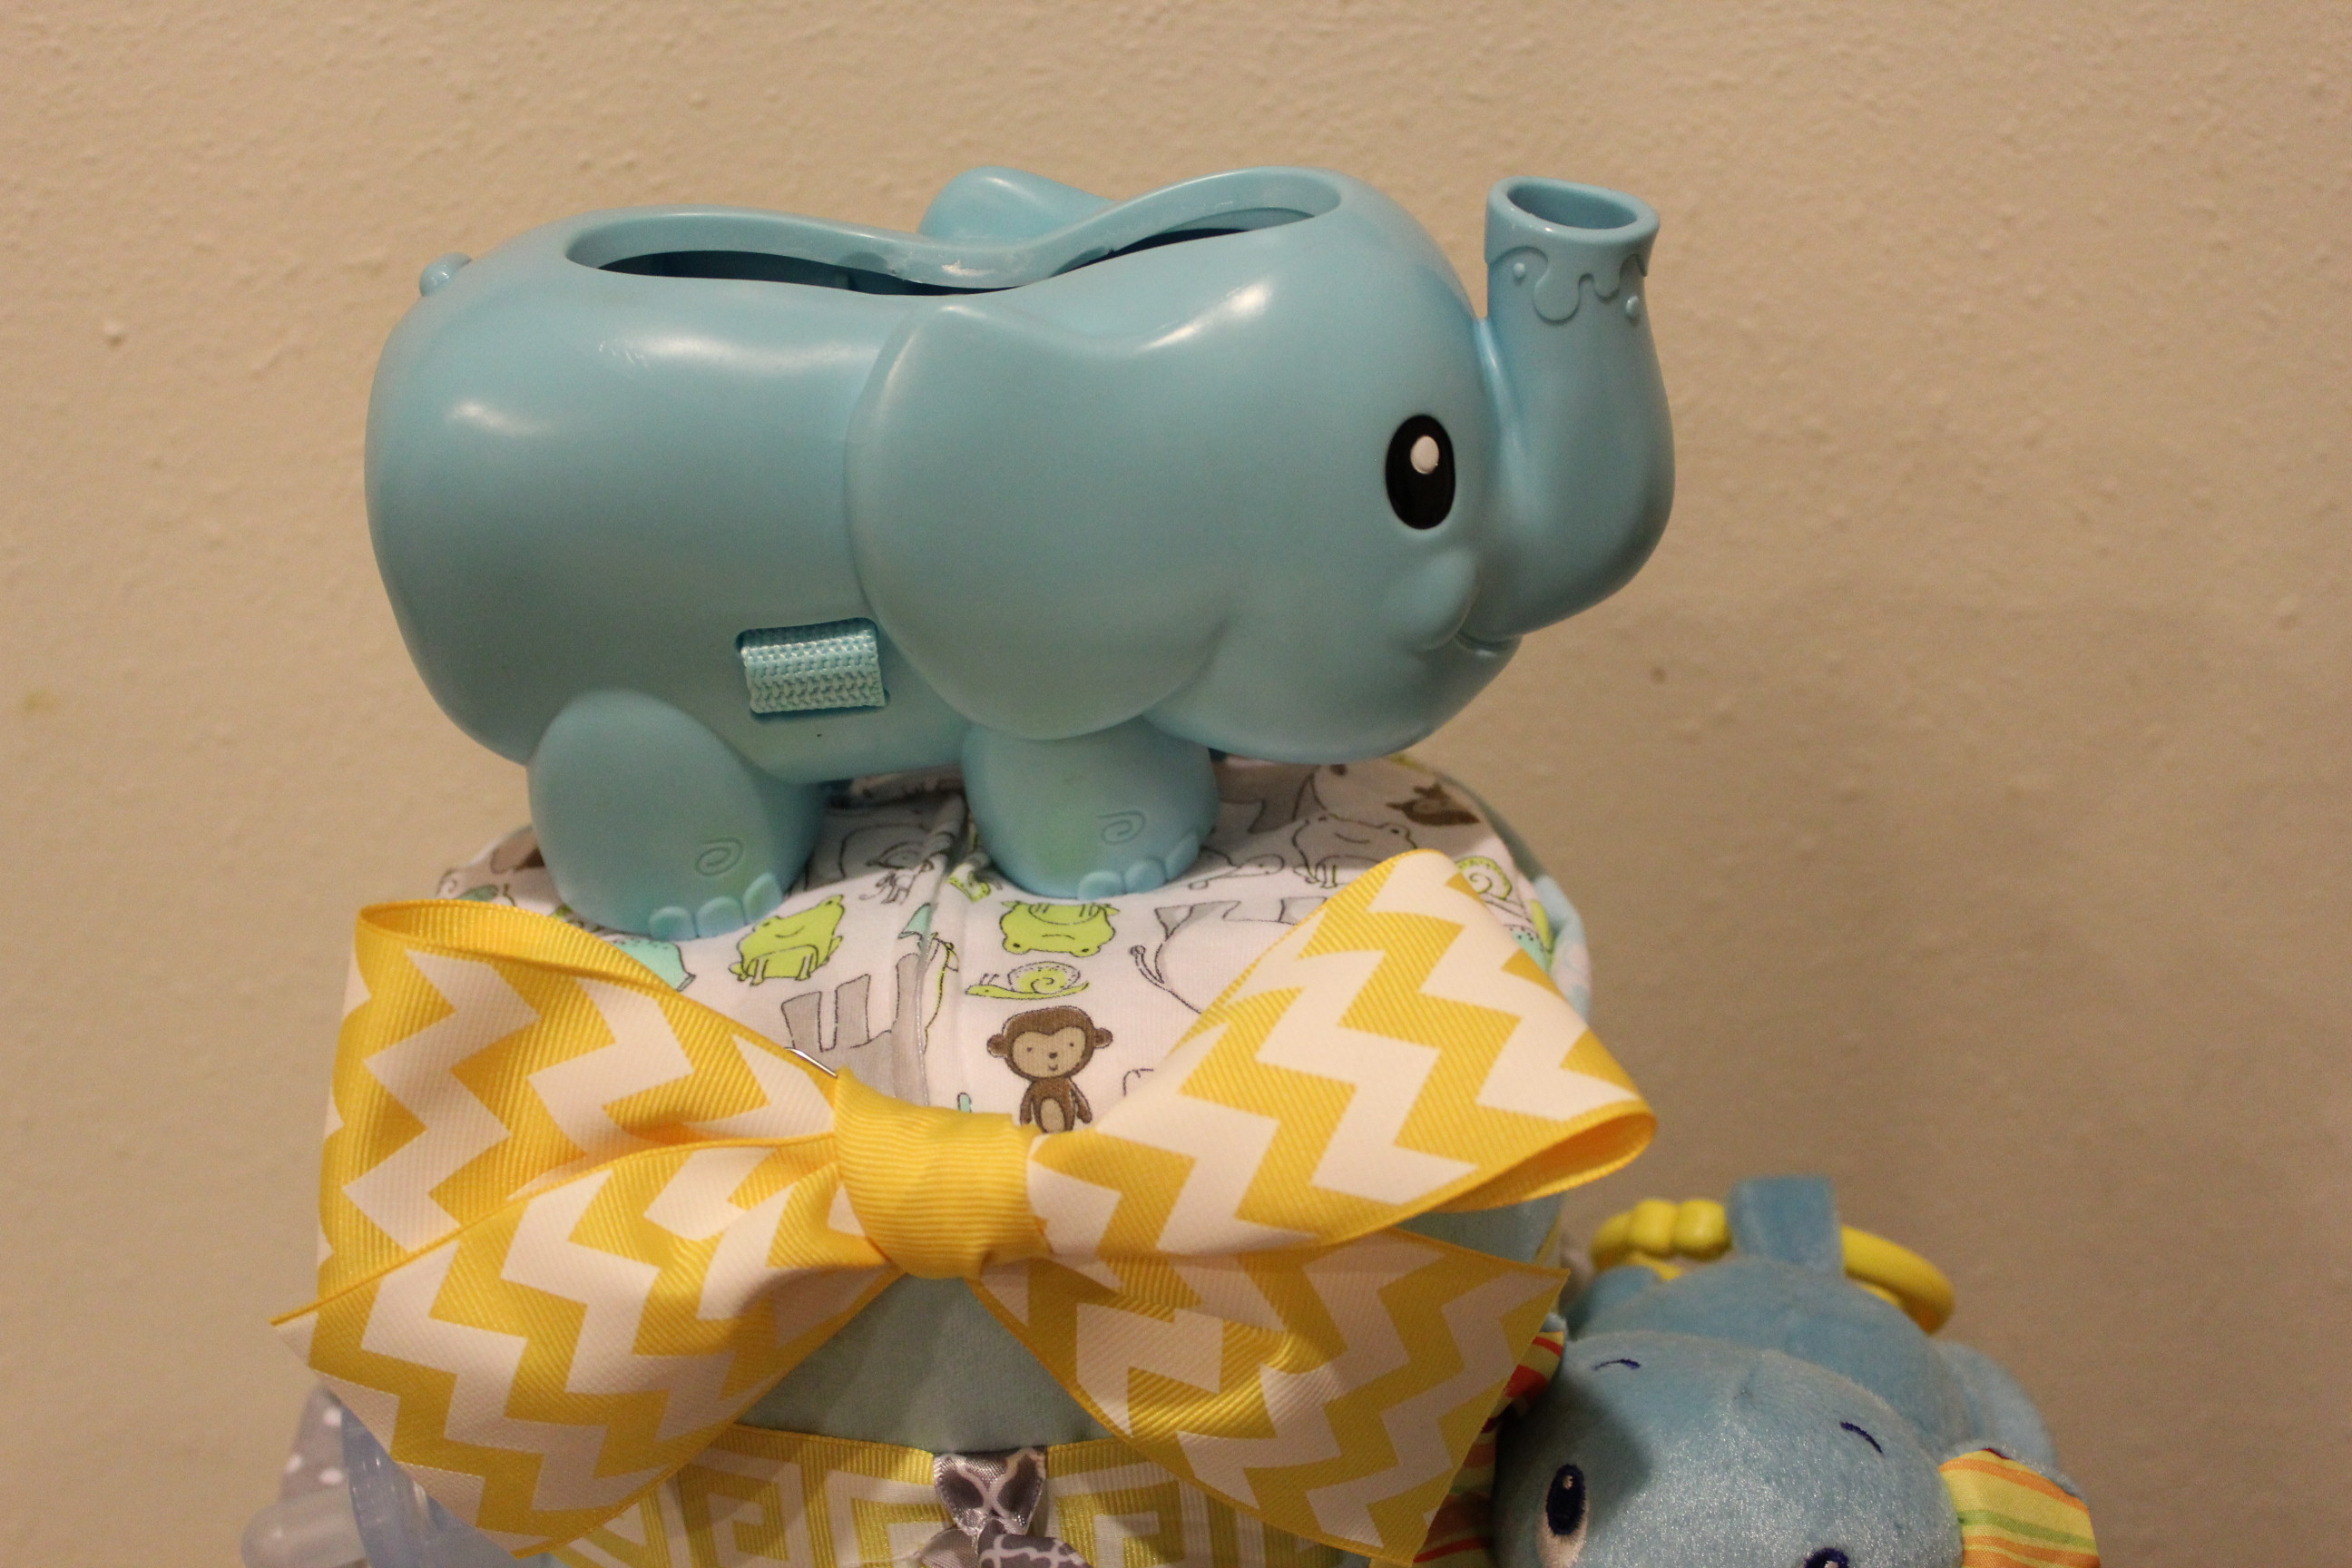 I wanted the whole top layer covered, so I stuffed the onesie into the receiving blanket on top. This way it was smooth, covered, and cute. Also, it was just a good way to sneak an extra gift in there. I have to get a head start on spoiling this kid.
 The pacifiers I just tie on in the empty spots with a little ribbon. Attach them to the big ribbon around the layers. Be careful not to tie it tight because you don’t want your center ribbon to bunch.
 All done!
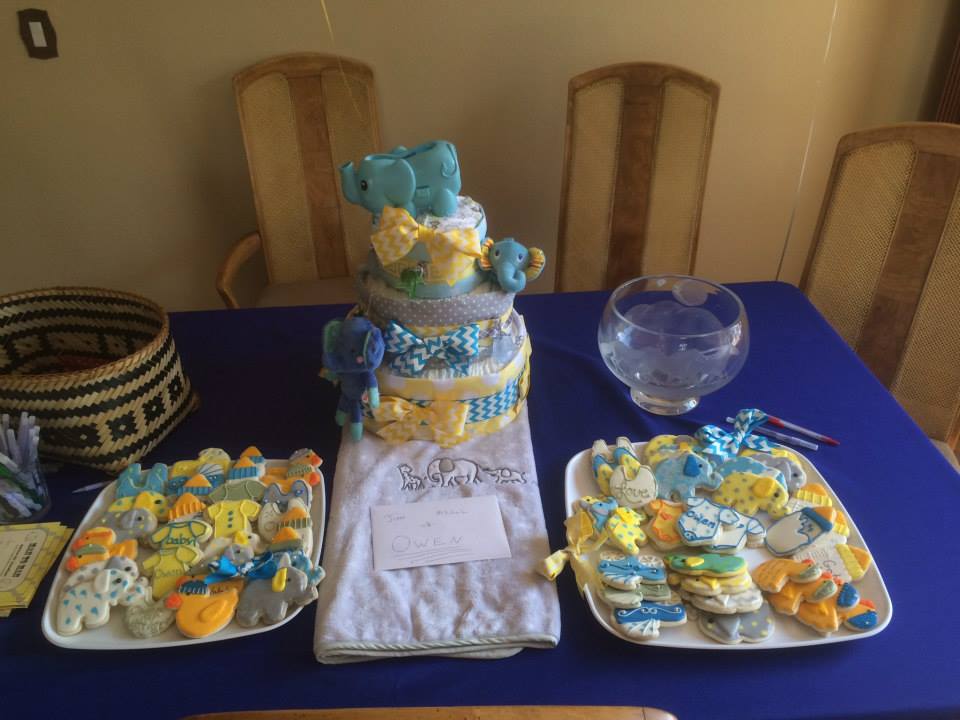 I had to ship this from Texas to Colorado. I was relieved and shocked that it shipped relatively well. The blankets slipped a little, but stood back up easily. To ship it, I took the toys off and wrapped it in the gray baby blanket the cake is sitting on in the picture above. (Another way to sneak in a gift, gosh I can’t wait to meet this kid.) I then tied some ribbon around the blanket, took it to UPS and prayed it would make it!
I have a lot of fun making these cakes, and I absolutely love the way they look when they are done! They can easily be simple or extravagant and easily fit any theme. Get creative with them! Good Luck!!
