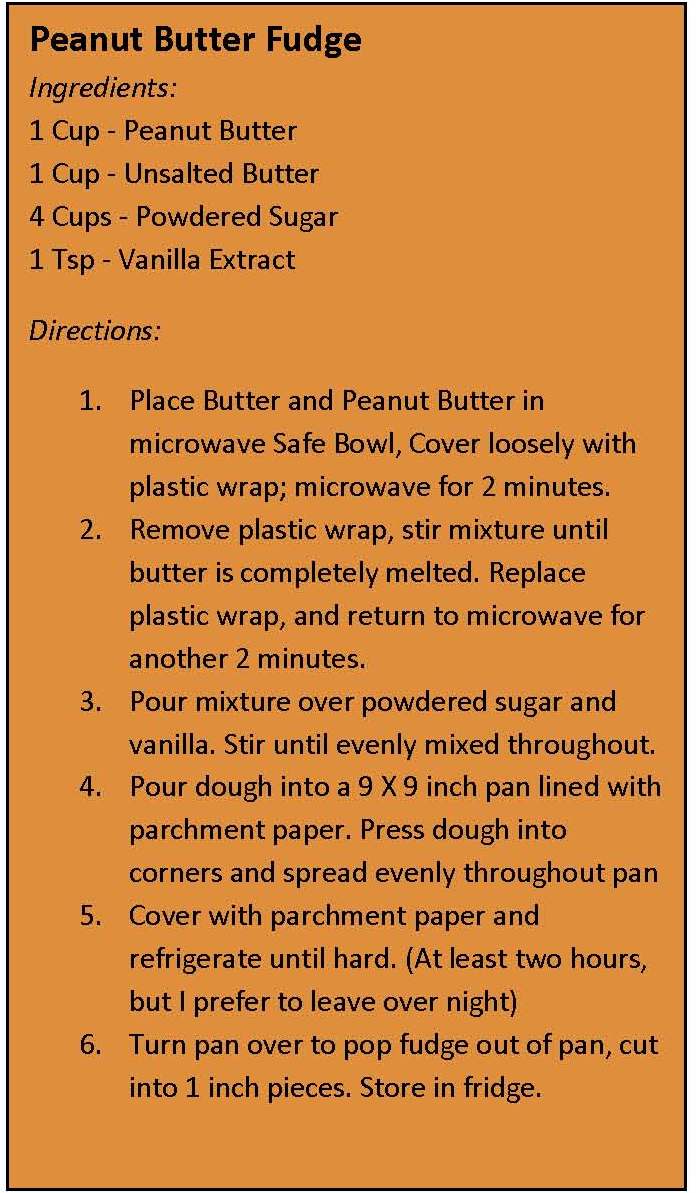
I’ve always loved peanut butter fudge, but it looked complicated to make. Seriously, who owns a candy thermometer? When I started seeing some simpler recipes, I had to give them a try. I found a few that I thought I could do, and tweaked them until they were simple and delicious. I call this dummy fudge, because it’s not made like normal fudge, it’s simply made in your microwave! It takes about six minutes, four ingredients, and is almost impossible to screw up. The best part is, it tastes fantastic. I mean, fantastic. I’ve had people tell me this is the best fudge they’ve had in their life. It’s that good. I don’t have the heart to tell them I made it in the microwave and it isn’t real fudge. This is my go to recipe if I need to make something quickly, because I always have the ingredients on hand, and it doesn’t taste like you threw something together last minute!
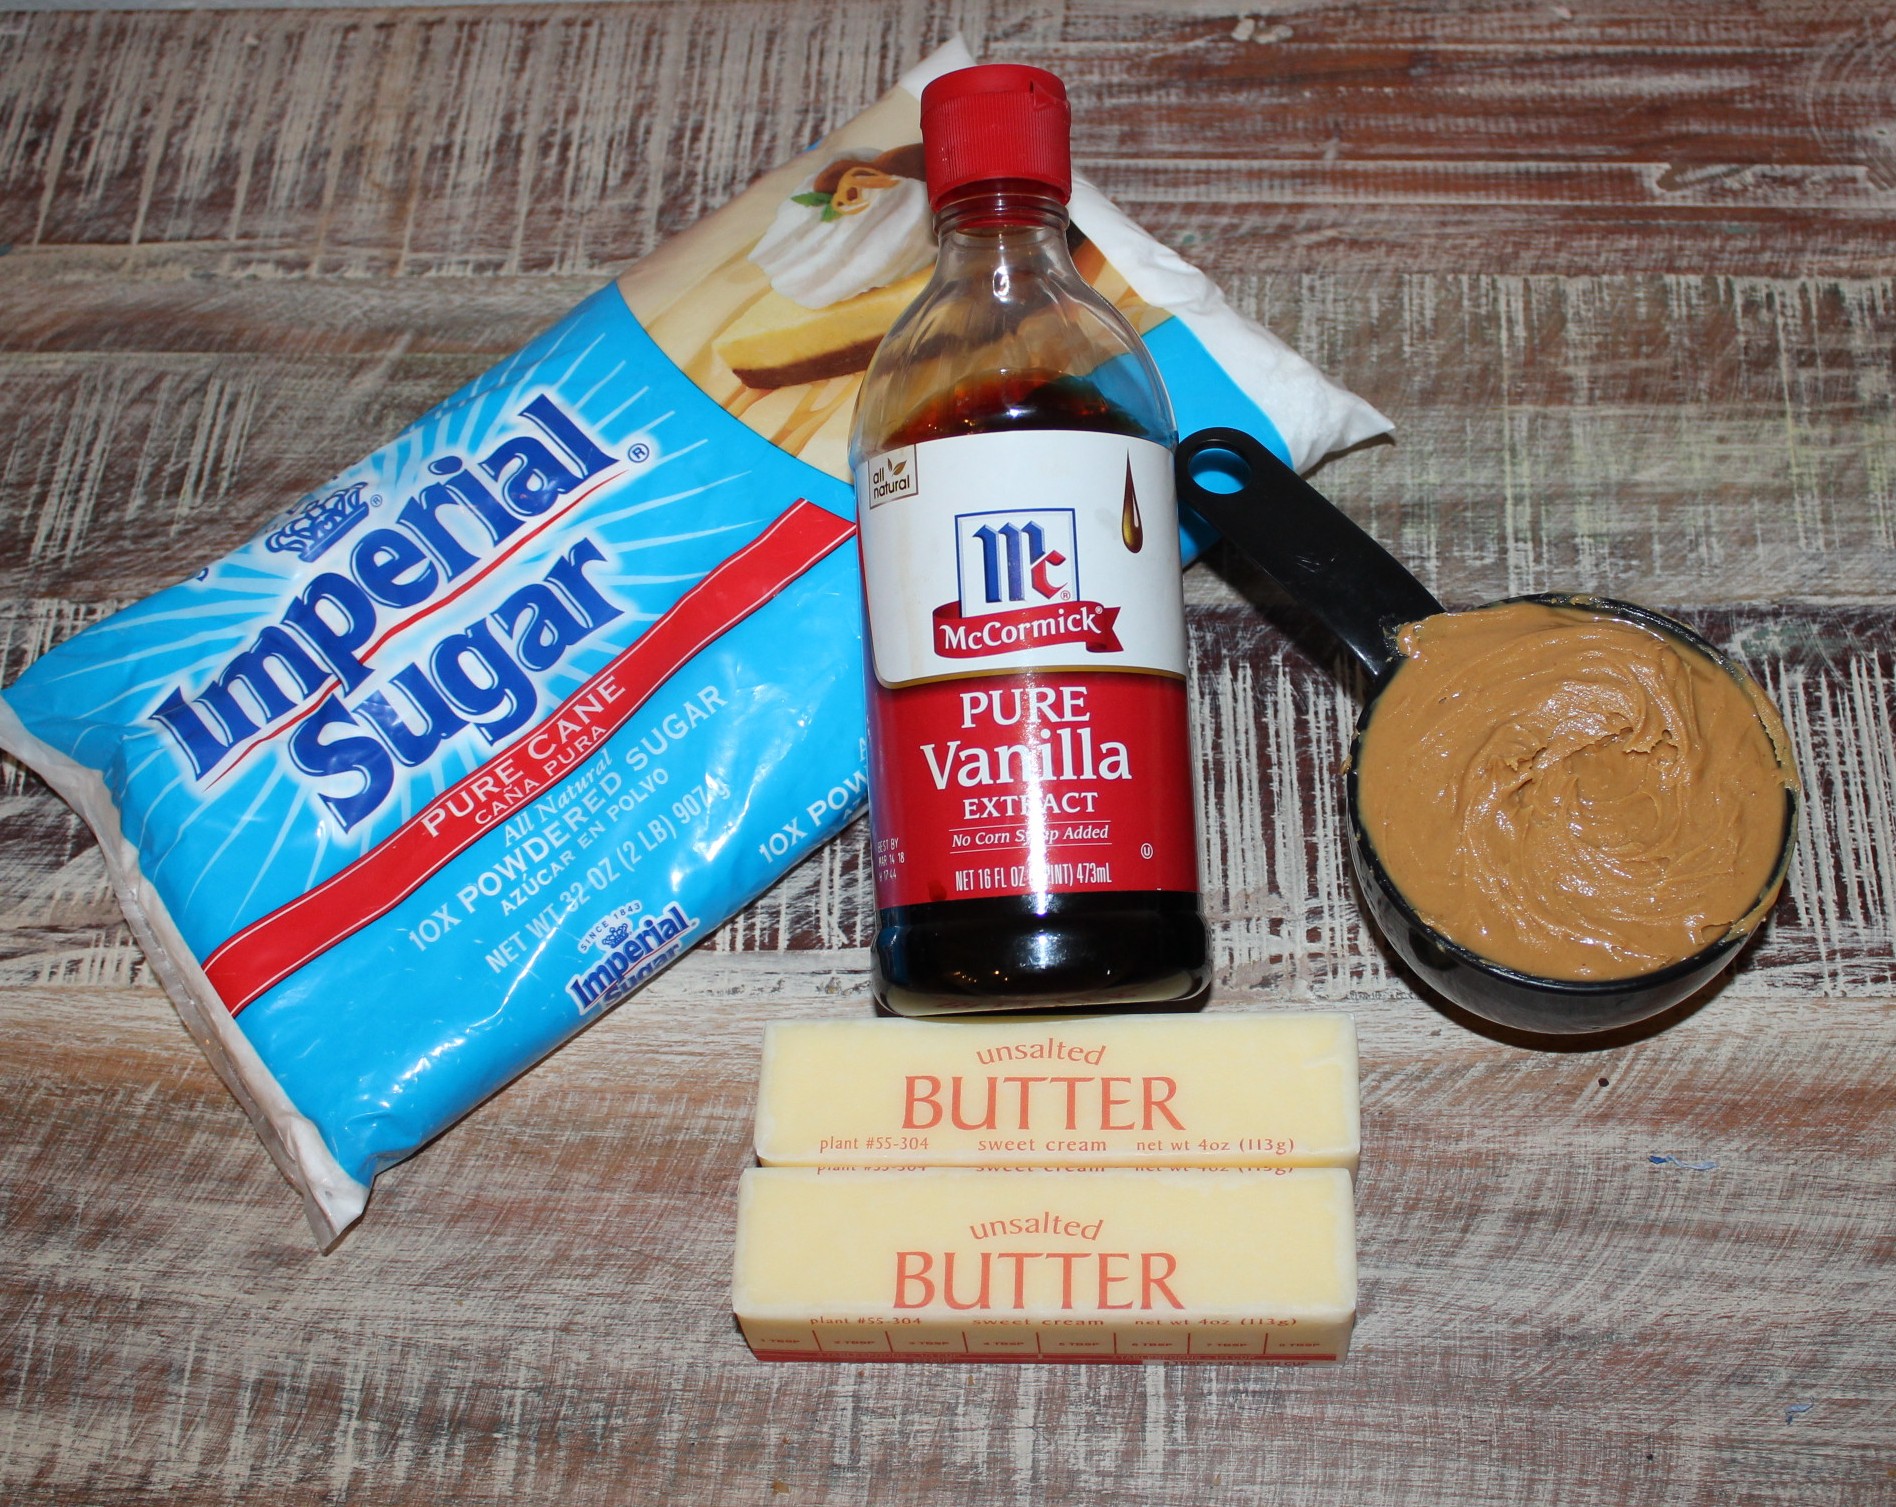
The four ingredients you need are, unsalted butter, peanut butter, vanilla extract, and powdered sugar. That’s it. I measure out the one cup of peanut butter a little heavy because…well because I love peanut butter… However, the powdered sugar needs to be just four cups, no extra or your dough will crumble. Two sticks of unsalted butter, and a teaspoon of vanilla, and you’re ready to go.
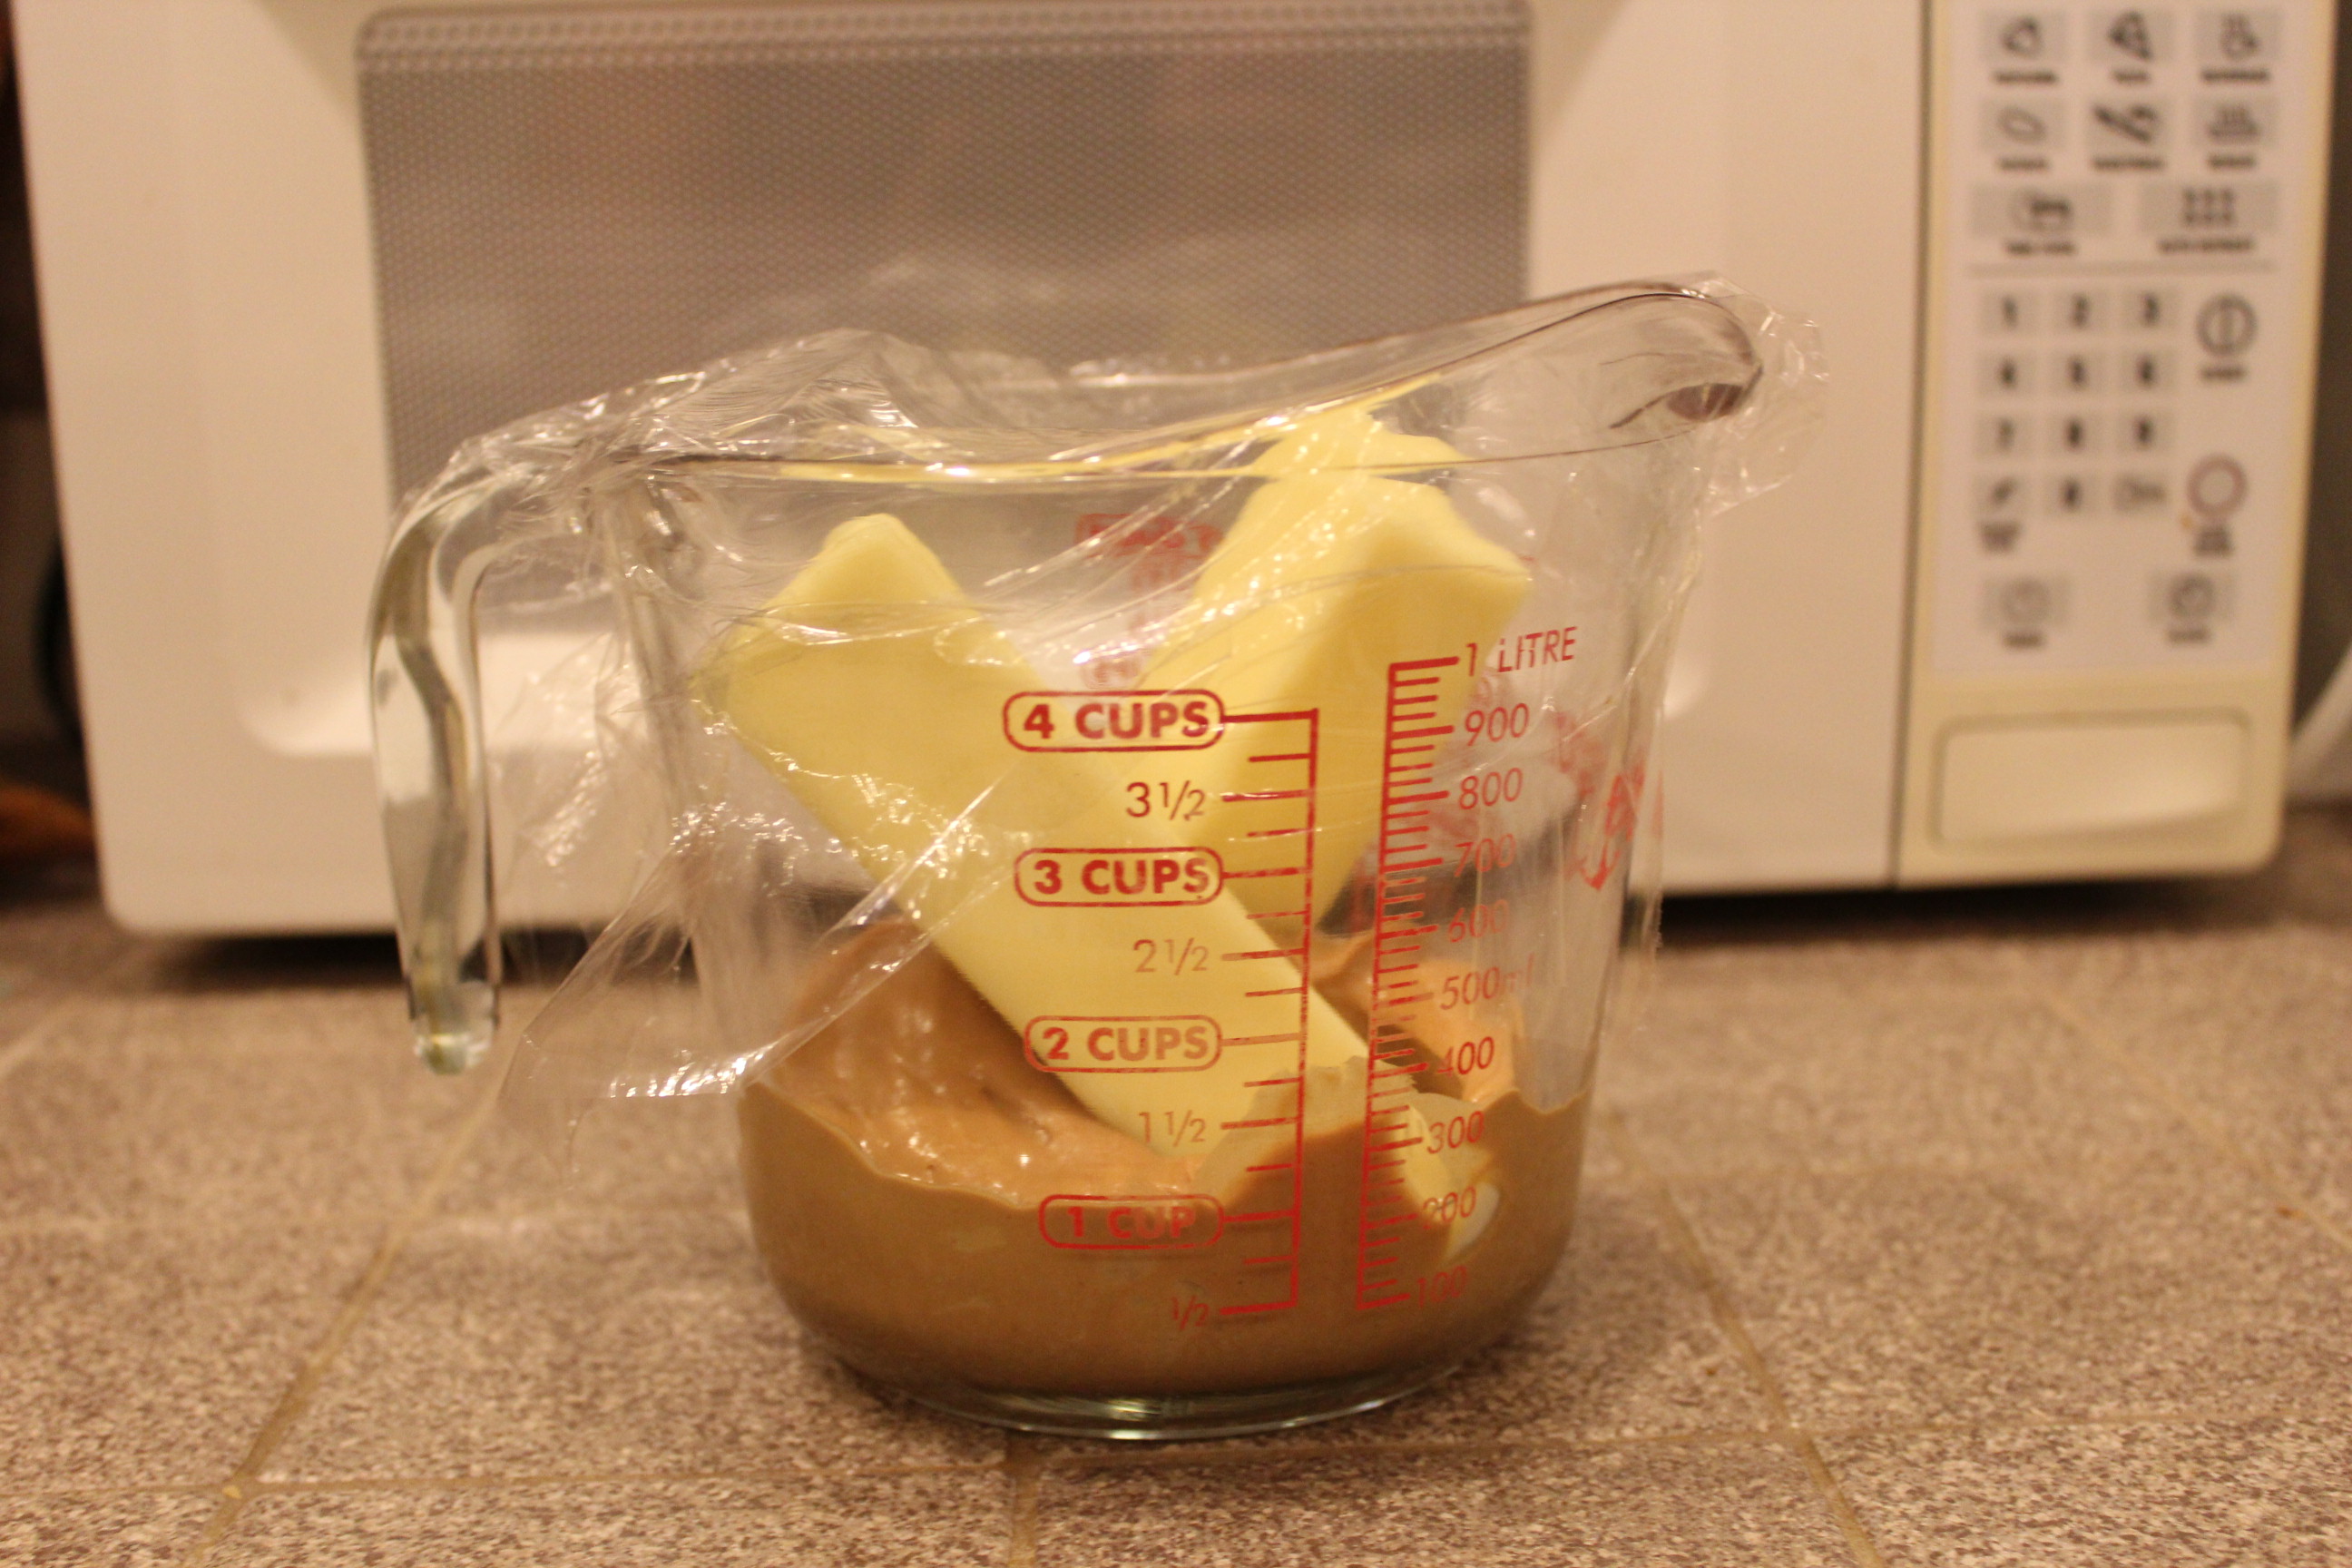 Put your unsalted butter and peanut butter in a microwave safe bowl. I use a four cup measuring cup, because it is easier to handle when hot. Cover loosely with plastic wrap, and microwave for two minutes.
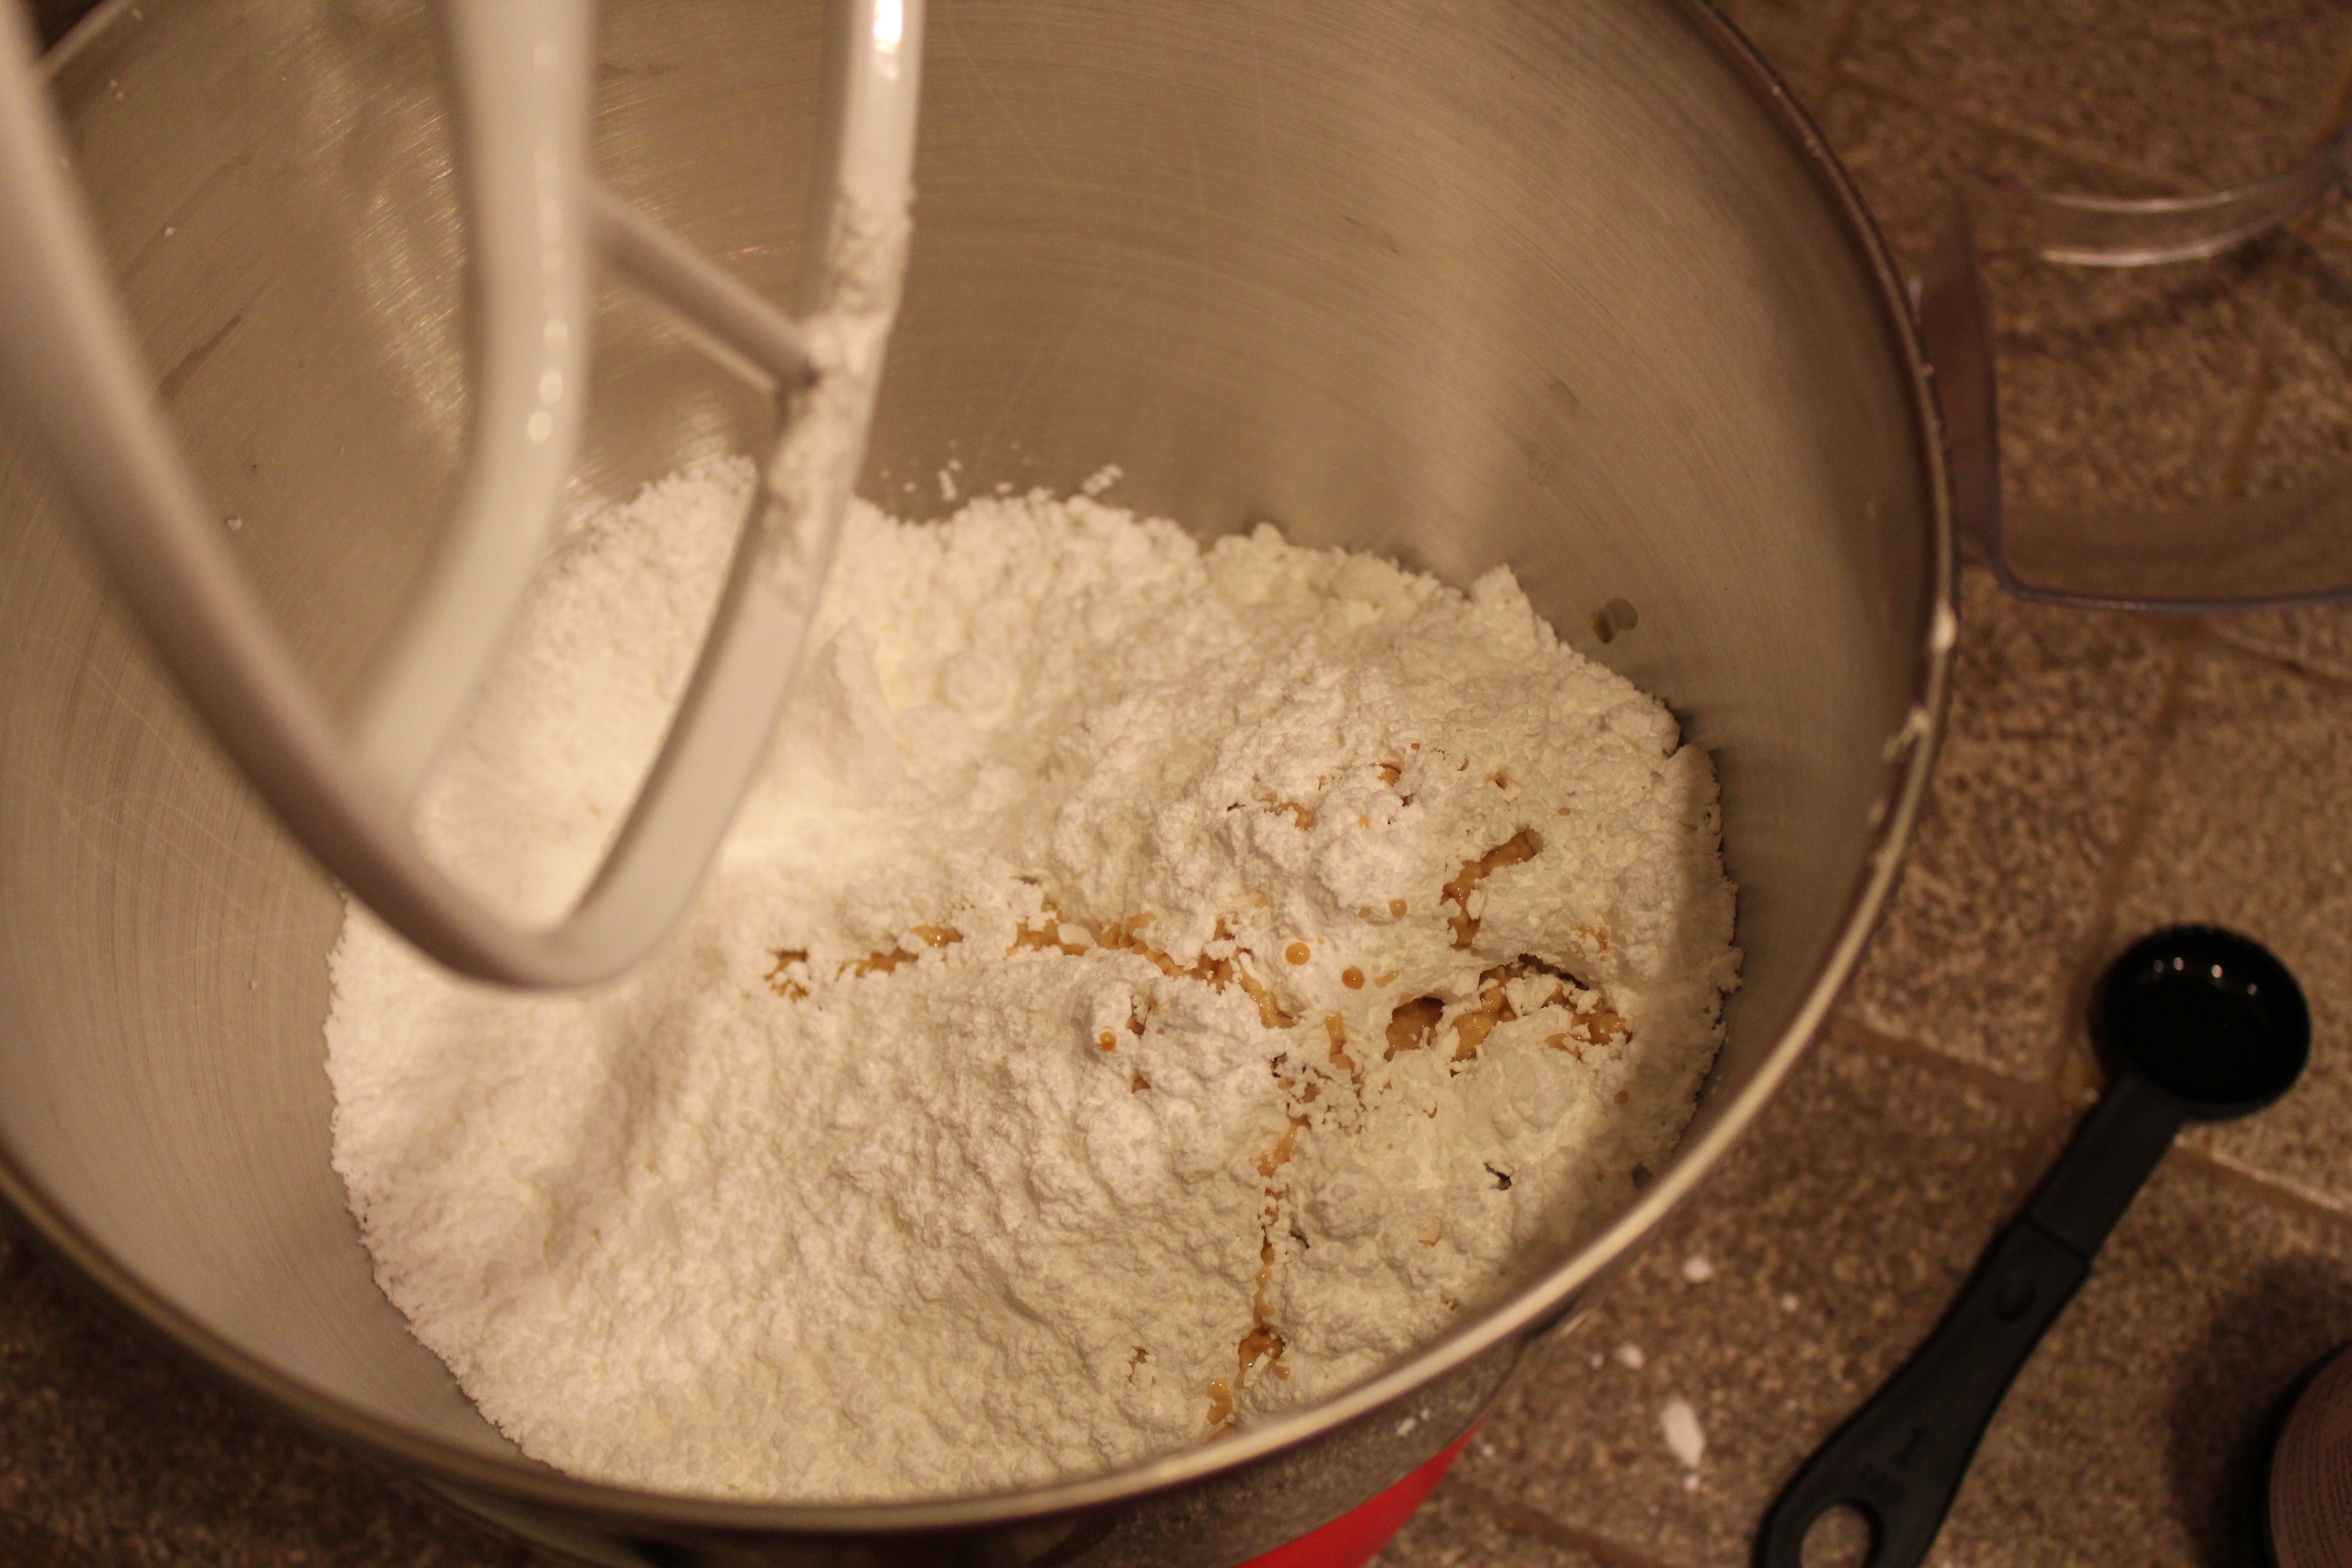
I use this first two minutes to measure out the four cups of powdered sugar and one teaspoon of vanilla. I’m lazy, so I use my mixer, but you can just mix it in a regular bowl with a spatula.
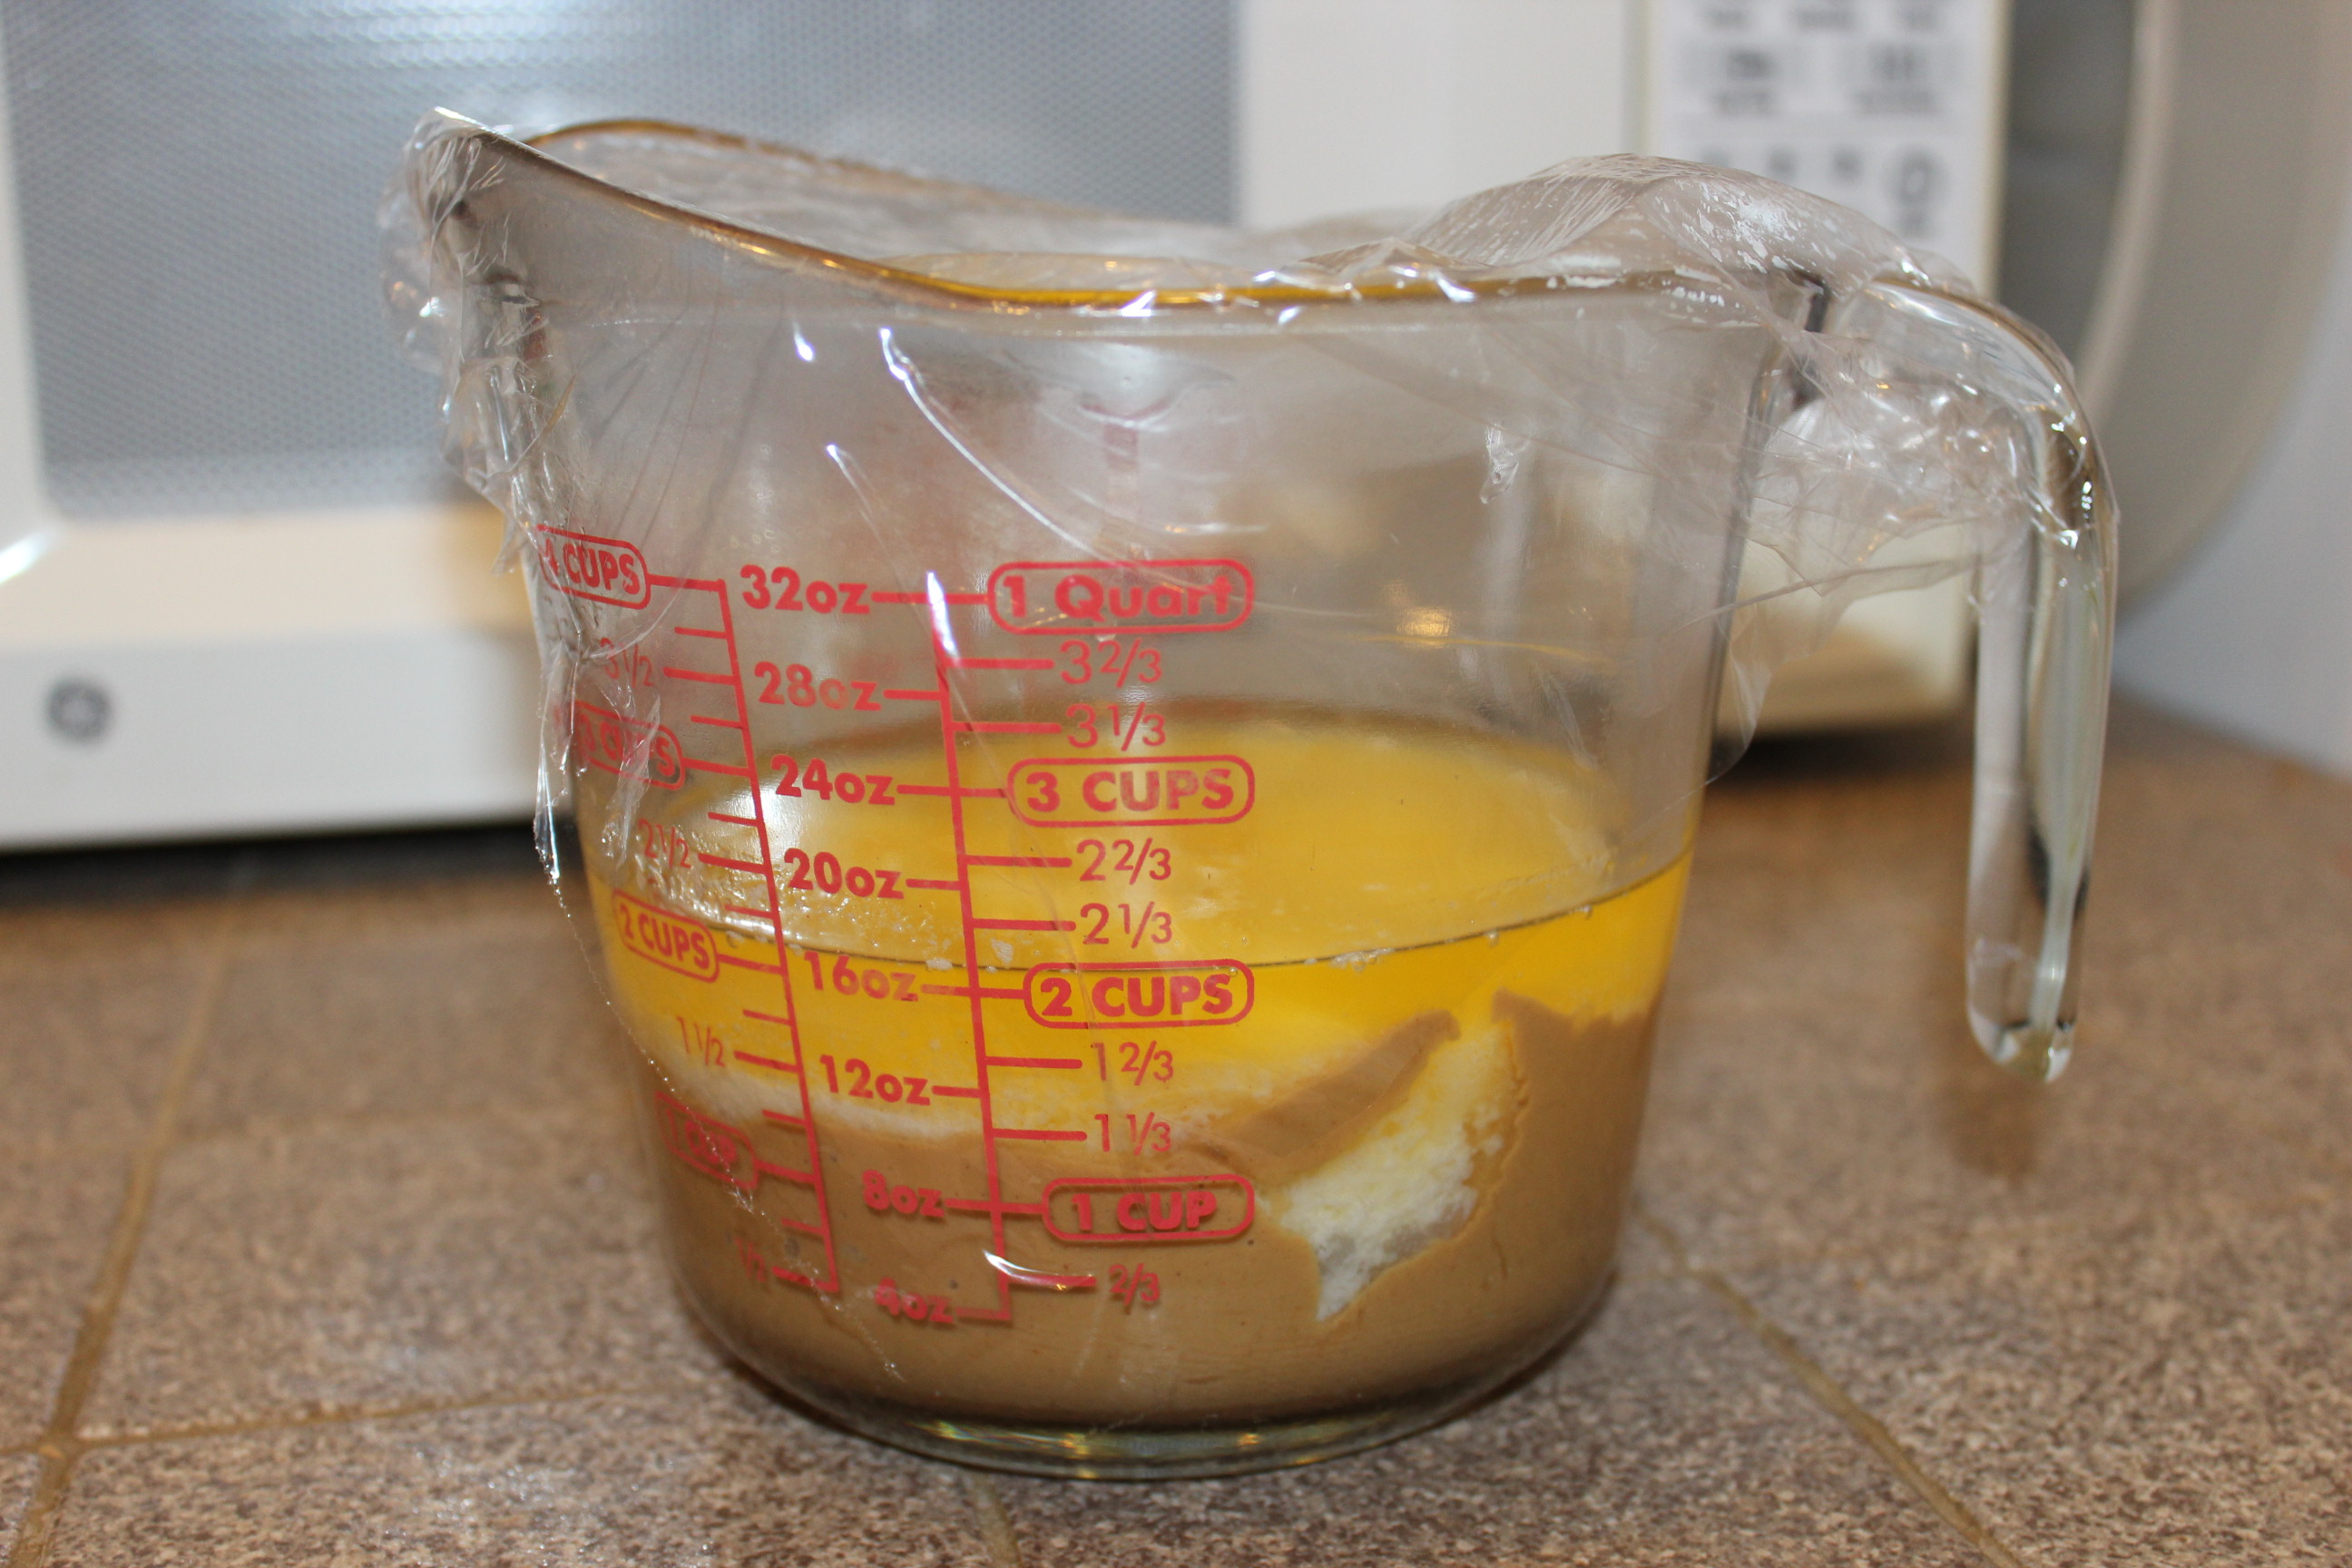
After 2 minutes, remove from the microwave. The mixture will be all separated and not totally melted. Remove the plastic wrap and stir very well until the lumps are gone and the mixture is smooth and consistent.
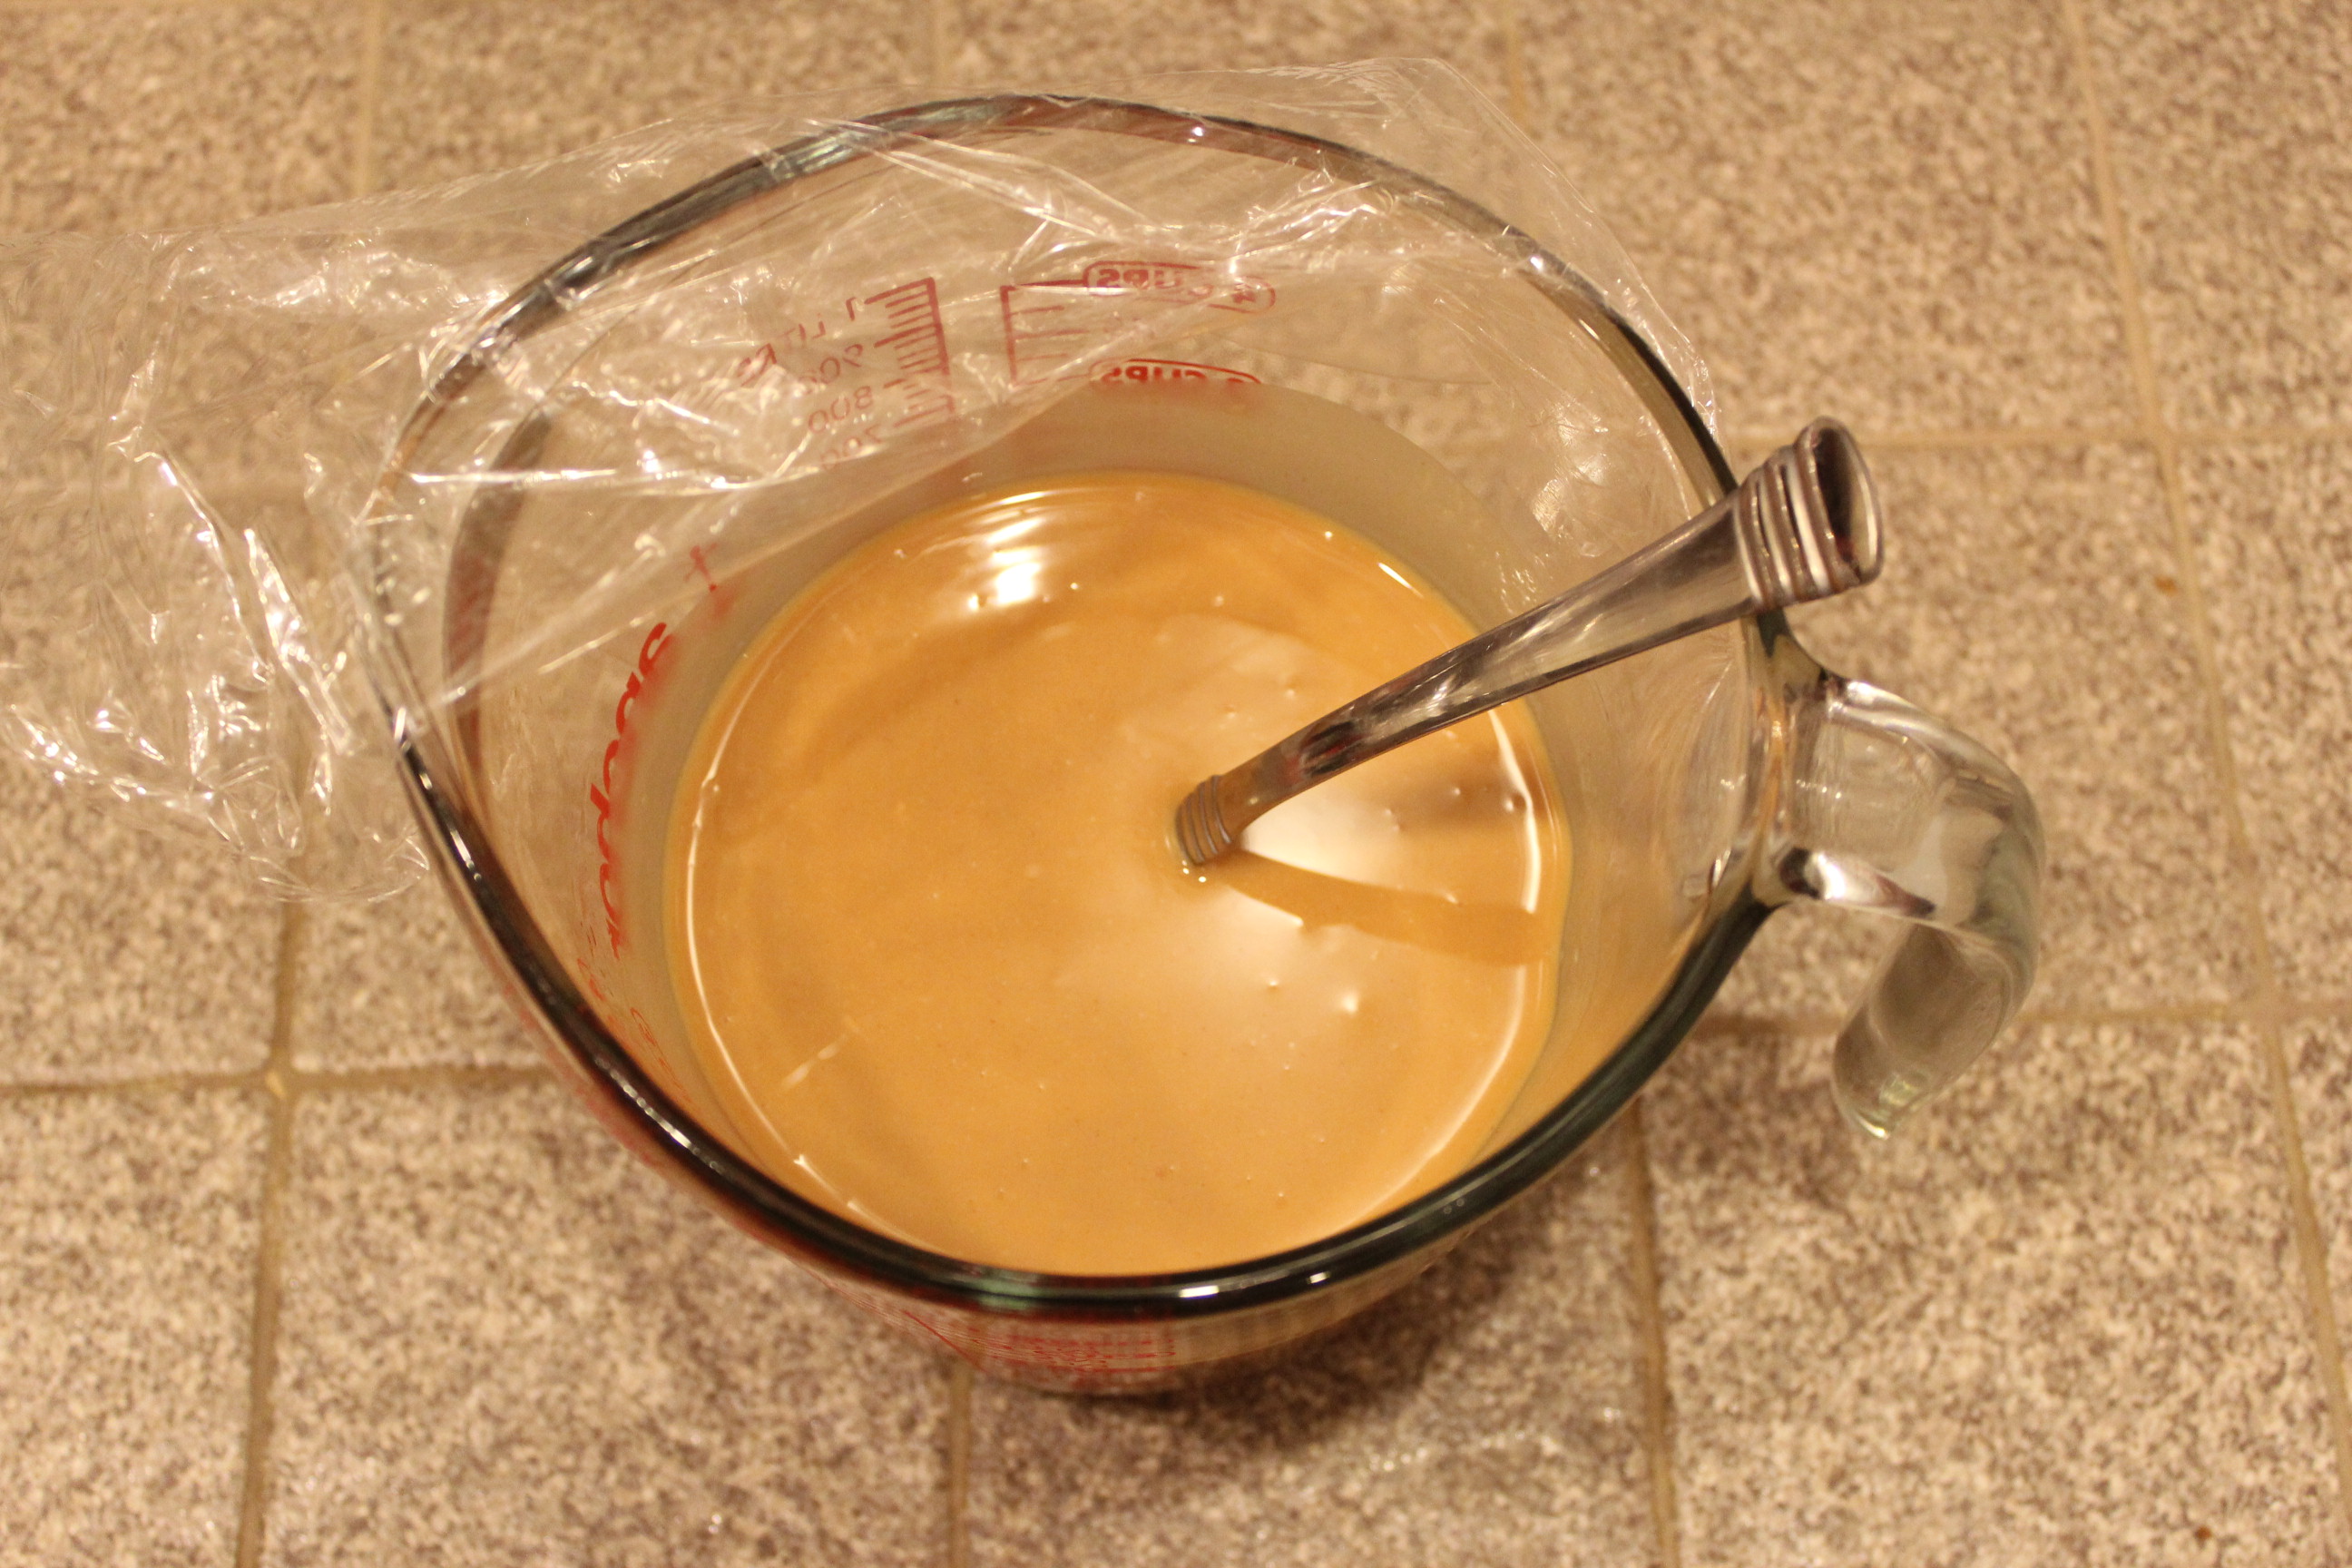 Once it is mixed enough, it should look like the picture above. Do not think you can save time and skip this step. Microwaving again without stirring thoroughly will result in a science experiment type volcano of molten peanut butter. Which sounds awesome, but isn’t once you have to clean it up. After you’ve stirred to the correct consistency, replace the plastic wrap. Now it goes back in the microwave for two more minutes.
 I use this two minutes to get my pan ready. Most recipes will tell you a specific size to use, so if that’s comforting for you, then here: use a 9″x 9″ pan. If you’re like me, and can’t ever find your 9″x 9″ pan, then here’s a secret: it doesn’t freaking matter. Use a pan or pie plate, or shoebox or whatever, that is somewhere near that size. It will be fine. It might change the thickness of the fudge a little, but no one is going to care because it’s delicious. (Maybe don’t use a shoebox.)
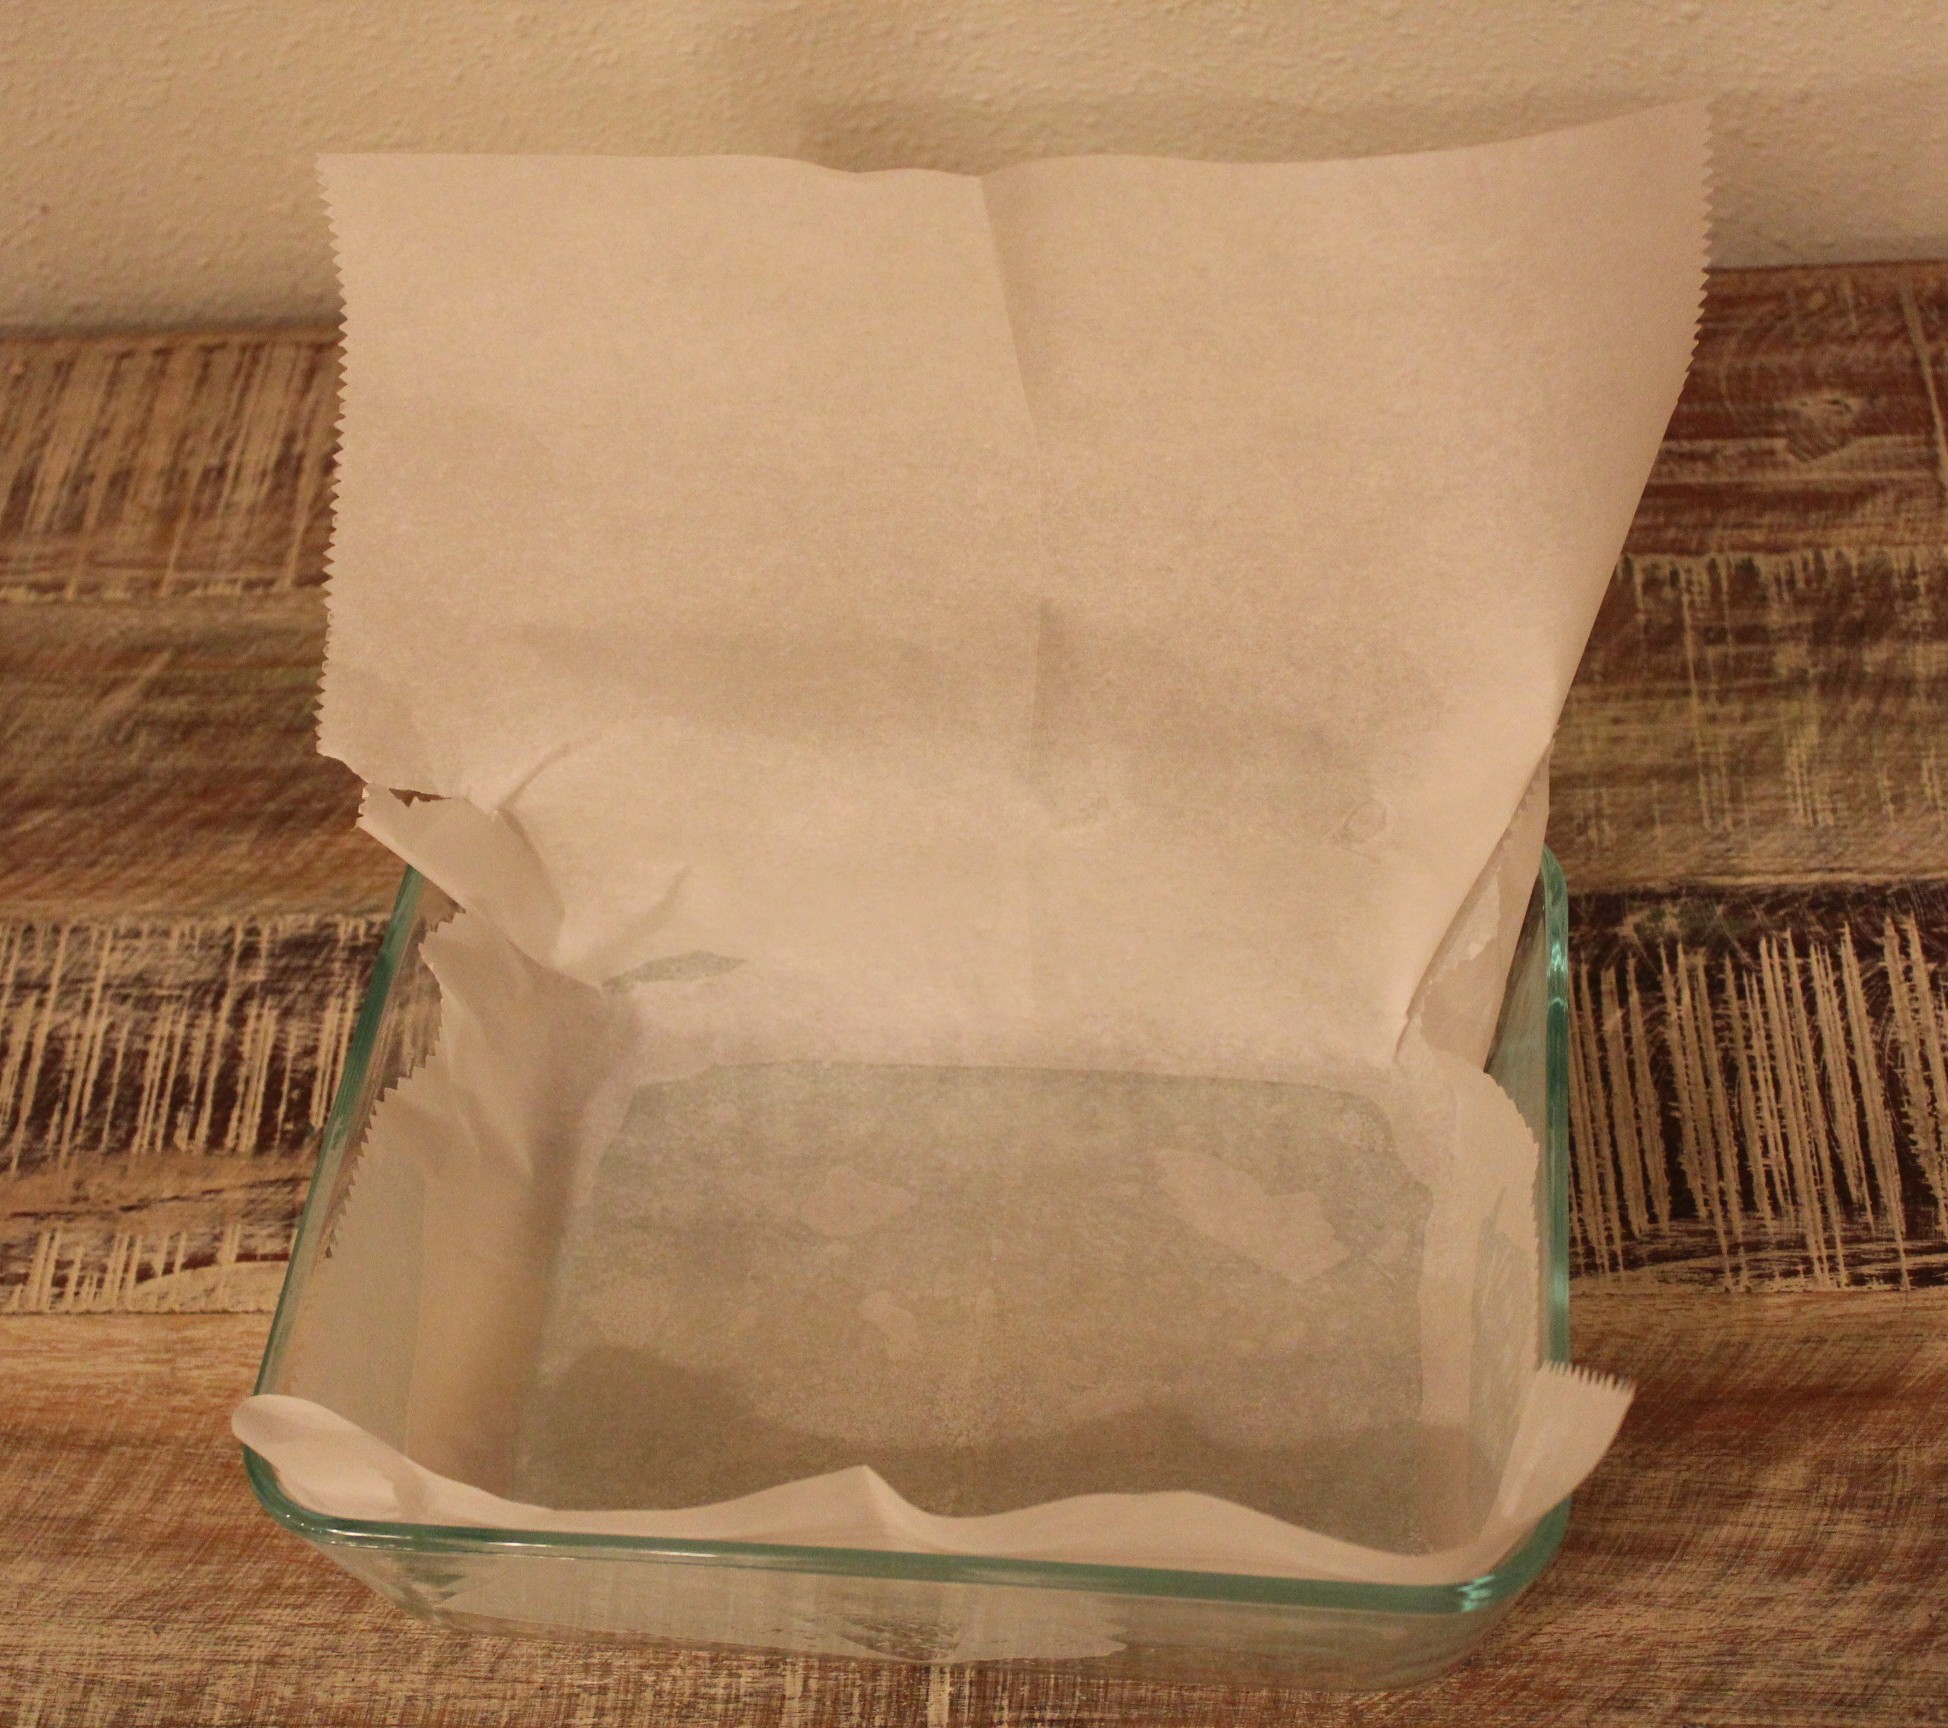
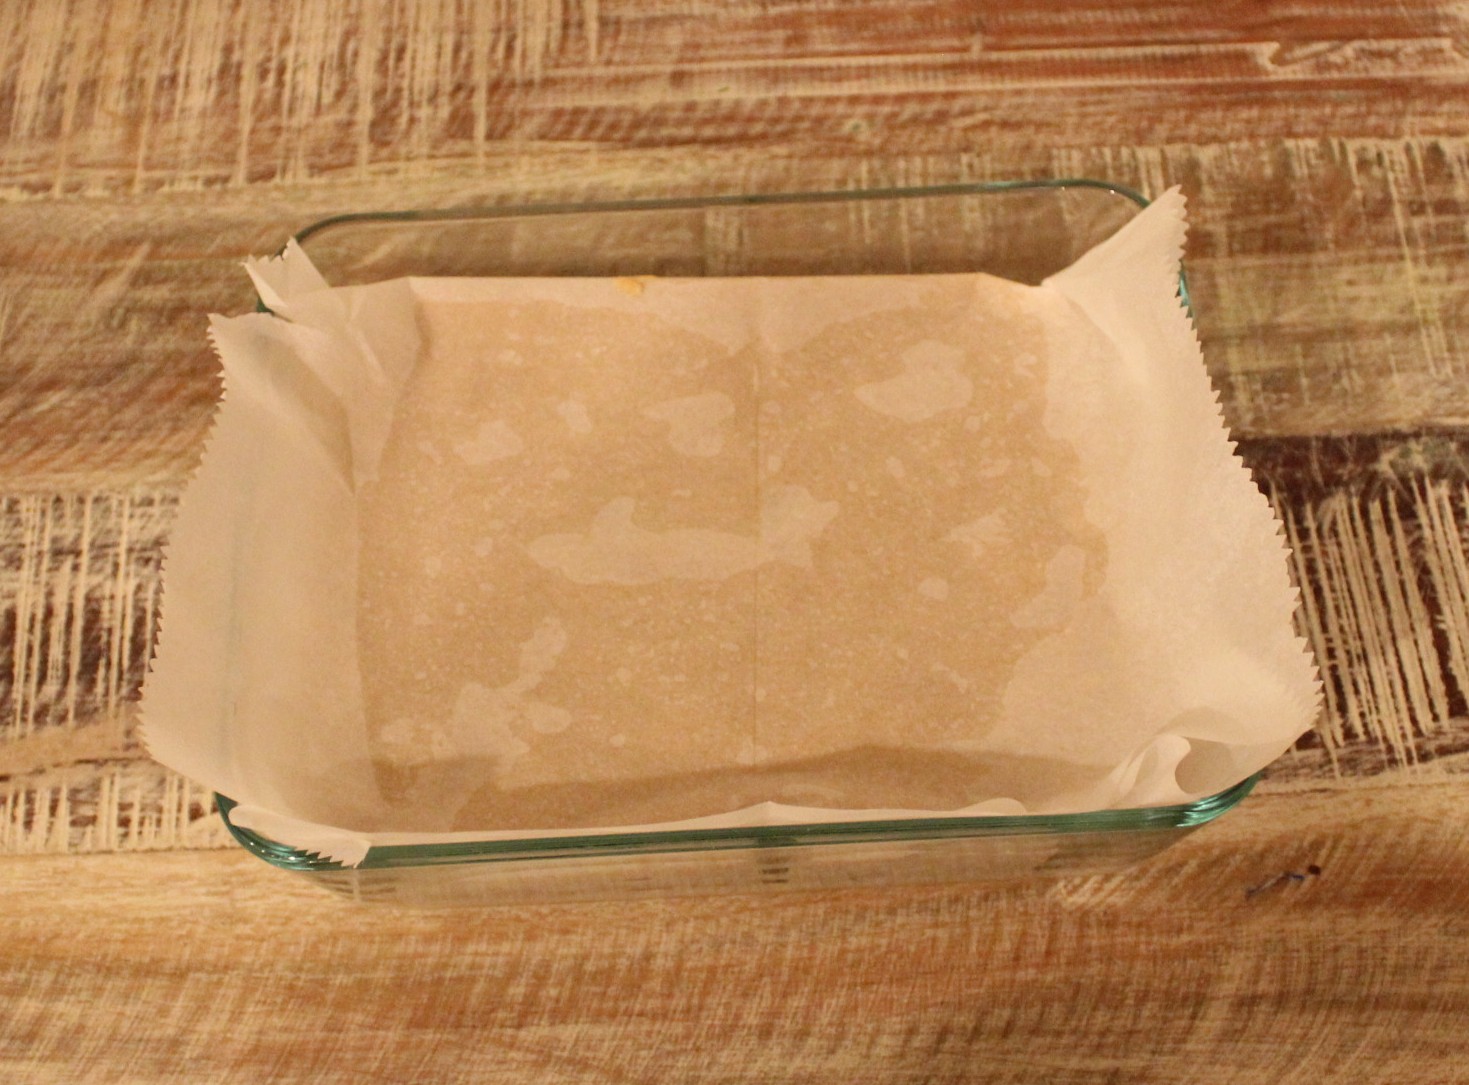
Line your pan with parchment. I am in love with the pre-cut sheets of baking paper. To make the sheet stick into the pan, I spray cooking spray or smear butter in the pan before putting the paper inside. You can see in the picture, I’ve left a good amount of the parchment out. That is to fold back over once the fudge is in the pan. Make sure to press your paper into the corners.
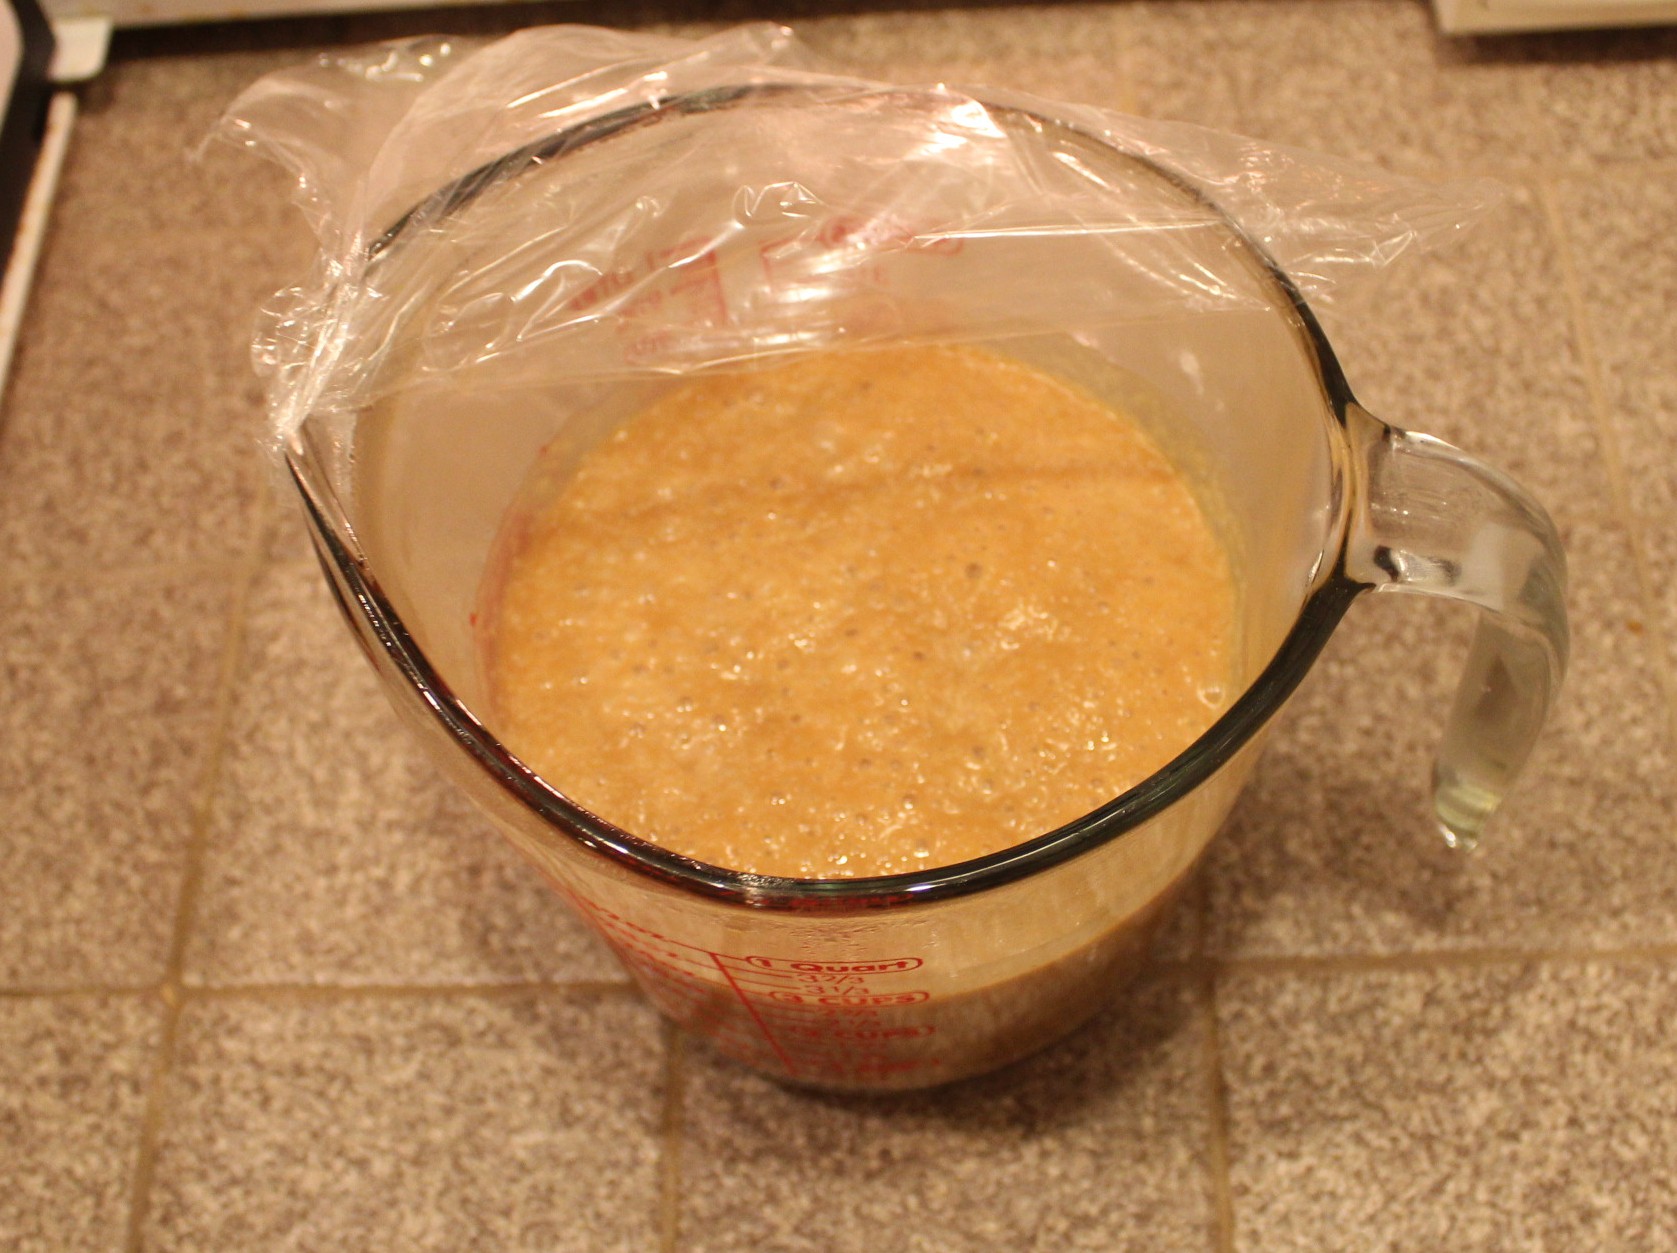 Once the second two minutes is up, your mixture should look like bubbly molten heaven. This is impossibly hot at this point. Don’t burn yourself. I know, it looks amazing, but don’t think you can try a little bit without scalding your finger, your tongue, and then your foot when you drop it from the pain in your mouth. (Hypothetically of course, I’ve probably never done something that dumb) Remove the plastic wrap and pour directly over your sugar and vanilla mixture. Use a spatula to get all of the peanut buttery goodness out of there.

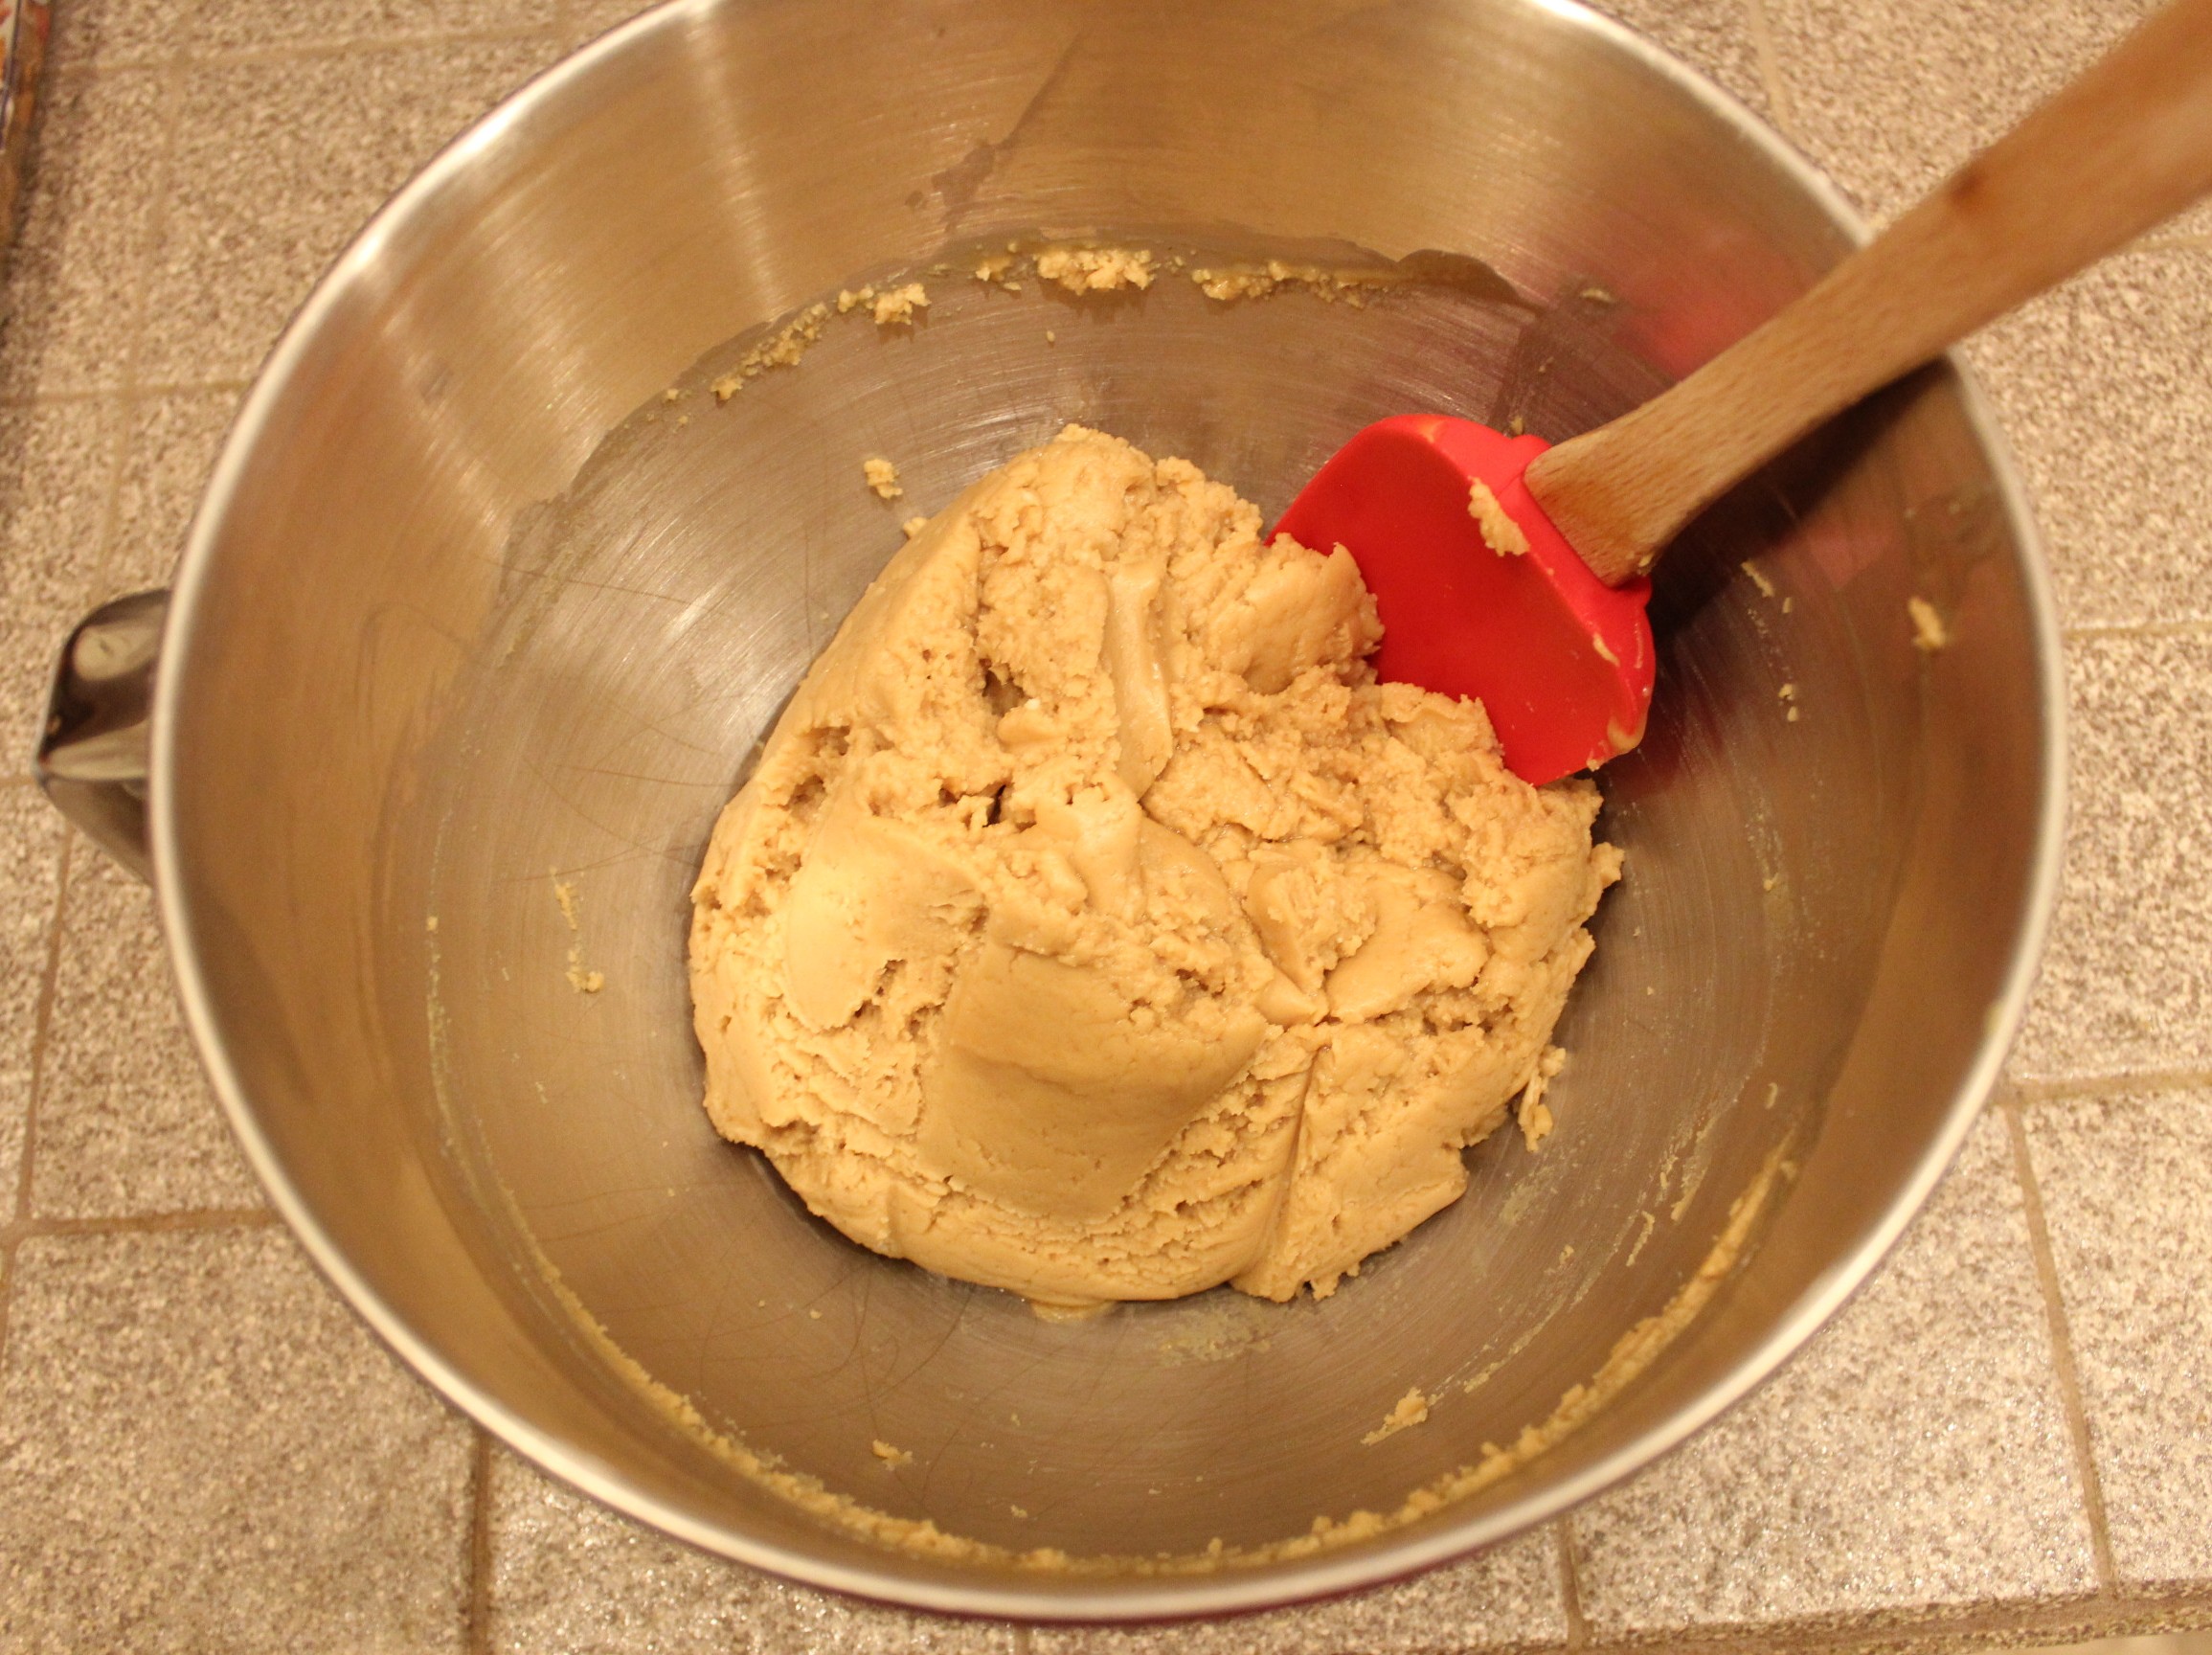
As soon as you pour, start mixing. You don’t want to let it cool down. It’s going to be a little crumbly at first, but should form a consistent ball. If you’re using a mixer, go slow at first to avoid splattering peanut butter lava everywhere.
 Pour the dough into your prepared pan, and use a spatula to press it evenly into the corners. I press it into the pan as much as possible, to get any air bubbles out.
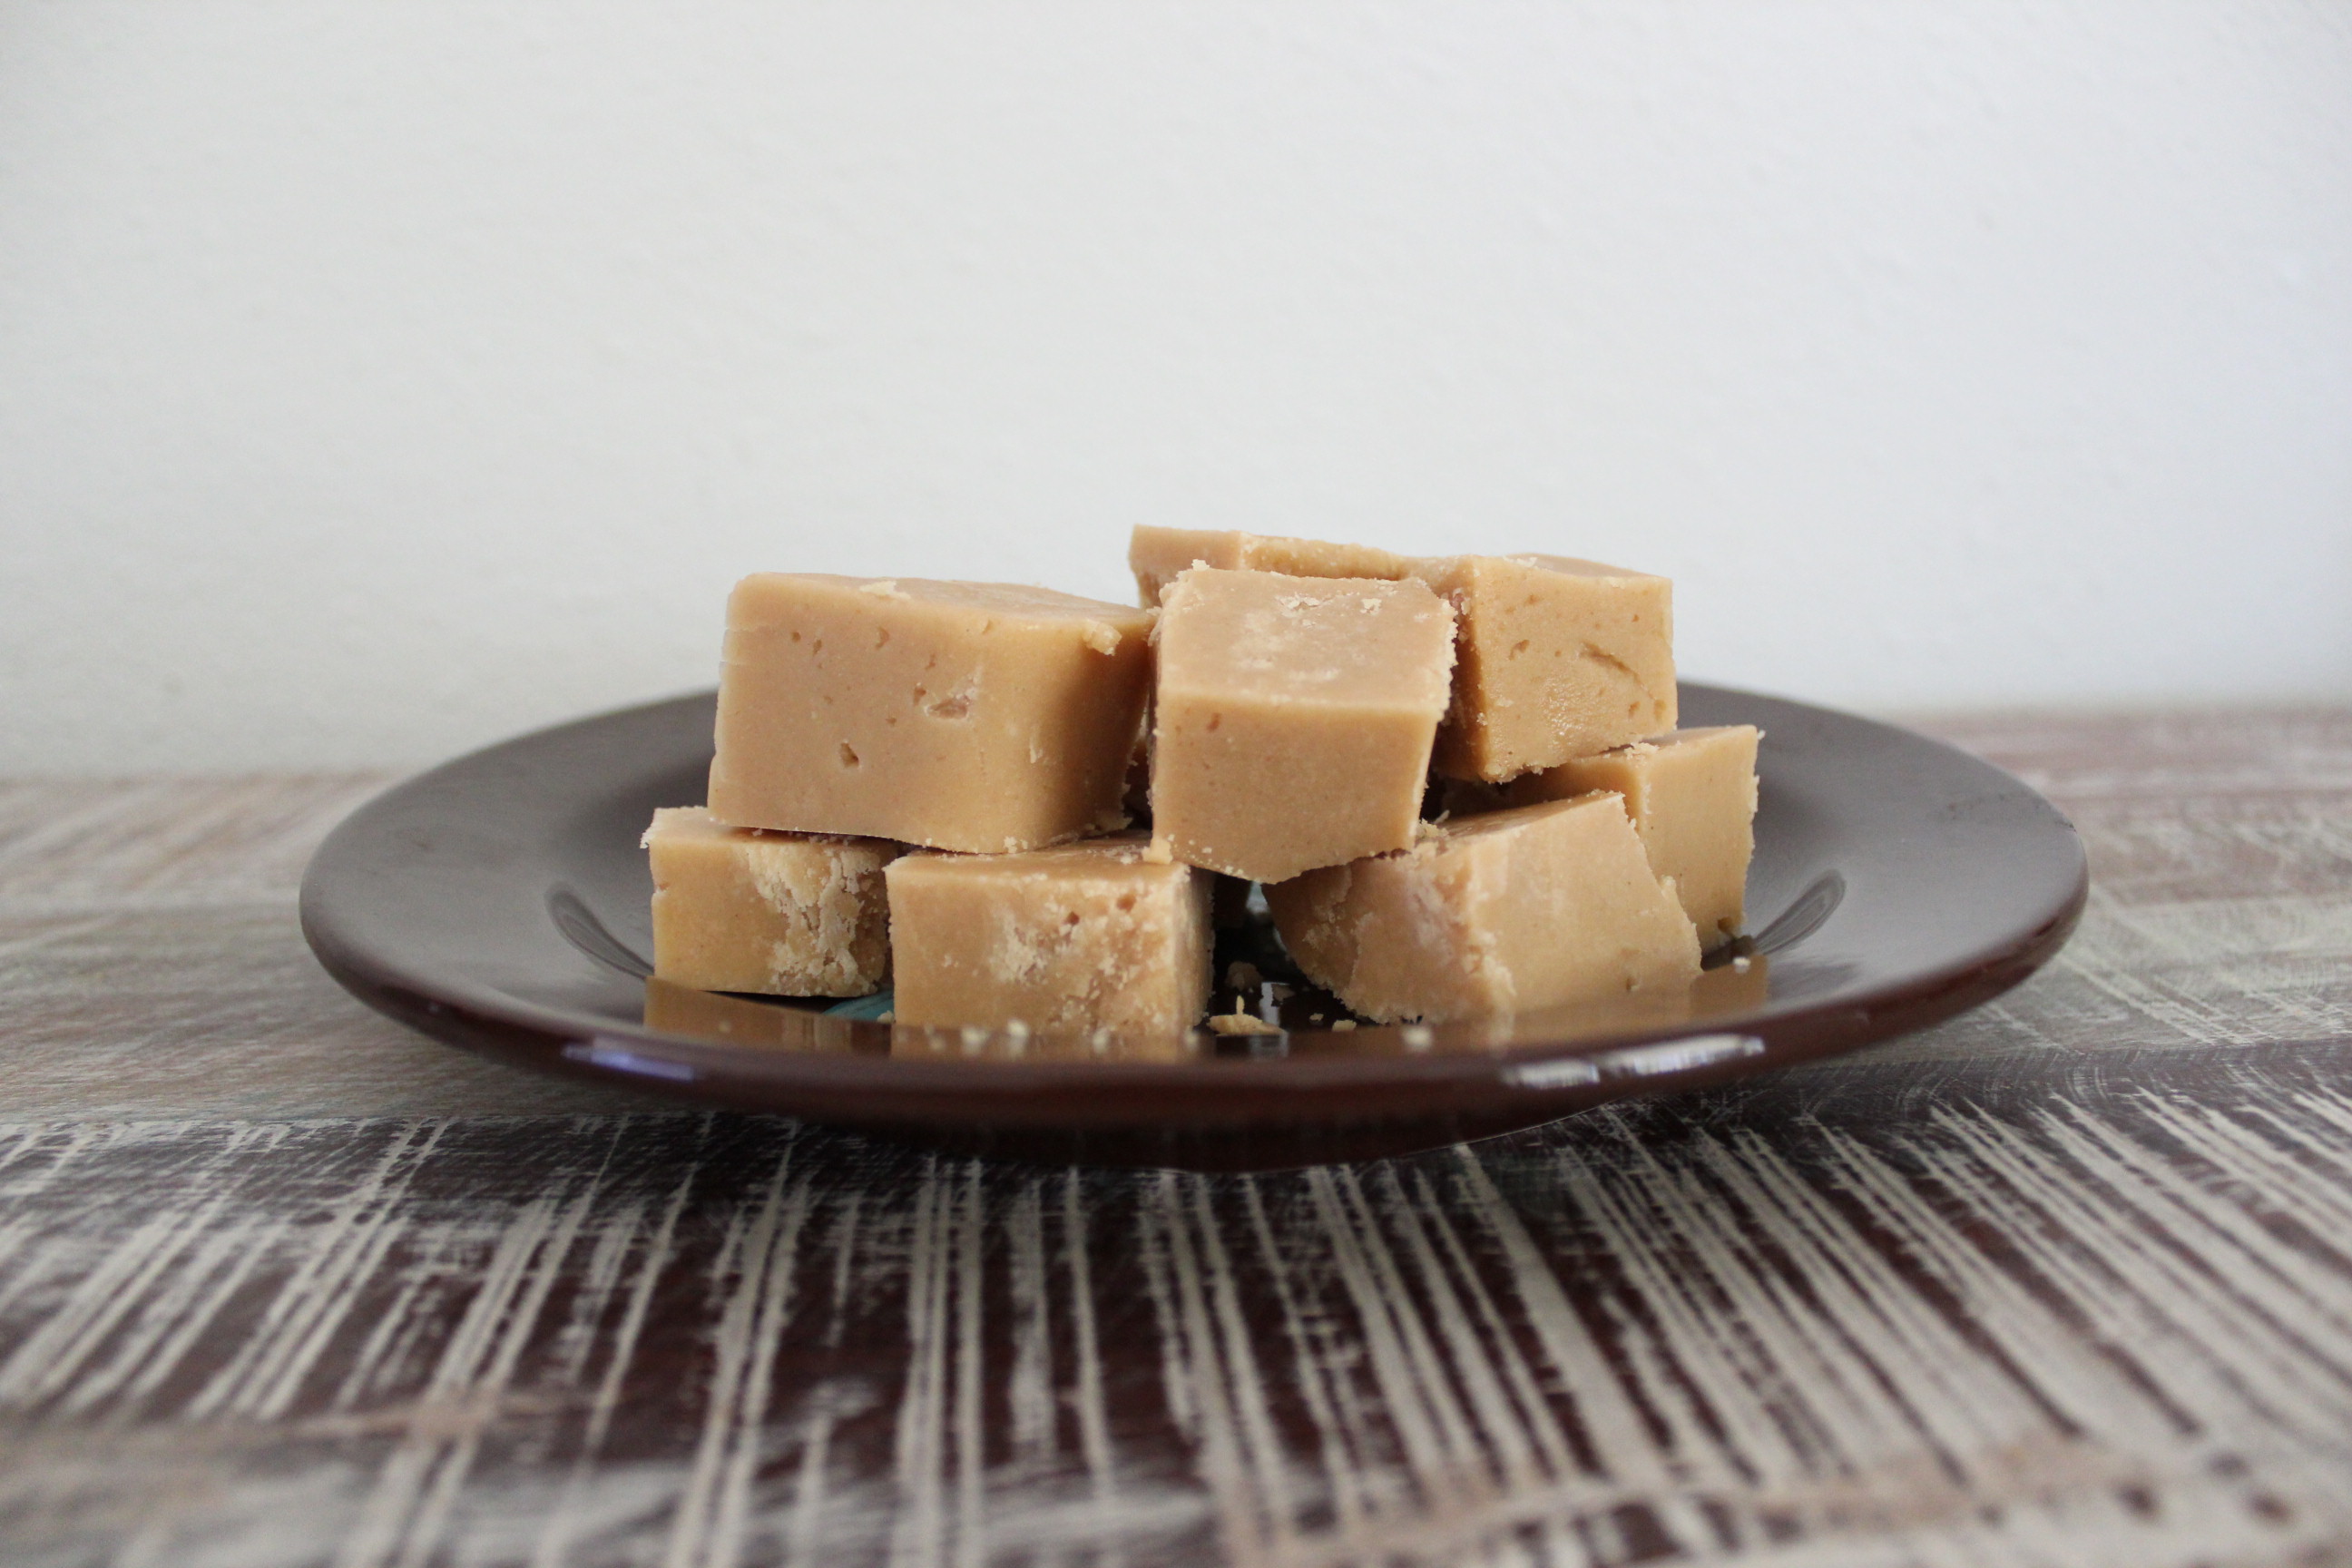
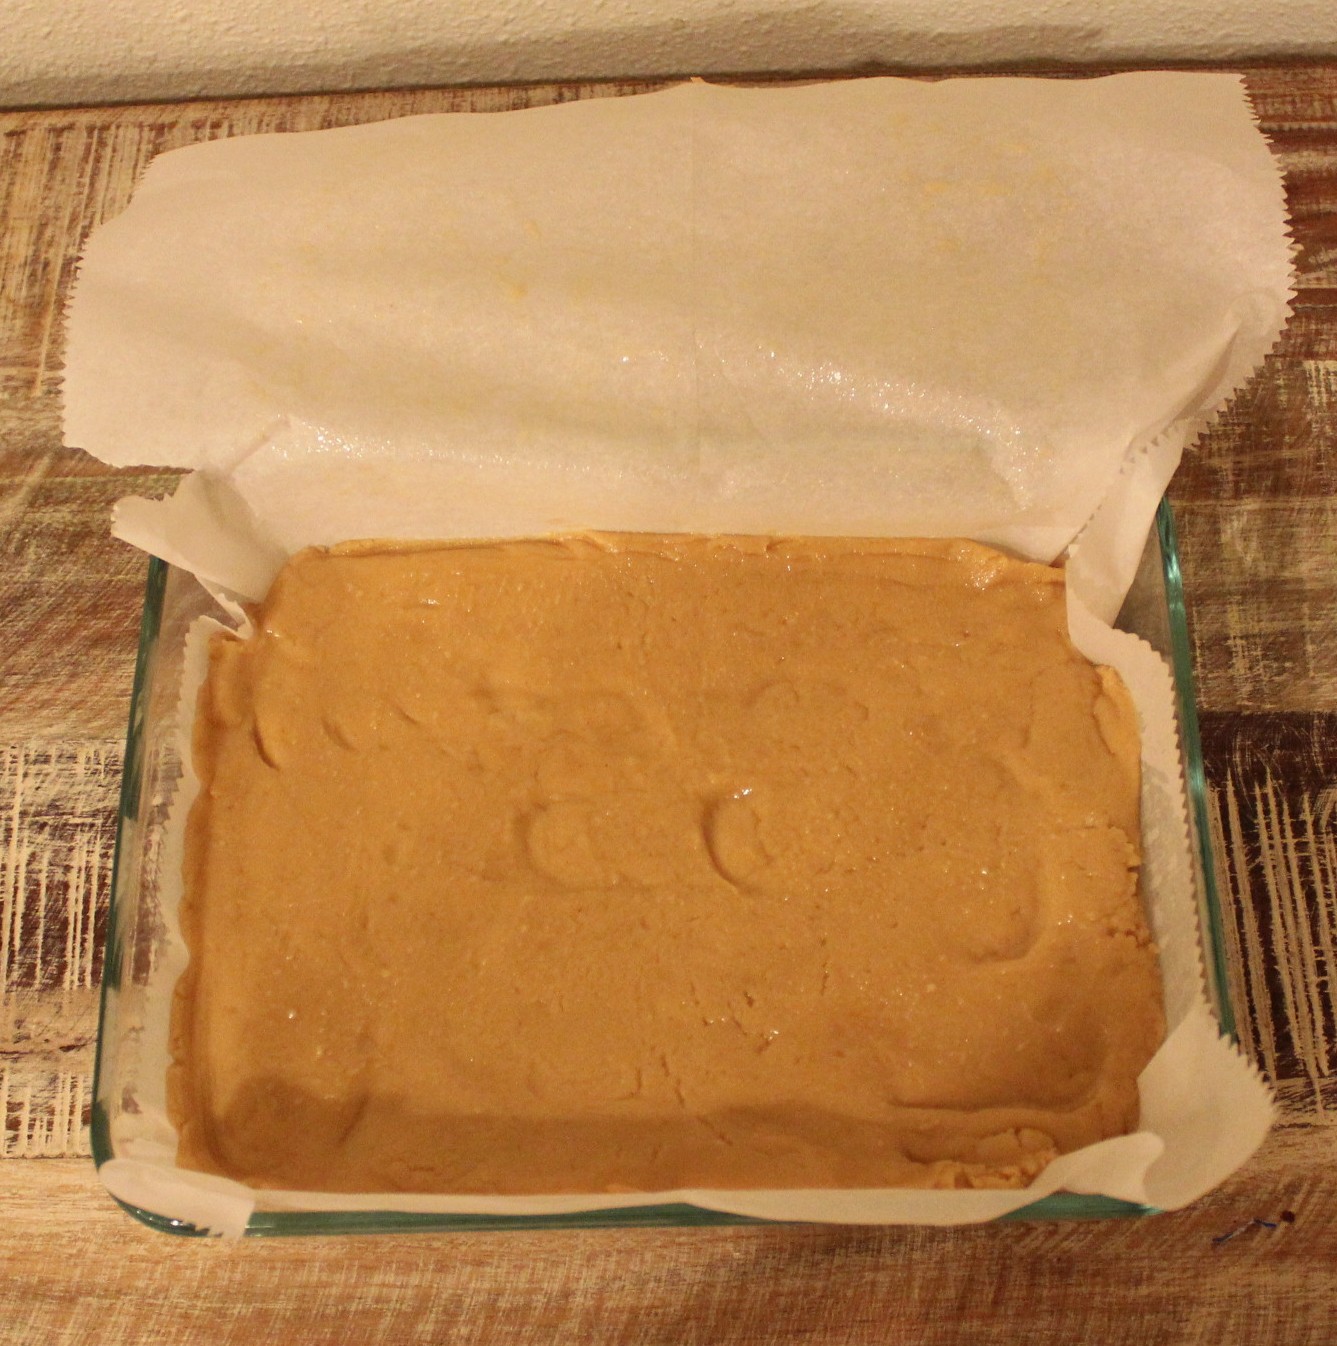
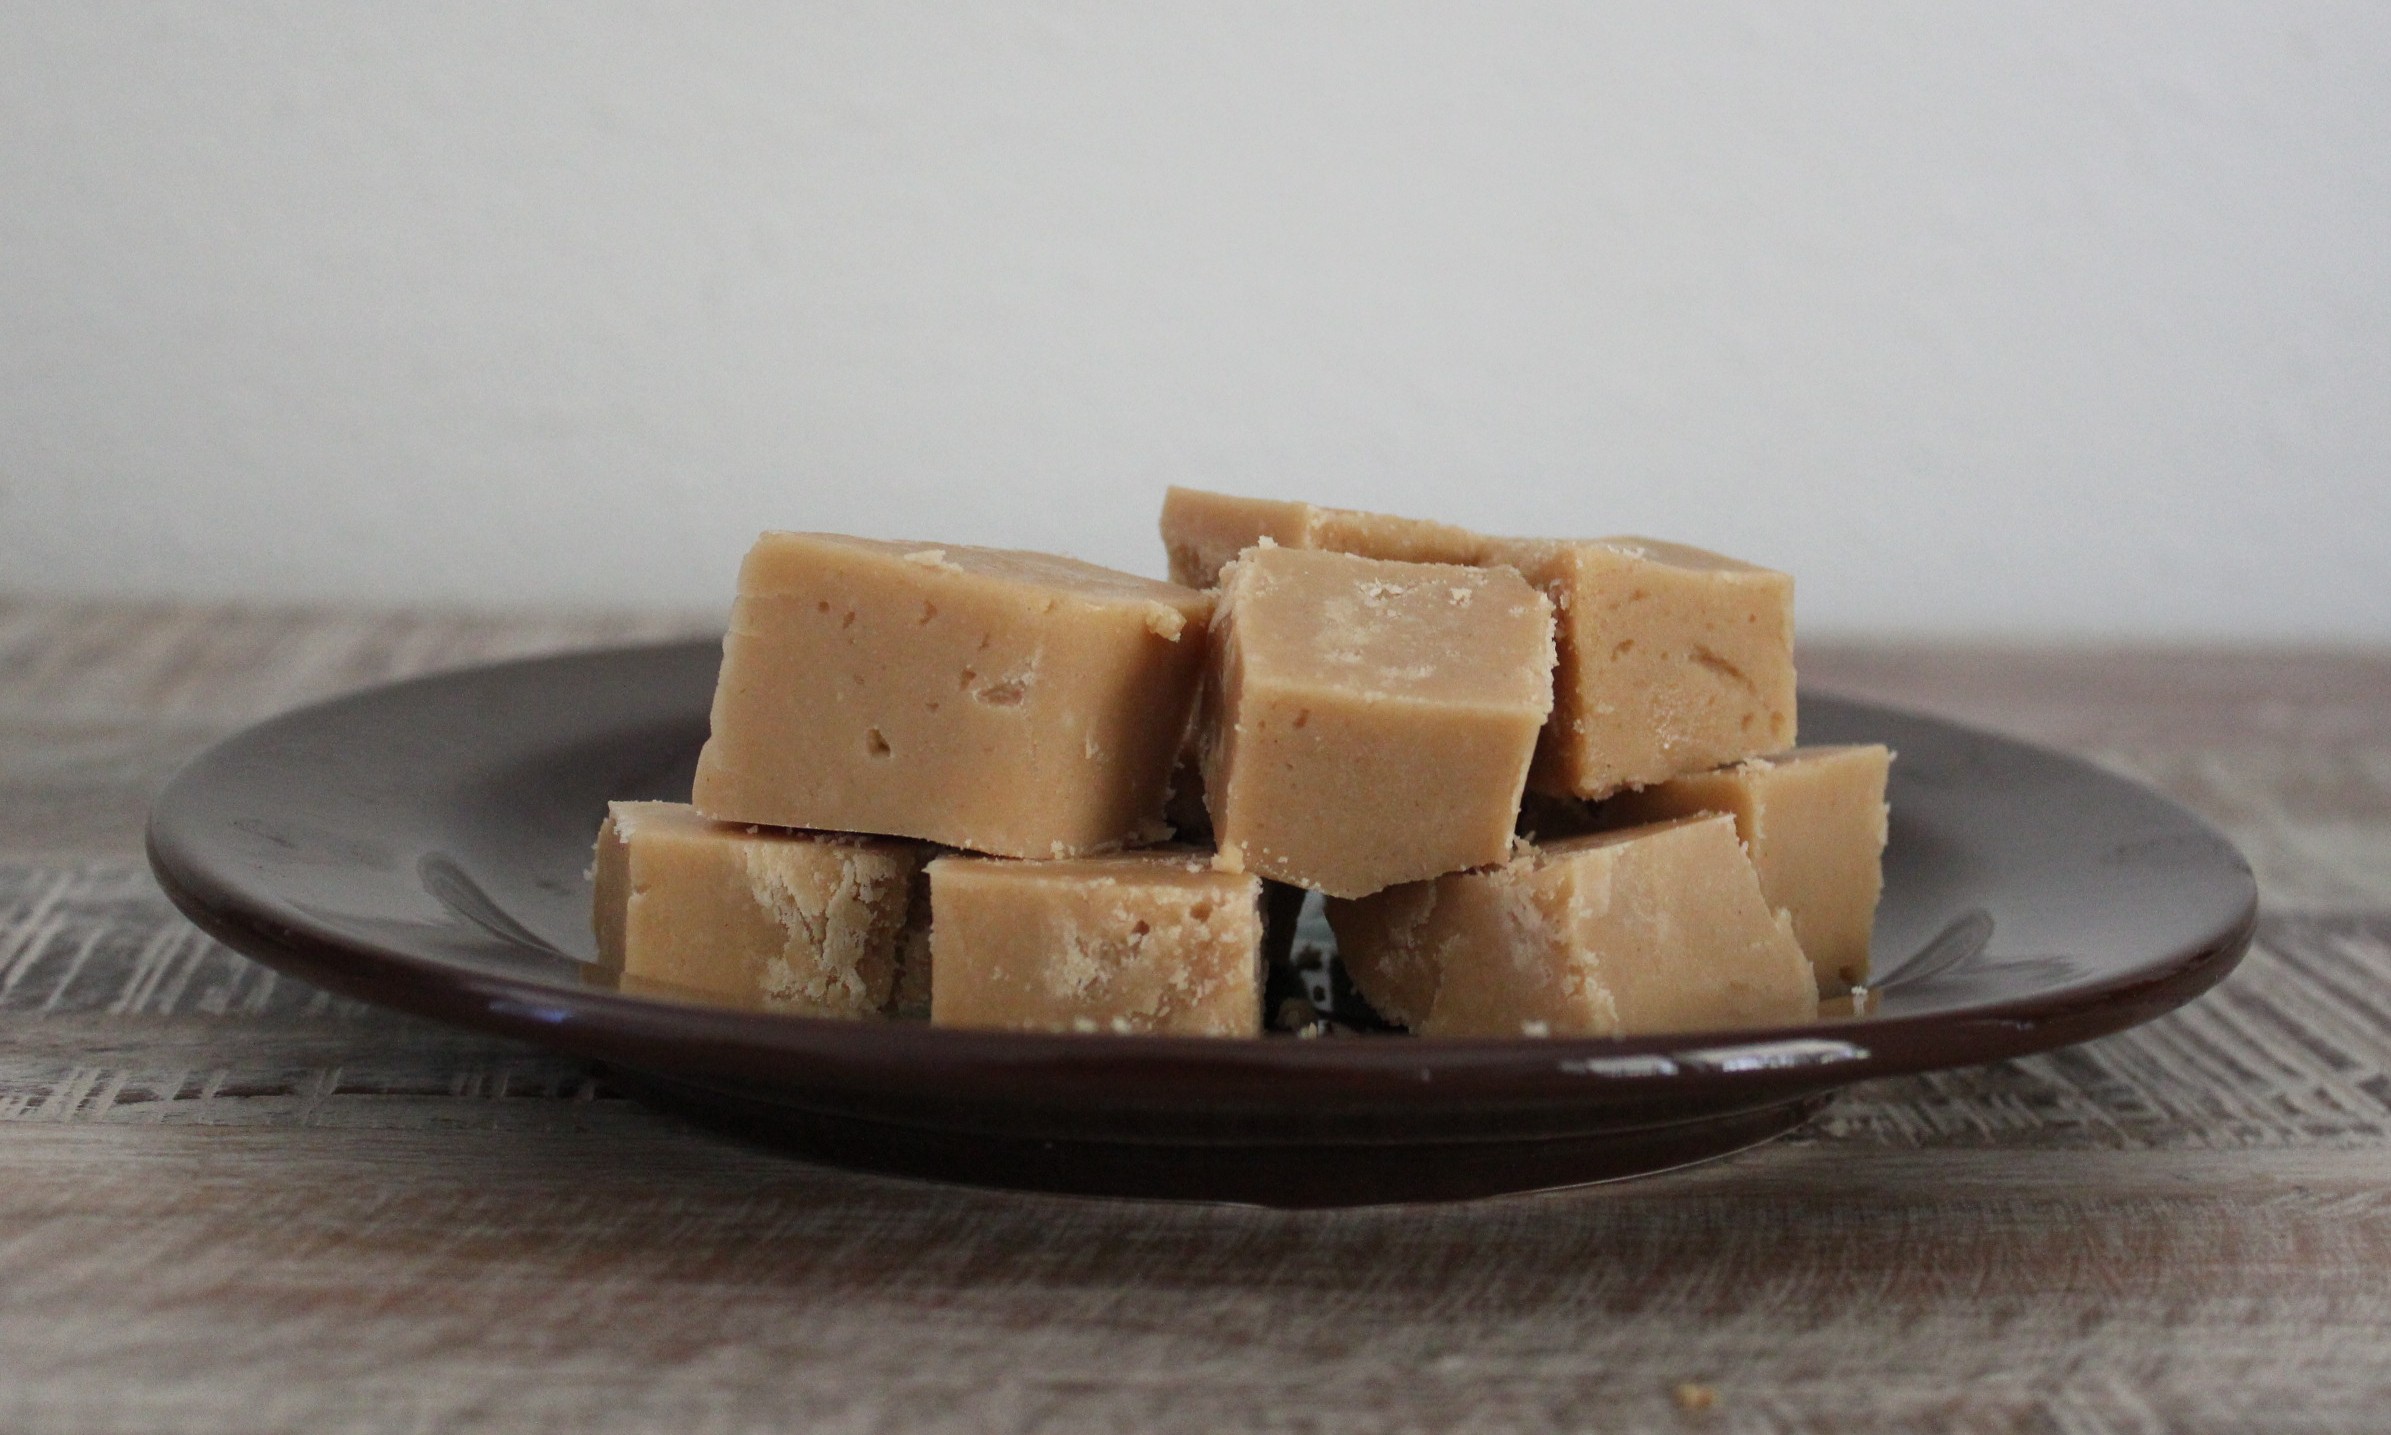
 Once it’s in the pan, I fold the long end of parchment back over the fudge so it is completely covered. Then place it in the fridge to get hard. It only takes a few hours to harden, but I usually leave it over night just to make sure. Once it’s completely chilled, remove the top parchment, and flip onto a cutting board. The block of fudge should fall right out. Use a knife to cut into bite sized squares.
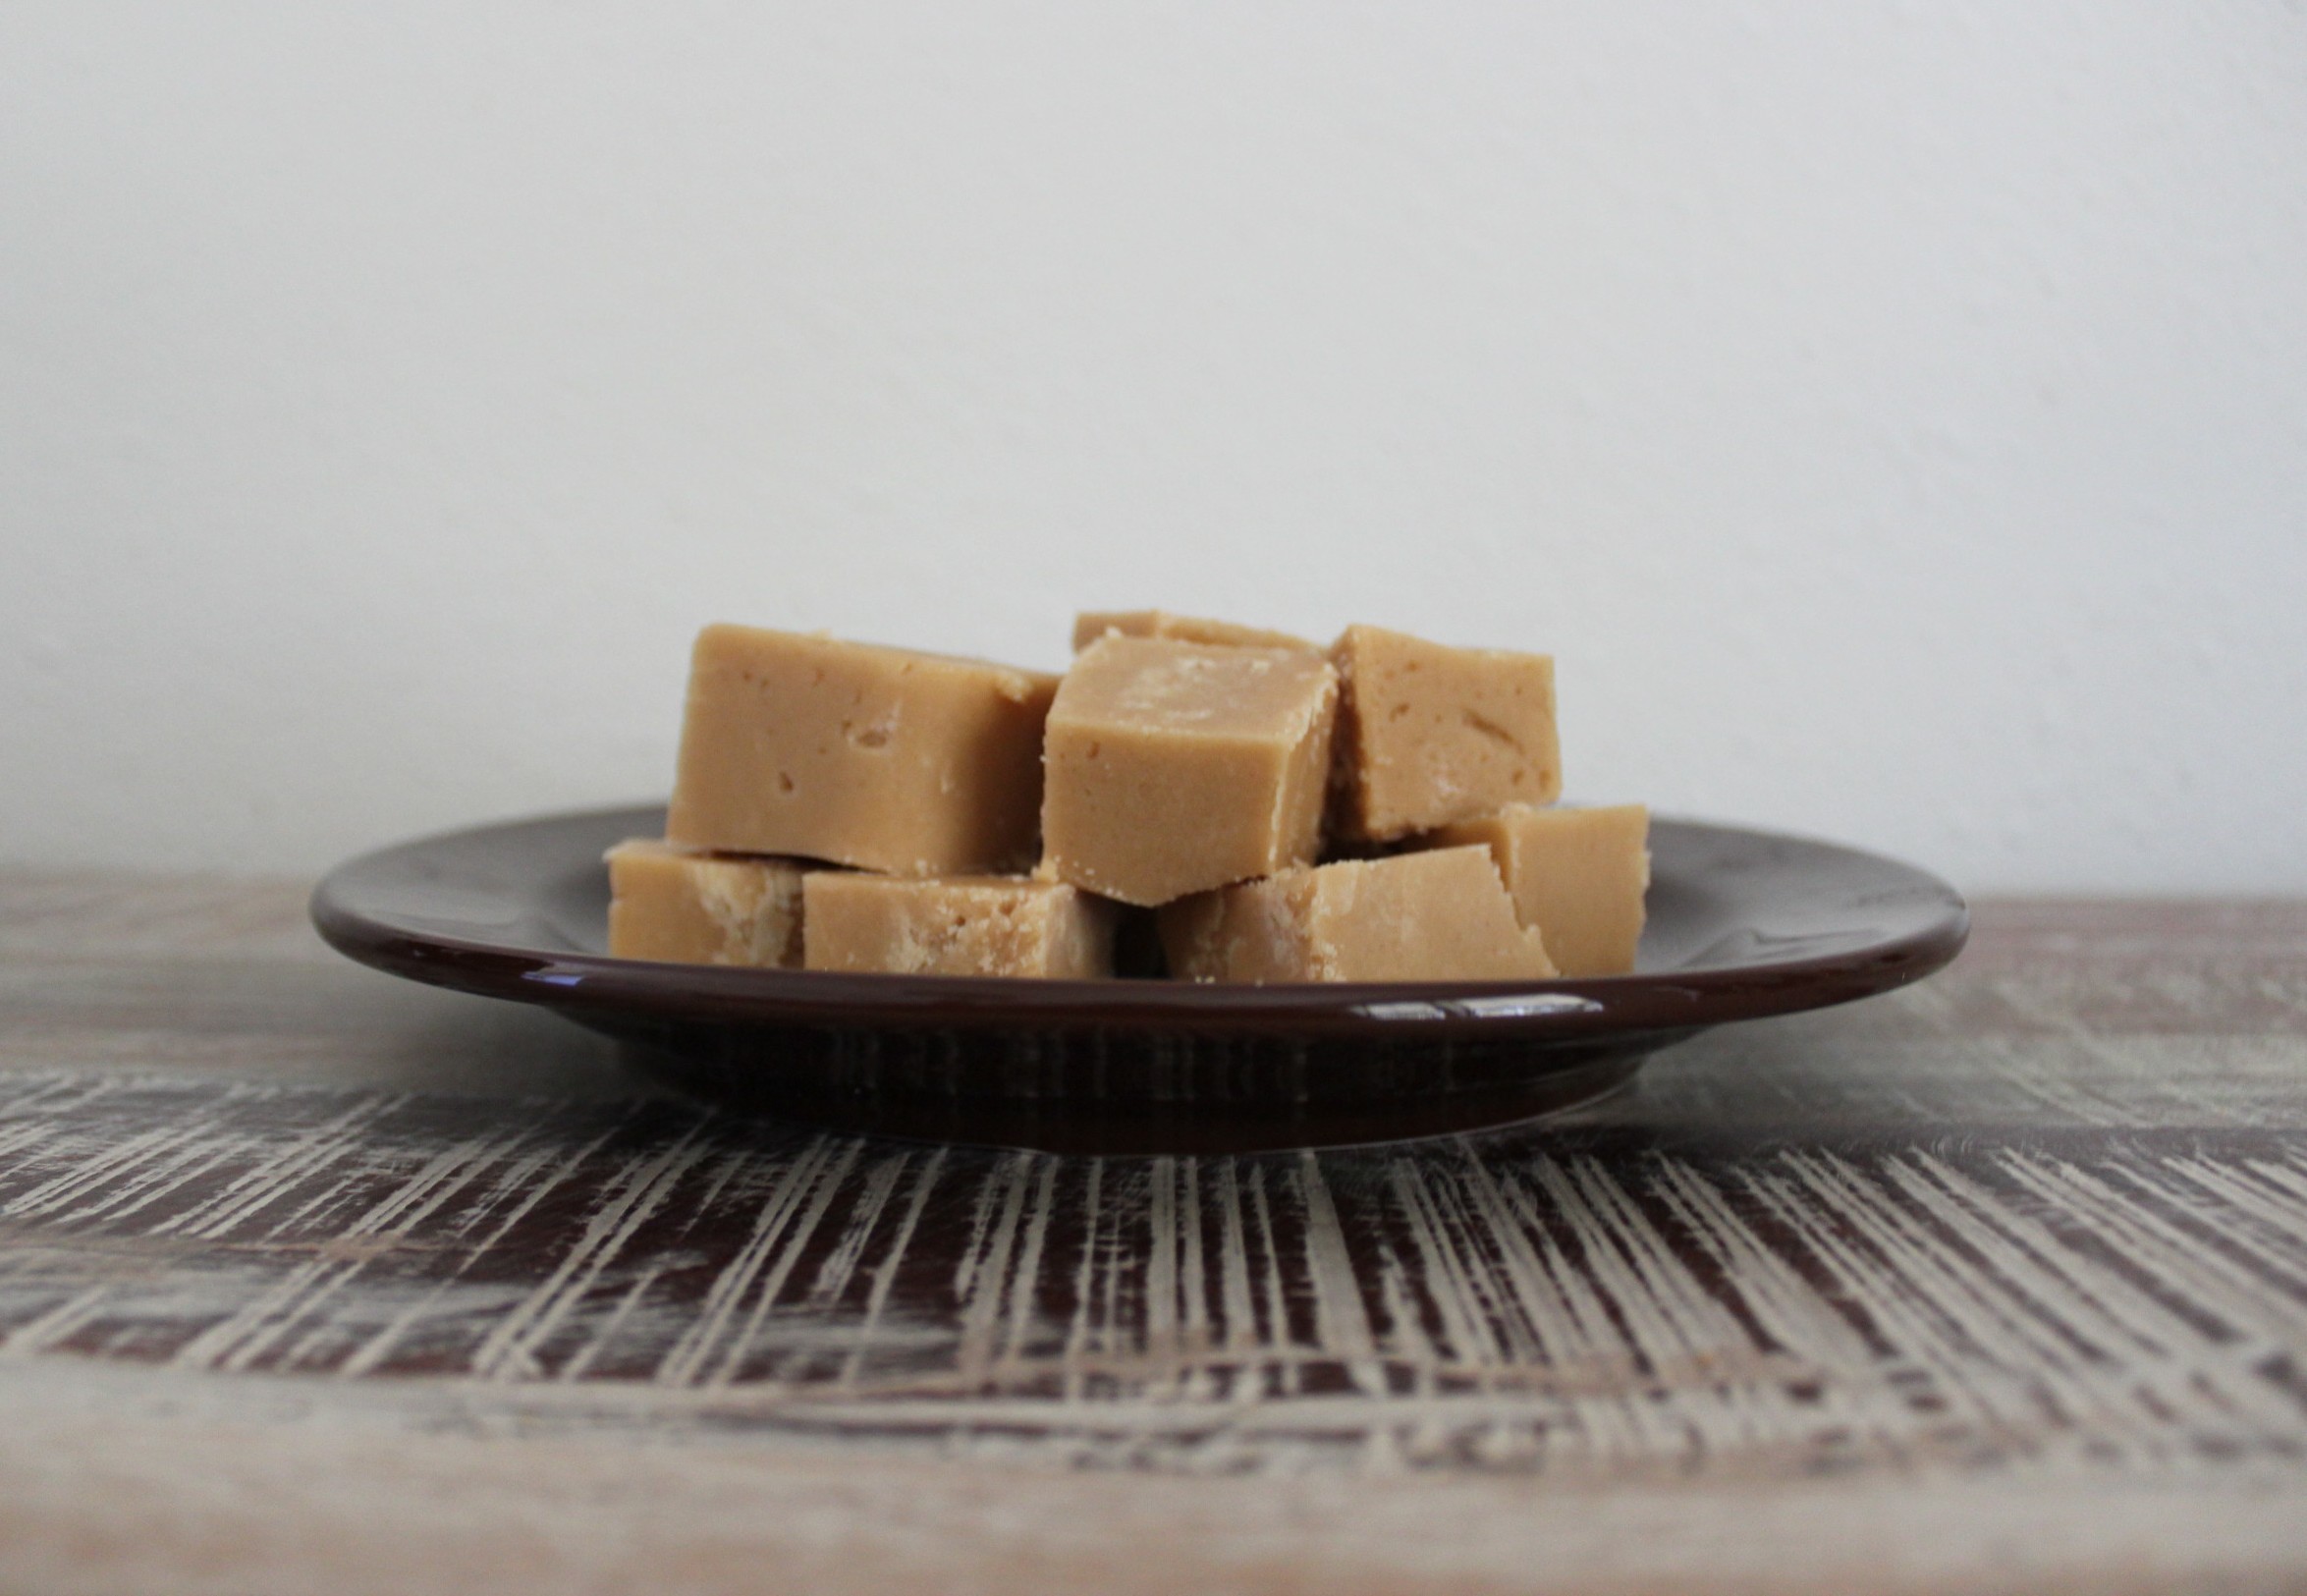
Enjoy! This stuff is smooth and addicting, and everyone will be raving about it. I store this in the refrigerator in Zip-lock bags. I prefer the texture when it’s left in the fridge; it’ll be much softer if you leave it out, I think it just tastes better cold and a little more firm.

yumm-o!!! thanks for the recipe!!
LikeLiked by 1 person
You bet!! Thanks for sharing!
LikeLike